
Car subwoofer installations in Toledo can enhance audio for both car enthusiasts and DIYers with limited space. Low-profile models offer powerful bass despite compact size. Preparation includes tools like screwdrivers, pliers, measuring tape, wiring connectors, and speaker wire. Guide covers selection of location, safety measures, wiring process, and tuning settings using frequency test tones or decibel meters. For best results in a DIY project or professional setup, consider expert assistance for car subwoofer installation in Toledo.
Looking to enhance your car audio experience with a discreet yet powerful subwoofer? This guide covers everything you need to know about low-profile subwoofer installation in Toledo. We break down the benefits of these versatile speakers and provide a comprehensive tutorial suitable for both DIY enthusiasts and those seeking professional help. From gathering the right tools and materials to optimizing performance, learn how to seamlessly integrate a high-quality subwoofer into your vehicle, elevating your music listening to new levels.
- Understanding Low-Profile Subwoofers and Their Benefits
- Preparing for Installation: Tools and Materials Needed
- Step-by-Step Guide to DIY or Professional Car Subwoofer Installation
- Optimizing Performance: Tuning and Testing Techniques
Understanding Low-Profile Subwoofers and Their Benefits

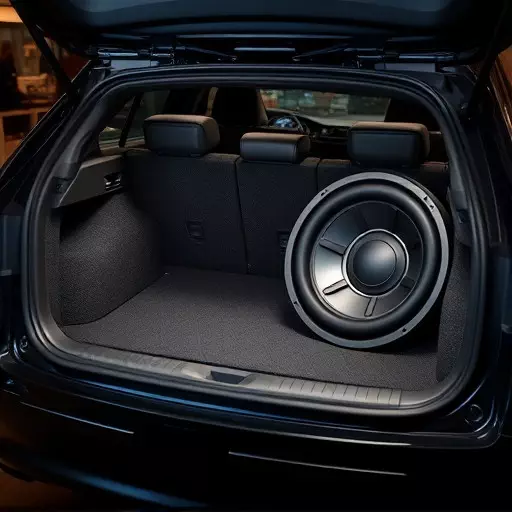
Low-profile subwoofers are a game-changer for anyone looking to enhance their audio experience, especially in confined spaces like cars. As the name suggests, these subwoofers are designed to be discreet and compact, offering powerful bass performance while maintaining a low visual profile. This makes them an ideal choice for both car enthusiasts seeking to transform their vehicle’s sound system and DIY installations where space is limited.

One of the key benefits is their ability to provide substantial bass without taking up valuable room. Whether it’s under a seat or in a tight trunk, these subwoofers can deliver deep and rich tones, enhancing movie nights or music listening sessions. Moreover, professional installers appreciate them for their ease of integration, allowing for cleaner and more efficient car audio setups. With various models available, including active and passive options, DIY enthusiasts can also enjoy the satisfaction of installing their own high-performance subwoofers, tailored to their specific vehicle’s needs.
Preparing for Installation: Tools and Materials Needed

Before diving into the low-profile subwoofer installation process, ensure you have the right tools and materials on hand. For a successful car subwoofer installation Toledo or diy subwoofer installation, consider the following: a set of basic tools including screwdrivers (both flathead and Phillips), pliers, a measuring tape, and a utility knife. Additionally, you’ll need specific components like wiring connectors, speaker wire, and possibly an amplifier if your vehicle doesn’t have adequate power for the subwoofer. For professional subwoofer installation, specialized tools like an impact driver can expedite the process and ensure clean, secure installations.
Proper preparation is key when it comes to diy subwoofer installation or even enlisting professional help. Measure the space where you plan to install your low-profile subwoofer to ensure compatibility with your vehicle’s design. This includes checking for any obstructions like seats, panels, or floorboards that might interfere. Have all your materials and tools readily available to streamline the process and allow for a seamless integration of your new subwoofer, whether it’s a car subwoofer installation Toledo or professional setup.
Step-by-Step Guide to DIY or Professional Car Subwoofer Installation

DIY or Professional Car Subwoofer Installation: A Step-by-Step Guide
1. Preparation: Begin by acquiring all necessary components, including the subwoofer, amplifier, and any mounting hardware. Choose a suitable location within your vehicle for the subwoofer, ensuring it aligns with your audio preferences and has adequate space. Prepare the area by removing any panels or covers to access the installation site. Safety first: use protective gear when handling electrical components and tools.
2. Wiring and Connection: Locate the amplifier’s input in your car’s dashboard or under the steering wheel. Run the subwoofer’s speaker wire from the amp to the sub, ensuring a secure connection. Connect the amplifier to the car’s battery for power. Test the wiring to verify proper functionality before proceeding. For DIY enthusiasts, this step may involve tracing routes through existing channels or installing new wires; professional installation often leverages factory-integrated systems.
Optimizing Performance: Tuning and Testing Techniques

Optimizing Performance involves fine-tuning your subwoofer for peak audio experience. After installing a car subwoofer in Toledo or setting up a DIY subwoofer installation, testing and adjusting settings are crucial. Start by connecting your subwoofer to an amplifier and playing test tones at various frequencies. This allows you to identify any issues like distortion or booms that might indicate incorrect wiring or poorly set parameters.
Professional subwoofer installations employ specialized tools and techniques for precise tuning. Using a decibel meter, measure the output of the sub at different points in the car’s interior to ensure uniform sound distribution. Additionally, adjusting the sub’s crossover settings in relation to your car’s audio system can significantly enhance overall performance, catering to both low-end bass and clear mid-range sounds.