Glass protectants transform shower and kitchen glass by repelling water, stains, and soap scum. Applied professionally or DIY-style, these coatings enhance appearance and reduce cleaning needs. Key steps for effective application involve surface preparation, even coverage using recommended techniques, and regular reapplication. Using proper amounts, mild cleaners, and a microfiber cloth prevents buildup and maintains protection against streaks and spots. SEO keywords: shower glass protectant application toledo, shower glass protectant application techniques, diy glass protectant application.
“Elevate your bathroom experience with effective tools for shower glass protectant application in Toledo. Understanding glass protectants—their types and benefits—is the first step to achieving a streak-free, easy-to-clean shower surface. From professional techniques to DIY guides, this article explores various methods. Learn about the right application techniques to ensure optimal results. Additionally, discover tips for maintenance and common mistakes to avoid, keeping your glass protectant lasting longer. Master the art of shower glass protectant application with our comprehensive guide, including SEO-driven insights on DIY and professional approaches.”
- Understanding Glass Protectants: Types and Their Benefits
- The Basics of Shower Glass Protectant Application
- DIY Approach: Step-by-Step Guide for Applying Glass Protectant
- Professional Techniques for Optimal Results
- Maintaining Your Glass Protectant: Tips and Common Mistakes to Avoid
Understanding Glass Protectants: Types and Their Benefits
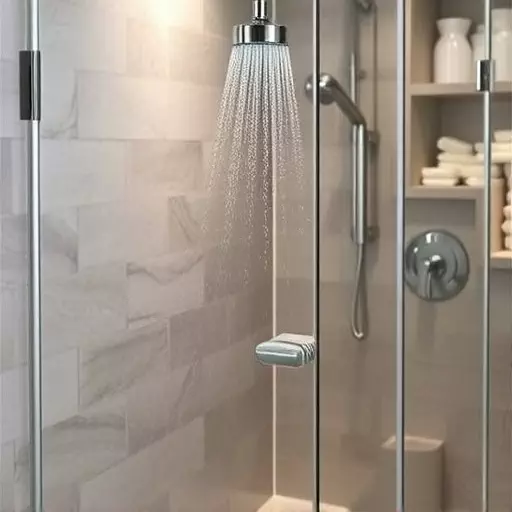
Glass protectants are specialized coatings designed to enhance the appearance and durability of glass surfaces, particularly in high-moisture environments like bathrooms and kitchens. These protectants form a protective barrier, preventing water spots, stains, and mineral deposits from forming on the glass. They also offer benefits beyond aesthetics, such as easy cleaning and improved surface hardness, reducing the need for frequent scrubbing.
There are various types of glass protectants available, including silicone-based, ceramic, and hydrophobic coatings. Each type offers unique advantages, catering to different needs. For instance, silicone protectants provide a durable, long-lasting solution that repels water and soap scum, making shower glass protection application in Toledo a breeze for DIY enthusiasts. Ceramic coatings, known for their hard, non-porous surface, offer exceptional smudge resistance and easy maintenance. Hydrophobic treatments create a superhydrophobic surface, causing water to bead up and roll off, effectively repelling stains. Whether applied professionally or as a DIY project using techniques like misting or wiping, these protectants can transform your glass surfaces, ensuring they stay pristine and hassle-free for longer periods.
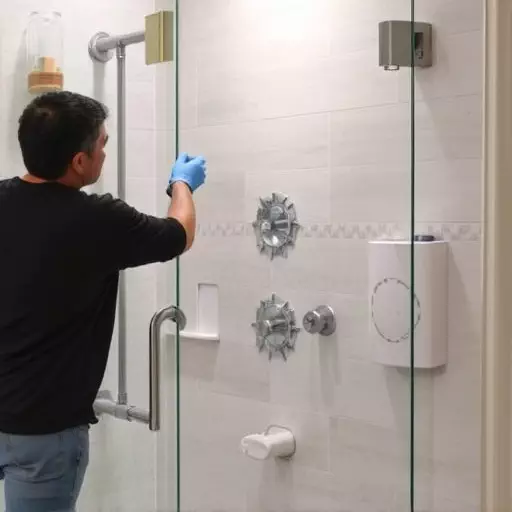
The Basics of Shower Glass Protectant Application
Applying a glass protectant to your shower is an easy DIY project that can transform your bathroom’s look and feel. It involves using specialized products designed to create a hydrophobic barrier on the glass surface, repelling water and making it easier to clean. This not only enhances the aesthetics of your shower but also provides practical benefits by preventing water spots and soap scum buildup.
When it comes to shower glass protectant application in Toledo or anywhere else, understanding the right techniques is key. Most products come with detailed instructions, but a general approach involves preparing the surface, applying the protectant evenly using a spray bottle or cloth, and then letting it dry completely before using the shower again. Regular maintenance, such as reapplying every few months, ensures optimal performance and longevity of the protective layer.
DIY Approach: Step-by-Step Guide for Applying Glass Protectant
Applying a glass protectant yourself can be a cost-effective way to keep your shower glass looking pristine. Here’s a DIY approach for applying shower glass protectant in Toledo, breaking down the process into simple steps:
1. Prepare Your Workspace: Start by gathering all necessary materials: glass protectant spray, microfiber cloths, rubber gloves, and a well-ventilated area. Ensure your workspace is clean to avoid any contaminants affecting the application.
2. Clean the Glass Surface: Before applying any protectant, thoroughly wash and dry the shower glass to eliminate any soap residue or fingerprints. A spotless surface ensures better adhesion of the protectant. Use a soft cloth to wipe down the glass, ensuring it’s completely dry before proceeding.
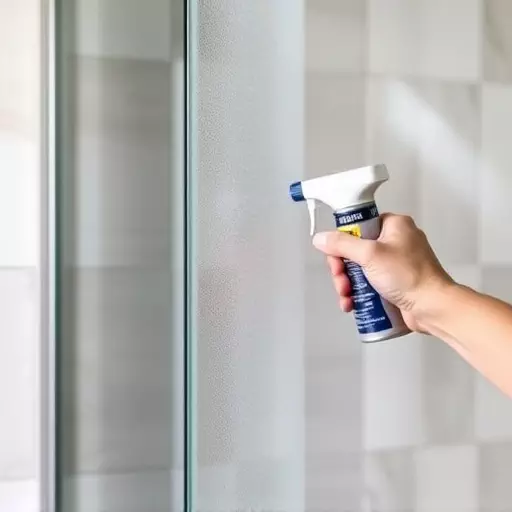
3. Spray the Protectant Equally: Hold the spray bottle at a distance recommended by the manufacturer and evenly spray the glass surface. Start from one side and work your way across, ensuring even coverage without any overspray. Repeat this process until the entire shower glass is coated with a thin layer of protectant.
4. Wipe Away Excess (if needed): Depending on the product, you may need to quickly wipe away any excess protectant using a clean microfiber cloth. This step helps create a streak-free finish and ensures no residue remains.
5. Let it Dry: Allow the protectant to dry completely according to the product instructions. Most glass protectants will provide an optimal finish within 30 minutes, but always check the packaging for specific drying times.
Professional Techniques for Optimal Results

Professional Techniques for Optimal Results
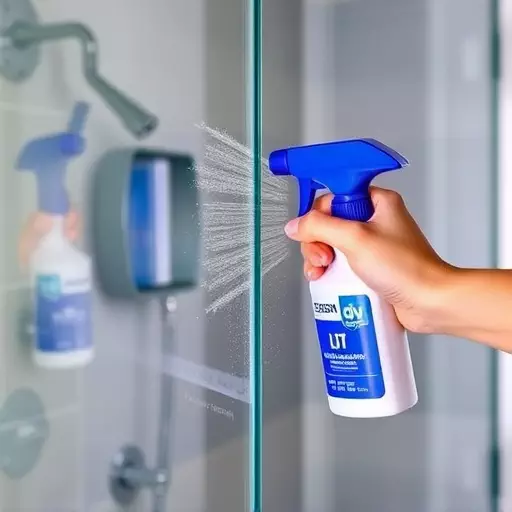
When it comes to shower glass protectant application in Toledo, professional techniques make all the difference. For optimal results, consider employing a spray-on method, ensuring even coverage with minimal effort. Start by cleaning the glass thoroughly to remove any residue or dirt. This step is crucial for the protectant to bond effectively. Once clean, apply a generous amount of high-quality glass protectant using a specialized applicator or spray bottle, making sure to cover all surfaces evenly.
For DIY enthusiasts, achieving a professional finish is possible with the right tools and attention to detail. Use a soft cloth to wipe away any excess product, leaving a streak-free, glossy surface. Regular maintenance is key; reapply the protectant every few months or as needed to maintain its effectiveness. These techniques not only enhance the appearance of your shower glass but also provide a durable barrier against water spots and stains, making cleaning easier and prolonging the life of your glass.
Maintaining Your Glass Protectant: Tips and Common Mistakes to Avoid

Maintaining your glass protectant application is key to ensuring it remains effective and enhances your shower experience for longer. One common mistake to avoid is over-applying the product, as this can lead to residue buildup that requires more effort to remove. Stick to the recommended amount specified by the manufacturer, focusing on even coverage rather than heavy layers. Additionally, avoid using harsh chemicals or abrasive scrubbers when cleaning your protected glass. These can damage the protective layer, negating its benefits and requiring a fresh application. Instead, opt for mild, pH-balanced cleaners designed for delicate surfaces like glass. Regular wiping down with a soft microfiber cloth will keep your shower glass protectant looking pristine and water repellency optimal.
Remember that proper technique during initial application is also crucial. Ensure the surface is clean and dry before applying the protectant evenly in even, overlapping strokes. Allow it to dry completely according to the product instructions before exposing the glass to water. This allows the protectant to form a strong bond with the glass surface for maximum protection against streaks, water spots, and soap scum. By following these simple tips, you can extend the life of your shower glass protectant application in Toledo and maintain a sparkling, streak-free shine for years to come.