Achieving a long-lasting water-repellent shower glass in Toledo requires understanding and optimizing the drying time of glass protectants. Factors like temperature, humidity, product formula, and application methods impact drying speed. For DIY applications, prepare the surface properly, use high-quality tools, apply thin coats in back-and-forth motions, and allow adequate drying time (30 minutes to an hour). Following these steps and considering specific application techniques ensures efficient and streak-free application of shower glass protectants in Toledo.
“Uncover the secrets behind the drying time of your shower glass protectant—a crucial step in maintaining a streak-free, sparkling bathroom. This comprehensive guide delves into the factors that dictate the speed of drying, offering valuable insights for both professional applicators and DIY enthusiasts. Learn the art of application techniques to achieve optimal results, avoid common mistakes, and discover tricks to expedite the process. Whether you’re in Toledo or beyond, master the shower glass protectant application like a pro.”
- Understanding Glass Protectant Drying Time: Factors Influencing Speed
- The Right Application Techniques for Optimal Results
- DIY Shower Glass Protectant Application: A Step-by-Step Guide
- Common Mistakes to Avoid During the Drying Process
- Tips and Tricks to Accelerate Drying Time
Understanding Glass Protectant Drying Time: Factors Influencing Speed
Understanding Glass Protectant Drying Time: Factors Influencing Speed
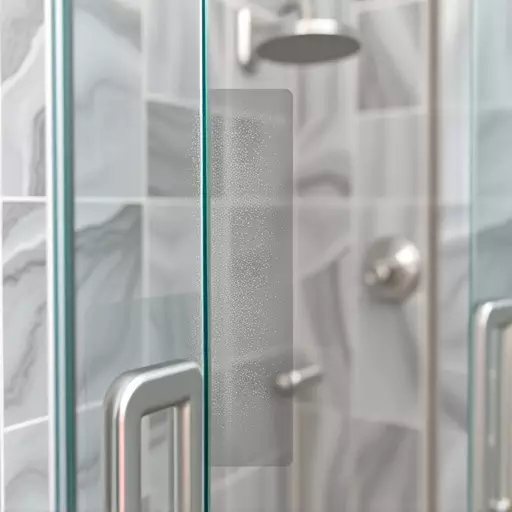
The drying time of a glass protectant is an essential factor to consider when applying it, especially for DIY enthusiasts tackling their shower glass in Toledo. The speed at which a protectant dries depends on various elements, all of which play a crucial role in achieving a long-lasting, water-repellent surface. One key factor is the ambient temperature and humidity levels; warmer and drier conditions accelerate the drying process, while cooler or more humid environments can extend it.
Additionally, the specific glass protectant formula and its composition significantly impact drying time. Some products are designed to dry faster, offering convenience for those looking to restore their shower glass promptly. Application techniques also come into play; proper surface preparation, including thorough cleaning and degreasing, ensures better adhesion and faster drying. Proper ventilation in the application area further aids in accelerating the process, as it reduces moisture buildup around the treated glass surface.
The Right Application Techniques for Optimal Results
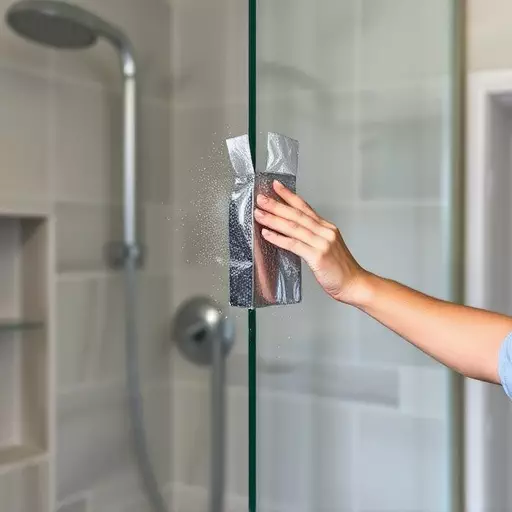
When applying a shower glass protectant in Toledo, there are specific techniques that will yield the best results. Start by ensuring your glass surfaces are clean and dry. Use a microfiber cloth to wipe down the glass, removing any soap residue or streaks from previous cleaning attempts. This step is crucial for optimal adhesion of the protectant.
For a DIY application, follow the product’s instructions carefully. Most shower glass protectants require light, even coats applied in back-and-forth motions using a clean microfiber towel. Avoid over-saturating the glass to prevent dripping or streaking. Work on one section at a time and let each layer dry slightly before moving on to ensure the best bond between coats.
DIY Shower Glass Protectant Application: A Step-by-Step Guide
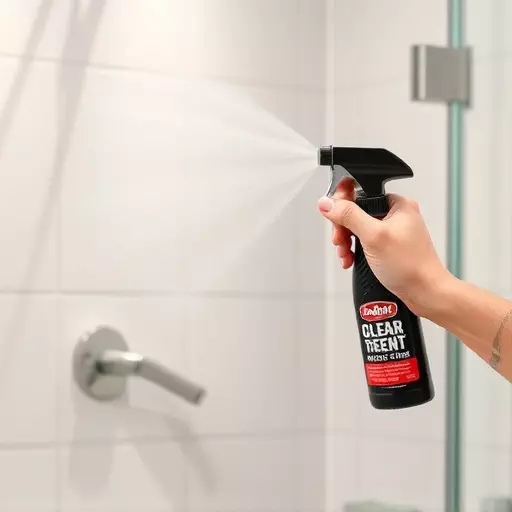
Applying a DIY shower glass protectant is an easy and cost-effective way to keep your glass surfaces looking pristine. Here’s a step-by-step guide tailored for Toledo residents looking to implement this method. Begin by gathering your supplies: a high-quality glass protectant spray, a clean microfiber cloth, and a rubber spatula (for scraping off any excess). Ensure your shower is clean and dry before starting. Spray the protectant evenly across the glass surface in long, even strokes, covering the entire area. Allow the initial coat to dry completely, usually within 3-5 minutes. Using the microfiber cloth, gently buff the protectant until it develops a glossy finish. For better protection, apply multiple thin coats rather than one heavy layer. This technique ensures optimal adhesion and a lasting shine. Finally, use the spatula to remove any residual film or streaks, ensuring a streak-free finish.
Common Mistakes to Avoid During the Drying Process

When applying a glass protectant to your shower in Toledo, it’s important to avoid common mistakes that can affect the drying process and the overall effectiveness of the product. One of the biggest blunders is not allowing enough time for the protectant to dry completely. Glass protectants typically require a specific drying window, often between 30 minutes to an hour, depending on the product and environmental conditions. Rushing the process or applying too many coats can lead to streaking, hazy residue, or even premature wear and tear.
Another mistake is using incorrect application techniques. This includes not cleaning the shower glass thoroughly before application, which traps dirt and oils that prevent the protectant from adhering properly. Skipping the pre-cleaning step or not following manufacturer instructions for applicator usage can also result in an uneven coat, leaving some areas protected while others are overlooked. DIY enthusiasts should invest in quality tools like microfiber cloths and ensure they follow the recommended application guidelines to achieve optimal results with their glass protectant application in Toledo.
Tips and Tricks to Accelerate Drying Time

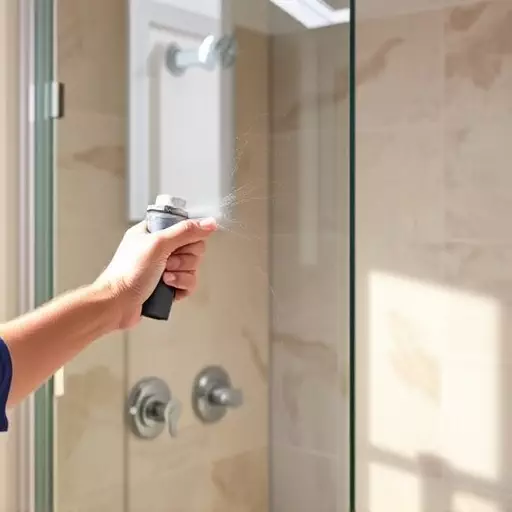
When applying a glass protectant to your shower, there are several tricks and tips that can help speed up the drying process, ensuring your protective layer sets faster. For a quicker application in Toledo, consider using a microfiber cloth or applicator pad designed for glass treatments—these materials promote even coating and efficient drying. Working in a well-ventilated area with minimal moisture in the air will significantly accelerate the drying time. Avoid direct contact with water or high humidity until the protectant is fully dry to prevent smudging or streaking.
For DIY enthusiasts, pre-cleaning the glass surface before application is key. Remove any soap residue, mineral deposits, or fingerprints that could impede the protectant’s bond. Additionally, applying a thin layer in multiple light coats rather than one heavy coat can help reduce drying time while ensuring optimal coverage.