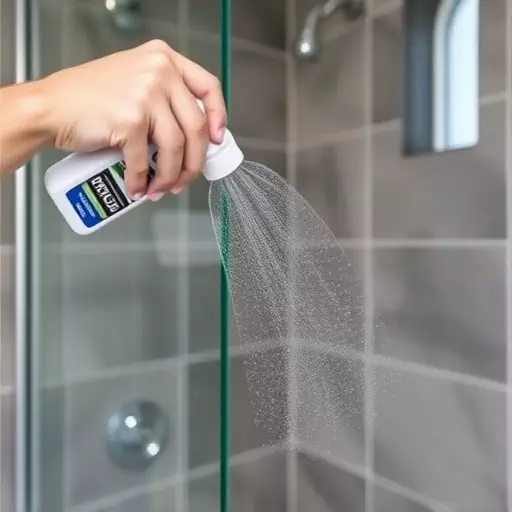
To apply a DIY shower glass protectant in Toledo effectively, start by thoroughly cleaning and drying your shower surfaces. Use a spray bottle to mist an even, thin layer of protectant solution, following manufacturer instructions. Avoid overspraying or skipping drying time to prevent streaking or peeling. Maintain good ventilation during application for optimal results, creating a glossy, long-lasting shield that repels water and soap scum.
Protecting your shower glass not only keeps it looking new but also repels water and makes cleaning a breeze. This guide delves into the world of shower glass protectant application, offering a DIY approach for those seeking a cost-effective solution. We’ll walk you through understanding the materials, preparing your shower, and step-by-step application techniques to ensure optimal results. Learn how to avoid common mistakes and keep your glass surface sparkling clean.
- Understanding Shower Glass Protectant: Materials and Preparation
- Step-by-Step Guide to DIY Application
- Tips for Optimal Results and Common Mistakes to Avoid
Understanding Shower Glass Protectant: Materials and Preparation

Shower glass protectants are specialized coatings designed to safeguard your shower walls and doors from water stains, mineral buildup, and soap scum. These protective layers are typically composed of advanced polymers or silicone-based formulas that create a durable, non-stick surface. Understanding the composition is key when considering DIY application techniques.
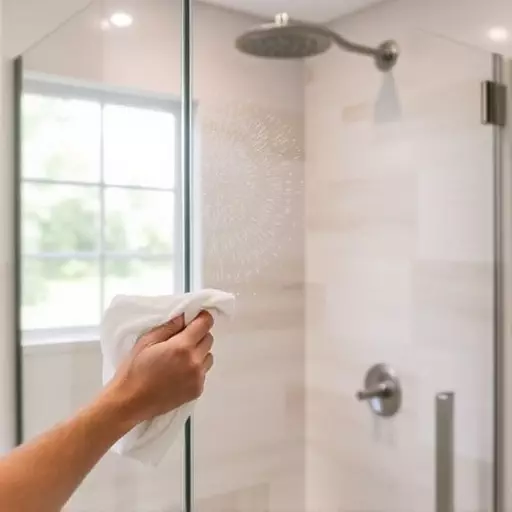
Before applying any glass protectant, ensure proper preparation of your shower area. Clean the glass thoroughly to remove any dirt, soap residue, or water spots. Drying the glass is essential, as it ensures the protectant adheres well. For best results, use a microfiber cloth to wipe down the surface, creating a smooth canvas for the protective layer.
Step-by-Step Guide to DIY Application
Applying a shower glass protectant yourself can be a cost-effective and efficient way to keep your glass surfaces looking pristine. Here’s a straightforward, step-by-step guide for a DIY shower glass protectant application in Toledo using proven techniques.
First, ensure your shower is clean and dry. This base level of cleanliness guarantees the protectant adheres properly. Next, gather your supplies: a spray bottle filled with the protectant solution, soft cloths or sponges, and rubber gloves for protection against chemical contact. Lightly mist the glass surface evenly, ensuring full coverage without creating puddles. Let the initial coat dry to the touch before applying a second, thin layer for maximum protection.
Tips for Optimal Results and Common Mistakes to Avoid
Tips for Optimal Results and Common Mistakes to Avoid
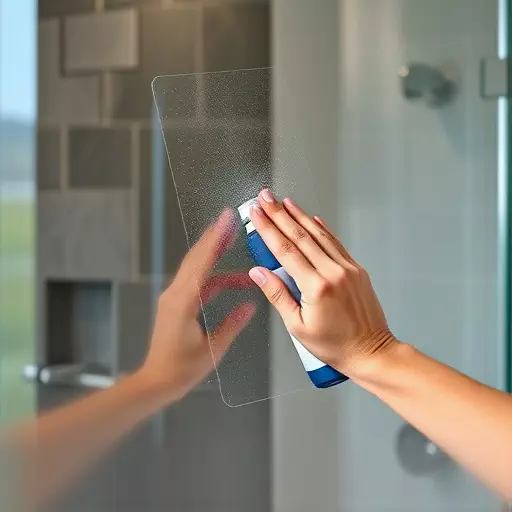
When applying a shower glass protectant in Toledo, follow these DIY application techniques for the best outcomes. Start by ensuring your shower is clean and free of any residue or soap scum. This step is crucial as it allows the protectant to adhere properly to the glass surface. Use a microfiber cloth or sponge to apply an even layer of the protectant, following the manufacturer’s instructions on coverage area and application methods. Remember that less is often more; a thin, consistent coat will provide better results than a thick, uneven layer.
Avoid common mistakes like skipping the cleaning step, using too much product, or not allowing enough drying time between applications. Over-applying can lead to a cloudy, streaked finish, while inadequate drying may result in the protectant peeling off prematurely. Additionally, maintain a well-ventilated area during application to prevent the buildup of chemical fumes. By steering clear of these pitfalls, you’ll achieve a long-lasting, glossy shield that keeps your shower glass looking pristine and repels water and soap scum effectively.