Choosing the right glass protectant for your Toledo shower involves understanding chemical and natural options, their application techniques, and reapplication frequency. Products range from commercial brands offering advanced formulas to DIY kits providing customizable solutions. Effective application requires even spraying or brushing, proper surface preparation, and adherence to product instructions. Regular cleaning and reapplication maintain protection against water spots, soap scum, and mineral deposits, ensuring streak-free glass in Toledo's humid climate.
Choosing the right glass protectant for your shower or bathroom can transform your space from a slick, modern oasis to a greasy, streaked nightmare. This comprehensive guide delves into the world of shower glass protectants, exploring types and benefits, essential factors to consider, popular market choices, DIY application techniques, and common mistakes to avoid. Learn how to maintain a sparkling, long-lasting protective barrier for your glass surfaces, ensuring a seamless, easy-to-clean experience in Toledo or anywhere.
- Understanding Glass Protectant: Types and Benefits
- Factors to Consider When Choosing a Glass Protectant
- Popular Glass Protectants in the Market Today
- DIY Shower Glass Protectant Application: Step-by-Step Guide
- Professional vs. DIY: Which Is Right for You?
- Common Mistakes to Avoid During Application
- Maintenance and Longevity of Your Glass Protectant
Understanding Glass Protectant: Types and Benefits
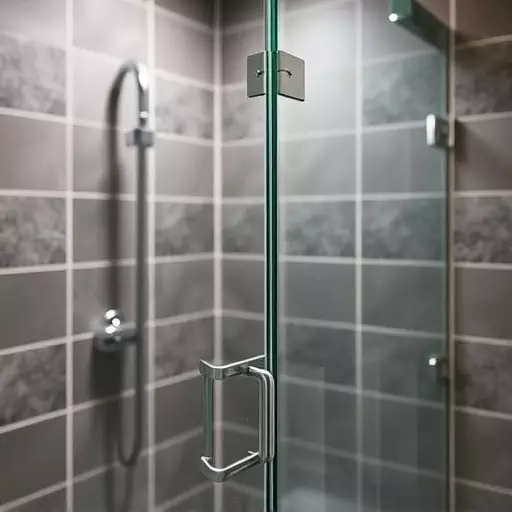
Choosing the right glass protectant is an essential step in maintaining clear and streak-free shower glass. Understanding the different types available and their benefits is key to making an informed decision. Glass protectants are designed to create a hydrophobic barrier on glass surfaces, repelling water and preventing mineral deposits, soap scum, and hard water stains.
There are several types of glass protectants, including chemical and natural options. Chemical protectants typically contain silicones or other synthetic compounds that bond with the glass surface, offering long-lasting protection. DIY applications often use common household ingredients like vinegar or citrus juices mixed with water as a natural alternative. These methods require regular reapplication but are cost-effective and environmentally friendly. The correct application technique involves even spraying or brushing to ensure complete coverage, especially in hard-to-reach areas of shower glass.
Factors to Consider When Choosing a Glass Protectant
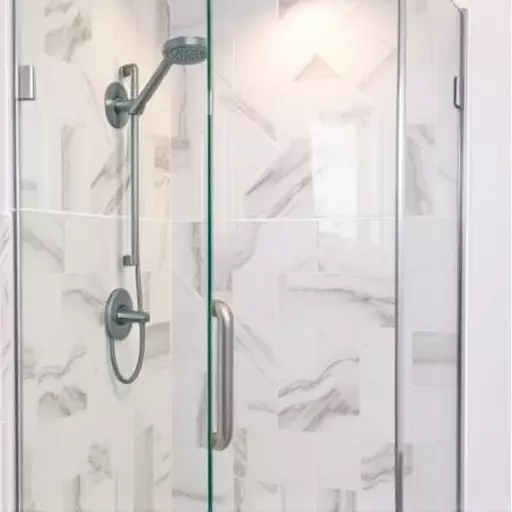
When choosing a glass protectant for your shower or bathroom fixtures, several factors come into play to ensure an effective and long-lasting solution. One of the primary considerations is understanding the application technique – whether it’s a spray-on product that requires even coverage or a gel that needs wiping off, each has its benefits and suited scenarios. For instance, spray-on protectants are ideal for quick applications and hard-to-reach areas, while gels might be better for more intricate patterns and designs.
Additionally, the compatibility with your surface is key; not all protectants are created equal when it comes to different glass types and finishes. Check if the product is suitable for textured or etched glass, as these may require specific formulations. Another essential factor is the protectant’s durability – you’ll want a product that forms a protective barrier capable of resisting water stains, mineral deposits, and soap scum, especially in high-moisture environments like showers. Moreover, consider ease of DIY application for those inclined to do it themselves, as some products are user-friendly, offering simple step-by-step instructions for optimal results.
Popular Glass Protectants in the Market Today
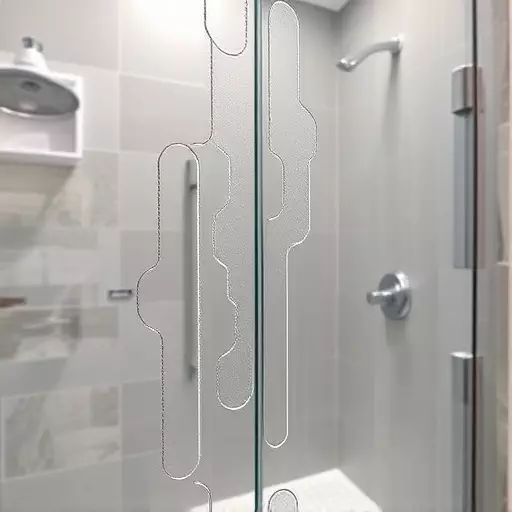
In today’s market, there are numerous glass protectants available, each boasting unique features and benefits for various applications, especially in areas like Toledo where maintaining clear and streak-free shower glasses is a priority. Two popular options include commercial brand protectants and DIY solutions. Commercial products often offer advanced formulas designed to resist water spots and mineral deposits, ensuring long-lasting protection for hard-to-reach areas like showerheads and windows. These are ideal for those seeking hassle-free application and immediate results.
On the other hand, DIY glass protectant kits have gained traction due to their cost-effectiveness and customization. These kits typically include a spray solution and applicators, allowing users to tailor the protection to their specific needs. Applying these protectants requires a bit more effort but can be highly satisfying for folks who enjoy tackling home improvement projects. Techniques involve spraying the solution onto the glass surface, allowing it to dry, and then polishing for a streak-free finish—a process that many find simple and rewarding, especially when it comes to keeping their shower glass in top condition in Toledo’s humid climate.
DIY Shower Glass Protectant Application: Step-by-Step Guide

Applying a DIY shower glass protectant is an effective way to keep your glass surfaces sparkling and streak-free. Here’s a step-by-step guide tailored for the unique challenges of shower glass in Toledo, Ohio.
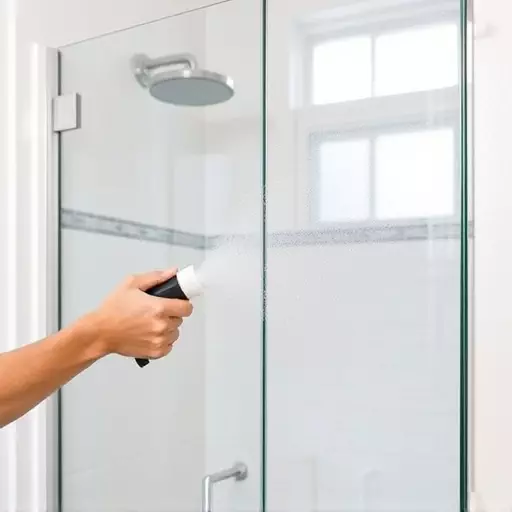
1. Preparation: Begin by gathering your supplies: a suitable glass protectant (look for products designed for bathroom or shower use), a clean microfiber cloth, and perhaps an old towel to protect your countertops. Ensure your shower is cool to the touch, as hot surfaces can cause the protectant to evaporate too quickly.
2. Application: Spray the glass protectant evenly over the entire shower glass surface. Start from the top and work your way down to ensure even coverage. For hard-to-reach areas, consider using a small sponge or brush attached to a long handle. Allow the product to sit for a few minutes, following the manufacturer’s instructions on drying time. Then, using the microfiber cloth, gently wipe away any excess protectant, leaving behind a clear, protective layer.
Professional vs. DIY: Which Is Right for You?

When it comes to applying a glass protectant to your shower, you have two main options: professional installation or DIY application. Choosing the right path depends on various factors, including your budget, time availability, and desired results.
Professional applicators offer precision and expertise, ensuring optimal coverage and long-lasting protection for your shower glass. They use specialized equipment and products designed specifically for this task, resulting in a flawless finish. This option is ideal if you seek convenience, want guaranteed quality, or have complex glass structures. However, it may come at a higher cost compared to doing it yourself. On the other hand, DIY applications provide cost savings and allow you to take control of the process. With the right tools and follow-up care, you can achieve a good level of protection. This method is perfect for those who enjoy hands-on projects, have simple glass surfaces, and want to save money on professional services. When considering either option, keep in mind that proper preparation and surface cleanliness are crucial for achieving the best results with any shower glass protectant application techniques.
Common Mistakes to Avoid During Application

When applying a shower glass protectant, there are some common mistakes to avoid if you want long-lasting results. One of the biggest blunders is not cleaning the glass thoroughly before application. Dust, soap residue, or even fingerprints can hinder the adhesion of the protectant, leading to spots and an uneven finish. Always start with a sparkling clean surface for the best outcome.
Another mistake is overspraying or under-spraying the solution. Using too much may result in a sticky residue, while not applying enough could leave streaks or unprotected areas. Follow the product’s instructions carefully regarding spray techniques and timing to ensure even coverage without excess. DIY enthusiasts should consider using a fine mist nozzle for better control during application, especially when dealing with Toledo’s diverse shower glass surfaces.
Maintenance and Longevity of Your Glass Protectant

Maintaining and prolonging the lifespan of your glass protectant is crucial for keeping your shower glass looking as good as new. Regular cleaning and proper application techniques play a significant role in this process. Start by using a mild, pH-balanced detergent and warm water to gently clean the glass surface. Avoid abrasive cleaners that can damage the protective coating. After cleaning, dry the glass thoroughly to prevent water spots that may compromise the protectant’s effectiveness.
For optimal results, consider reapplying your shower glass protectant every few months or as recommended by the manufacturer. DIY application is simple and can be done with a soft cloth or sponge, ensuring even coverage. Follow the instructions provided with your chosen product for the best outcomes, especially when it comes to shower glass protectant application techniques in Toledo.