Maintaining clean and streak-free shower glass in Toledo requires regular application of a protective coating. This DIY guide outlines simple steps for effective application, using tools like cloth or sponge to ensure even coverage without overlap. Proper preparation, including cleaning the glass, followed by drying and buffing, creates a durable barrier that repels water spots, bacteria, and mineral buildup, making shower cleaning easier.
- Understanding Shower Glass Protectant Coverage
- DIY Glass Protectant Application: Step-by-Step Guide
- Advanced Techniques for Optimal Protectant Results
Understanding Shower Glass Protectant Coverage
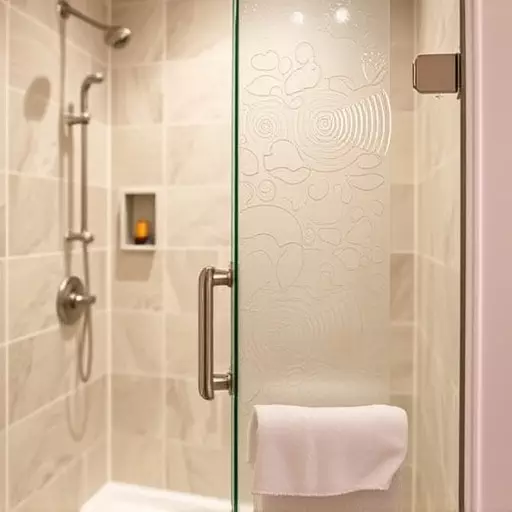
Shower glass protectant coverage is a crucial aspect when it comes to maintaining the clarity and hygiene of your shower space. Understanding how to apply the product effectively ensures optimal protection against water spots, minerals, and bacteria. The application process involves several techniques designed to create a durable, invisible barrier on the glass surface.
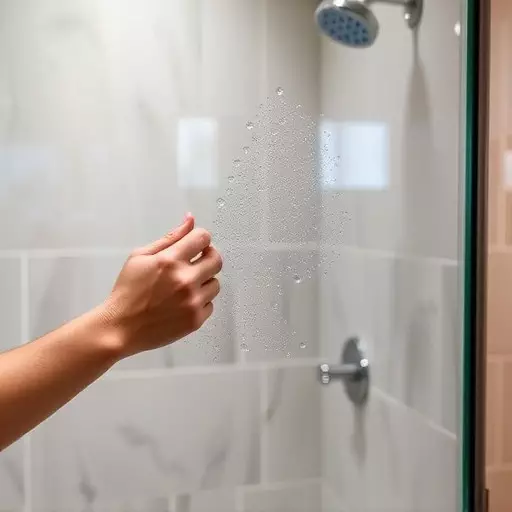
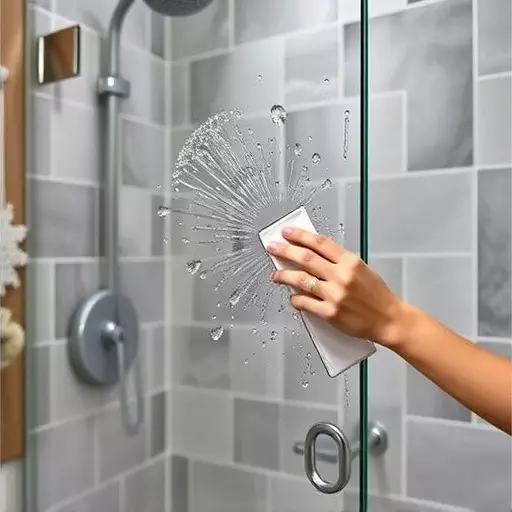
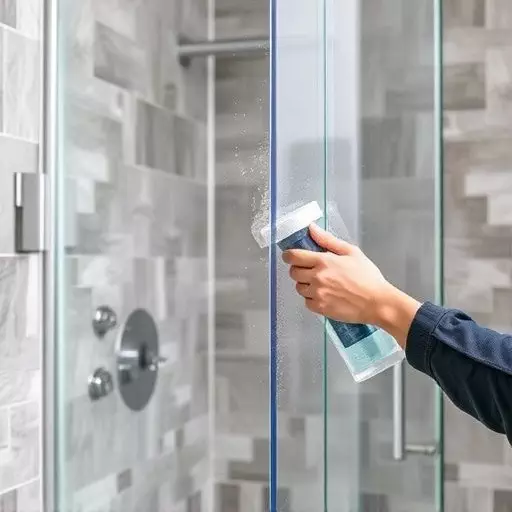
For a DIY approach, start by preparing the shower area, ensuring it is clean and free from any residue. Use appropriate tools like a soft cloth or sponge to apply the protectant, following the manufacturer’s instructions. This may include spraying the solution onto the glass, allowing it to dry, and then buffing for a glossy finish. Regular maintenance and reapplication are key to keeping your shower glass looking pristine, preventing stains, and making cleaning efforts more efficient.
DIY Glass Protectant Application: Step-by-Step Guide
Advanced Techniques for Optimal Protectant Results
To achieve optimal results with a shower glass protectant, it’s essential to employ advanced application techniques. One effective method is the diy glass protectant application, which allows for precise control over coverage. Start by preparing the surface of your Toledo shower glass by cleaning it thoroughly with a streak-free cleaner to ensure no residue or dirt obstructs the protective layer. This initial step is crucial, as it creates a clean canvas for the protectant to bond with effectively.
Once the glass is ready, use a soft microfiber cloth or applicator tools designed specifically for glass treatments. Apply the protectant in even, smooth strokes, covering the entire surface of the shower glass. Avoid overlapping or skipping areas, ensuring even distribution for maximum protection against water spots and stains. Different application techniques can be used depending on the product, but generally, a back-and-forth motion or circular motions work best to achieve a uniform coating.