Protective films for shower glass have become popular among homeowners and professionals alike, offering enhanced appearance and practical protection against water spots, soap scum, and hard water stains. Available in DIY rolls or pre-cut sheets for cost-effectiveness, and professional-grade options for superior durability, these coatings can be applied using various techniques to significantly improve the longevity and aesthetics of shower glass. Learn expert guidance on the best applications in Toledo to transform your shower from ordinary to extraordinary.
Protective films are transforming the way we maintain and enhance our shower glass. This comprehensive guide explores the world of shower glass protectants, offering insights for both DIY enthusiasts and professionals in Toledo. We delve into the benefits and diverse types of protective films, providing a step-by-step tutorial for easy do-it-yourself applications. Additionally, discover advanced techniques to achieve professional-grade results, ensuring your shower glass remains pristine and streak-free.
- Understanding Protective Films for Shower Glass: Benefits and Types
- DIY Shower Glass Protectant Application Step-by-Step Guide
- Advanced Techniques for Professional-Grade Shower Glass Protection
Understanding Protective Films for Shower Glass: Benefits and Types
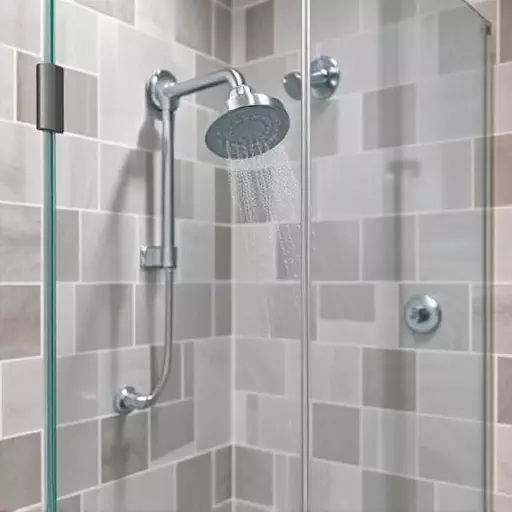
Protective films for shower glass have become an increasingly popular solution for homeowners and professional installers alike. These transparent coatings offer a range of benefits, from enhancing the appearance of your glass to providing practical protection against daily use. When applied correctly, protective films can create a durable barrier that prevents water spots, soap scum, and hard water stains, making shower cleaning easier and more efficient.
There are various types of protective films available on the market, each with unique characteristics. Some are designed for DIY application, allowing homeowners to easily add this feature to their bathrooms without professional help. These do-it-yourself (DIY) glass protectants typically come in rolls or pre-cut sheets, offering a cost-effective solution. Professional-grade protective films, on the other hand, often provide superior durability and an extra layer of protection, making them ideal for commercial installations or areas with high traffic. The application techniques may vary between these categories, but both can significantly improve the longevity and aesthetics of your shower glass.
DIY Shower Glass Protectant Application Step-by-Step Guide
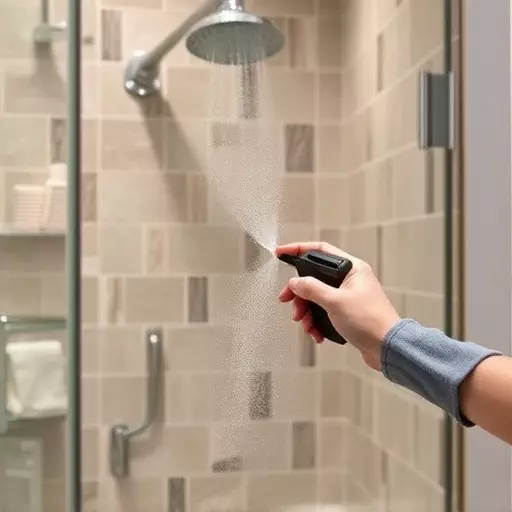
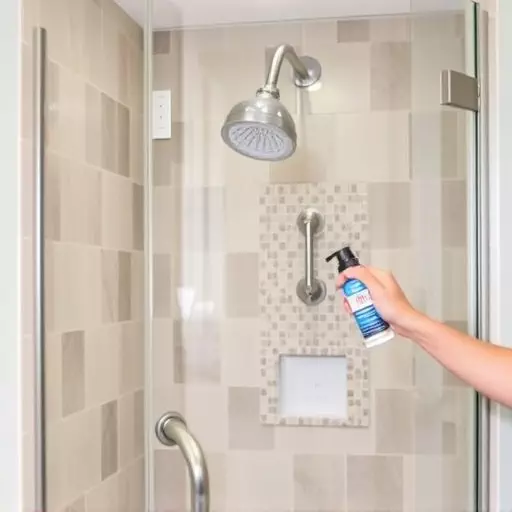
Applying a protective film to your shower glass is an easy do-it-yourself (DIY) project that can significantly extend the life of your glass and keep it looking pristine. Here’s a step-by-step guide for achieving a professional finish, tailored specifically for Toledo residents interested in DIY shower glass protectant application.
Begin by preparing your work area. Gather all necessary materials: a high-quality shower glass protectant film, a clean cloth, isopropyl alcohol, and a roller or applicator pad designed for this purpose. Ensure the surface of the glass is free from dust, dirt, or any residue. Clean the glass thoroughly with a mild detergent and warm water, then dry it completely using the cloth. Apply a thin layer of isopropyl alcohol to the glass to create a smooth base for the protectant film. Carefully unroll the protectant film, ensuring it aligns perfectly with the shower glass’s contour. Using the roller or pad, smoothly apply pressure over the entire surface of the film, eliminating any air bubbles and ensuring even adherence. Once applied, trim any excess film using a sharp pair of scissors or a utility knife to achieve a precise, clean edge.
Advanced Techniques for Professional-Grade Shower Glass Protection