Car sound deadening enhances interior comfort by reducing noise for urban and highway drivers. DIY methods use kits with acoustic foam for simple installations, while professionals offer tailored, precise setups for optimal performance. For basic applications, DIY kits are suitable, but professionals use high-quality materials and tools for complex interiors. Target problem areas like doors, dashboards, and headliners, considering skill level to choose between DIY or professional installation for a quieter, more serene driving experience in models like the Toledo.
“Transform your car’s interior with acoustic foam—the secret weapon for achieving optimal sound deadening. This comprehensive guide explores the art of enhancing your driving experience through effective car sound deadening techniques. From understanding the basics of noise reduction to choosing the perfect foam for your vehicle, we cover it all. Learn about the advantages of DIY installation versus professional services and master the steps to install acoustic foam yourself or hire experts. Discover how to silence road noises with our expert tips on car sound deadening in Toledo.”
- Understanding Car Sound Deadening: The Basics
- Benefits of Acoustic Foam for Cars
- DIY vs Professional Installation: Which is Right for You?
- Choosing the Right Acoustic Foam for Your Vehicle
- Step-by-Step Guide to Installing Acoustic Foam in Your Car
Understanding Car Sound Deadening: The Basics

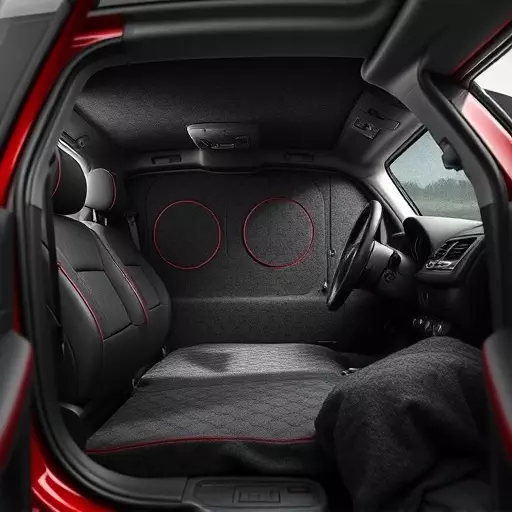
Car sound deadening is a process that involves reducing unwanted noise within a vehicle’s interior. It’s particularly beneficial for those who drive in urban areas or frequently experience highway traffic, as it significantly enhances the overall comfort and enjoyment of your ride. The basic principle behind car sound deadening Toledo lies in using specialized materials to absorb high-frequency sounds, which are responsible for much of the noise we perceive in our cars.

Both DIY car sound deadening and professional installation methods are available. For those interested in a hands-on project, there are various kits on the market offering step-by-step instructions for treating specific areas of your car’s interior with acoustic foam or other sound-absorbing materials. Alternatively, professional sound deadening installation provides a guaranteed, precise fit and can be tailored to address specific noise issues unique to your vehicle.
Benefits of Acoustic Foam for Cars

Acoustic foam for cars offers a multitude of benefits that transform your driving experience. One of its primary advantages is the significant reduction in vehicle noise, particularly for those who enjoy listening to music or podcasts at higher volumes. By acting as a barrier between the interior and exterior, sound deadening foam absorbs high-frequency sounds, minimizing echo and reverberation. This results in a calmer, more comfortable cabin environment.
For DIY enthusiasts, installing car sound deadening yourself is an achievable project. Using products designed for this purpose, such as acoustic foam kits available for popular models like the Toledo, allows for precise placement and tailored coverage. Alternatively, professional installation ensures optimal performance and a seamless finish. Either way, incorporating acoustic foam into your vehicle enhances both the audio quality of your favorite tunes and the overall driving experience by blocking out unwanted external noises.
DIY vs Professional Installation: Which is Right for You?

When it comes to enhancing your car’s acoustic environment, choosing between DIY and professional installation for sound deadening foam is a significant decision. Many enthusiasts opt for DIY methods, attracted by the cost savings and creative freedom. It allows them to customize their vehicle’s interior, tailoring the sound absorption to their preferences. However, professional installation offers several advantages, especially for those without experience in automotive modifications. Experts can ensure precise placement of acoustic foam, maximizing its effectiveness in reducing unwanted noise.
For the DIY approach, car owners can find kits and tutorials for installing sound deadening foam themselves. This option is ideal for simple installations and those seeking a hands-on project. But for complex car interiors or wanting optimal performance, professional installation is recommended. They have access to high-quality materials and tools, guaranteeing a seamless fit and superior noise reduction, transforming your car from a noisy space into a serene, acoustically balanced haven.
Choosing the Right Acoustic Foam for Your Vehicle

When it comes to choosing the right acoustic foam for your vehicle, consider both your budget and desired outcome. For a DIY car sound deadening project in Toledo, opt for easy-to-install panels designed specifically for cars. These are usually made from safe, non-toxic materials and come in various densities to suit different noise reduction needs. If you’re looking for the best results, professional sound deadening installation is recommended. Experts can access hard-to-reach areas, ensuring a more comprehensive soundproofing job. They also have the tools to measure and cut foam precisely, resulting in a neat finish that enhances your car’s interior aesthetics.
For optimal performance, focus on areas prone to echo or noise, such as doors, dashboards, and headliners. In terms of DIY vs professional installation, consider your skill level and time availability. While it might be more cost-effective to do it yourself, professional installation guarantees a quieter ride with improved audio clarity. So, whether you choose to tackle the project yourself or seek expert help, selecting the right acoustic foam tailored to your vehicle’s needs is key to achieving that ideal listening experience on the road.
Step-by-Step Guide to Installing Acoustic Foam in Your Car

Installing acoustic foam in your car is a DIY project that can significantly improve the vehicle’s sound quality and comfort. Here’s a step-by-step guide to help you transform your ride with professional Car Sound Deadening Toledo.
1. Preparation: Start by cleaning the interior surfaces where you’ll be installing the foam. Ensure they’re free of dust, dirt, or any residue. Measure the area you want to cover and cut the acoustic foam to fit precisely using a sharp knife or scissors. Gather all necessary tools, including a utility knife, adhesive suitable for cars, and possibly some tape for secure placement.
2. Application: Apply an even layer of adhesive to the car surfaces where the foam will be attached. Position the foam carefully, ensuring it fits snugly without gaps. Use the utility knife to trim any excess foam and smooth out any bubbles or wrinkles. Allow the adhesive to set according to the manufacturer’s instructions before adding additional layers if needed for better sound absorption. This process may require some patience, but the result will be a quieter, more comfortable driving environment.