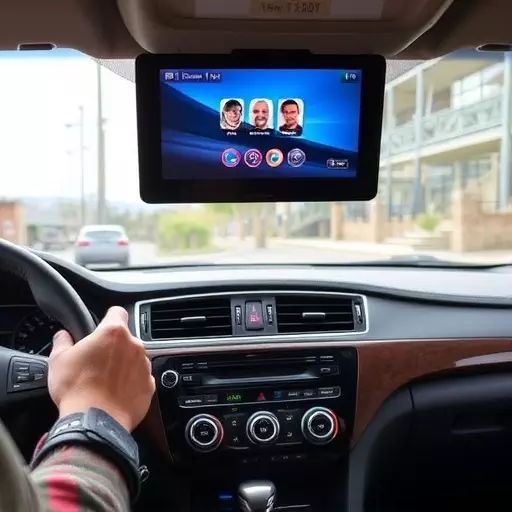
In-dash video installations have become popular, requiring compatibility with vehicle make and model. DIY enthusiasts can save costs but risk suboptimal results, while professionals offer guaranteed quality and expert handling of complex setups. Mistakes to avoid include poor planning, incorrect equipment choice, inadequate wiring, and neglecting vehicle compatibility checks. Key steps involve matching equipment with the vehicle, gathering components, safely removing existing parts, installing the new unit, connecting wiring accurately, and reattaching the battery terminal. Proper care after installation includes regular connection checks, damage prevention, cleaning, software updates, and professional maintenance for optimal performance and longevity.
“Transforming your vehicle’s dashboard with an in-dash video installation can enhance your driving experience significantly. Whether you opt for DIY or professional services, understanding the process and common pitfalls is key to success. This comprehensive guide explores ‘DIY vs Professional’ considerations, highlights ‘Common Mistakes to Avoid’, offers ‘Equipment Selection Tips’, provides a detailed ‘Installation Process Walkthrough’, and shares ‘Post-Installation Optimizing Tricks’. For those seeking an in-dash video installation in Toledo, this resource equips you with the knowledge to make informed decisions.”
- Understanding In-Dash Video Installations: A Comprehensive Overview
- DIY vs Professional: Weighing the Pros and Cons
- Common Mistakes in In-Dash Installations: What to Avoid
- Choosing the Right Equipment for Your Vehicle
- Step-by-Step Guide: Navigating the Installation Process
- Ensuring Optimal Performance: Post-Installation Tips and Tricks
Understanding In-Dash Video Installations: A Comprehensive Overview
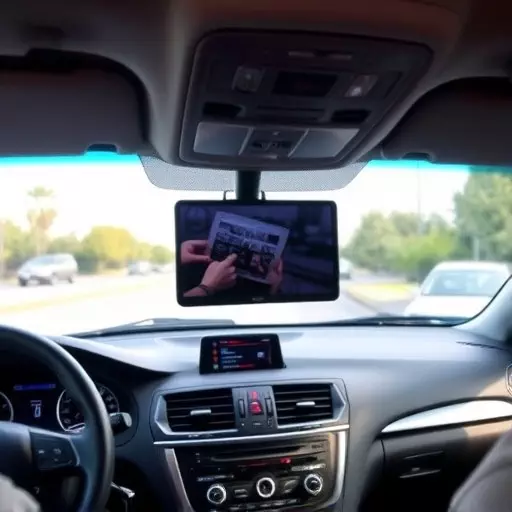
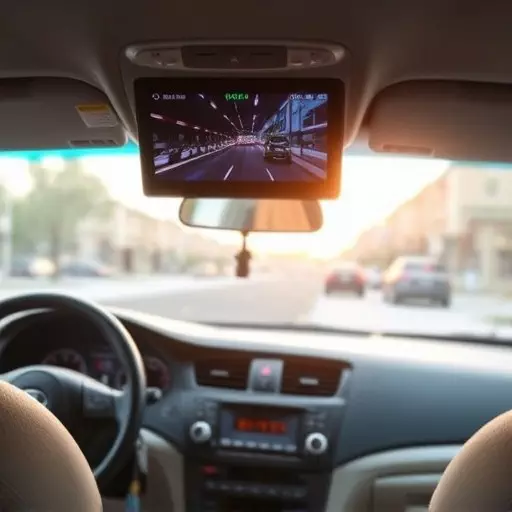
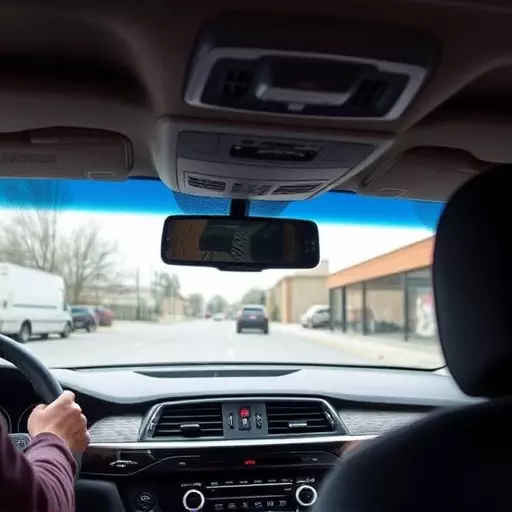
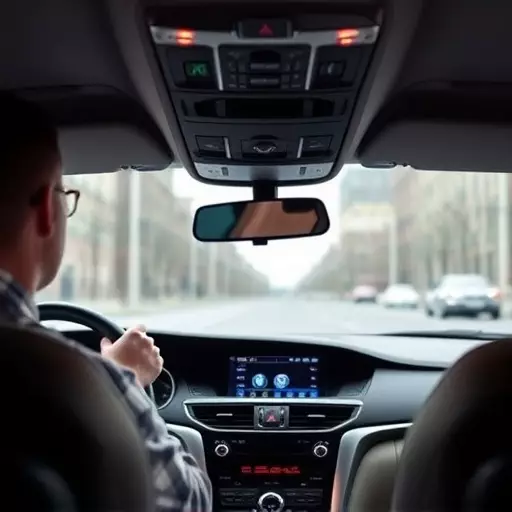
In-dash video installations have become increasingly popular as technology advances and vehicle manufacturers incorporate more sophisticated infotainment systems. Whether it’s a DIY project for a tech-savvy car enthusiast or a professional setup in a dealership, understanding the process is key to achieving a seamless and enjoyable experience. The in-dash video installation Toledo refers to integrating a new display into an existing dashboard, often replacing the stock radio with a more advanced multimedia system.
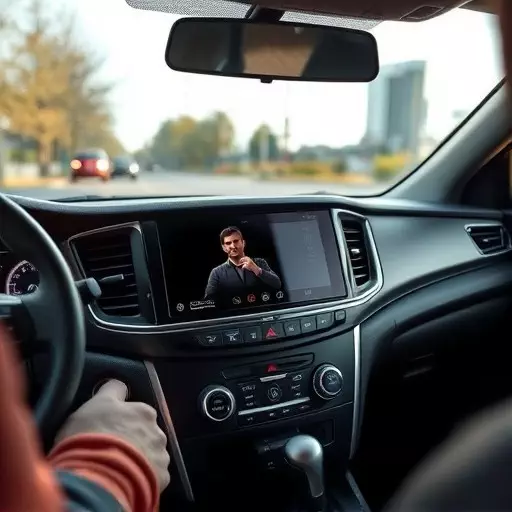
A comprehensive overview of this process involves recognizing the various components and their interactions. This includes the display unit itself, which can range from simple screens to high-resolution, touch-sensitive monitors; audio systems for crystal-clear sound; and connectivity options such as Bluetooth, USB, and HDMI. For those considering a DIY in-dash video installation, it’s essential to match the chosen components with their vehicle’s make and model, ensuring compatibility and a secure fit. On the other hand, professional installations leverage specialized tools and expertise to guarantee precision, leading to a cleaner, more refined finish—a crucial aspect for those seeking a luxurious and modern interior aesthetic.
DIY vs Professional: Weighing the Pros and Cons
When considering an in-dash video installation for your vehicle, one key decision is whether to go DIY or hire a professional. Doing it yourself (DIY) can be appealing due to cost savings and the sense of accomplishment that comes with completing a project independently. Online tutorials and accessible tools make many car enthusiasts feel equipped to tackle this task. However, DIY installations may lead to suboptimal results if not done correctly. In-dash systems require precise fitting and compatibility checks that can be tricky for amateurs.
On the other hand, professional in-dash video installation services offer expertise and guaranteed quality. These specialists have the training and tools to handle complex setups, ensuring your system is seamlessly integrated without compromising your vehicle’s aesthetics or performance. While this route might be more expensive, it guarantees a flawless experience. In Toledo, many automotive shops provide these services, catering to both DIY enthusiasts looking for guidance and those who prefer a hassle-free, high-quality installation.
Common Mistakes in In-Dash Installations: What to Avoid
When it comes to installing an in-dash video system, whether you’re opting for a DIY approach or hiring professionals, there are several common mistakes to avoid. One of the primary pitfalls is poor planning and preparation. This can include not assessing your vehicle’s compatibility with the desired in-dash unit, neglecting to gather all necessary tools and parts, or jumping into the installation without understanding the system’s complexity. Such hasty decisions can lead to faulty installations and potential damage to your vehicle’s interior.
Another frequent error is selecting an inappropriate in-dash unit for your needs. Different models cater to various features and screen sizes, so misjudging your requirements might result in a less-than-satisfactory viewing experience. Additionally, inadequate wiring or incorrect connections can cause audio and video glitches, emphasizing the importance of following manufacturer guidelines and seeking expert advice when needed. Remember, a professional in-dash video installation in Toledo ensures optimal performance and avoids these common pitfalls.
Choosing the Right Equipment for Your Vehicle

When considering an in-dash video installation, be it a DIY project or a professional service, it’s crucial to select equipment compatible with your vehicle make and model. Not all in-dash systems are created equal; each car has unique features and specifications that determine what hardware will fit seamlessly. For instance, some vehicles may require specific adaptors or interfaces to ensure the new system integrates smoothly with existing components like navigation, audio, and dash controls.
For a successful installation, whether you’re based in Toledo or any other location, it’s essential to research your vehicle’s requirements. This includes understanding the size and shape of the in-dash space, connectivity options (like Bluetooth and USB), and compatibility with existing features. Choosing the right equipment from the get-go can save time, effort, and potential frustration down the line. For DIY enthusiasts, this might mean thoroughly reading product descriptions and watching installation guides before making a purchase. Professional installers, meanwhile, should be well-versed in tailoring solutions for various vehicle types to ensure customer satisfaction.
Step-by-Step Guide: Navigating the Installation Process

Installing an in-dash video system can be a complex process, but with a systematic approach, it can be accomplished successfully, whether you opt for a DIY project or seek professional assistance. Here’s a concise step-by-step guide to navigating the installation process:
Begin by gathering all necessary components, including the new in-dash unit, wiring harness, and any additional accessories like sensors or cameras. Ensure your vehicle is parked in a well-lit area with adequate space around it for easy access. Next, disconnect the negative terminal of your car’s battery to prevent accidental starts during installation. With safety as a priority, locate the existing audio/video components and carefully remove them, taking note of their positions and connections. This step requires precision to ensure a seamless reinstallation later. Now, prepare the in-dash unit by aligning it with the dashboard opening, marking any adjustments needed for a flush fit. Use this opportunity to test the unit’s functionality before proceeding. Once ready, secure the in-dash installation with provided brackets or screws, ensuring it is firmly in place. Finally, connect the wiring harness carefully, following the vehicle’s schematic for proper pin assignments, and reattach the battery terminal.
Ensuring Optimal Performance: Post-Installation Tips and Tricks

After successfully completing your in-dash video installation in Toledo, whether it was a DIY project or done by a professional, there are several steps to ensure optimal performance and longevity of your new system. First, double-check all connections to prevent any loose wires that could lead to intermittent issues or complete system failure. Ensure all components are securely fastened according to the manufacturer’s guidelines.
Regular maintenance is key; keep the area around the in-dash unit clean and free from debris. Periodically check for any signs of damage or wear, especially on cables and connectors. Keeping your installation up to date with software patches and updates can also improve performance and security. Remember, a professional in-dash video installation in Toledo requires ongoing care to maintain its peak functionality.