This guide provides a comprehensive overview of car amplifier installation in Toledo, catering to both DIY enthusiasts and professionals. It details the process for installing a Class AB amplifier, emphasizing proper placement, tool gathering, electrical safety precautions, and wiring routing. While DIY installation is possible, professional services are recommended for optimal performance tailored to your vehicle. Regular maintenance, including cleaning and ventilation, ensures sustained high-quality sound. Using high-quality audio cables and connectors enhances the overall listening experience, regardless of installation method. Key focus areas: car amplifier installation Toledo, diy amplifier installation, professional amplifier installation.
“Unleash the power of premium sound with a Class AB amplifier installation. Whether you’re a DIY enthusiast or seeking professional expertise, this guide caters to all. We explore the fundamentals of Class AB amplifiers and their unique advantages. For those considering a do-it-yourself approach, we offer insights into the process. Alternatively, discover why professional installation can optimize your audio experience. From selection to post-install care, this comprehensive article ensures your Toledo car amplifier setup delivers the ultimate sound quality.”
- Understanding Class AB Amplifier Basics: A Comprehensive Overview
- DIY vs Professional Installation: Weighing Your Options
- Step-by-Step Guide: Installing a Class AB Amplifier in Your Vehicle
- Post-Installation Tips and Maintenance for Optimal Sound Quality
Understanding Class AB Amplifier Basics: A Comprehensive Overview
Class AB amplifiers are a popular choice for both car audio systems and DIY amplifier installations. Understanding their basics is crucial for anyone considering a professional or do-it-yourself (DIY) amplifier installation in Toledo, Ohio. These amplifiers operate with a push-pull design, where two transistors work together to amplify the input signal. This architecture ensures efficient power transfer, resulting in cleaner and clearer audio output compared to other types.
When it comes to car amplifier installations, Class AB offers an optimal balance between performance and efficiency. They are designed to deliver high power while maintaining low distortion levels, making them ideal for enhancing sound systems in vehicles. For those opting for a DIY approach, understanding the circuit’s functionality is essential. Proper installation involves connecting the amplifier to a suitable power source, speaker system, and signal inputs, ensuring optimal audio performance and preserving the integrity of the original equipment.
DIY vs Professional Installation: Weighing Your Options
Step-by-Step Guide: Installing a Class AB Amplifier in Your Vehicle
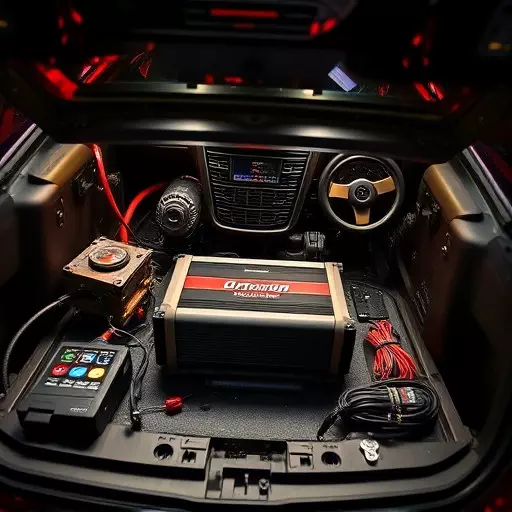
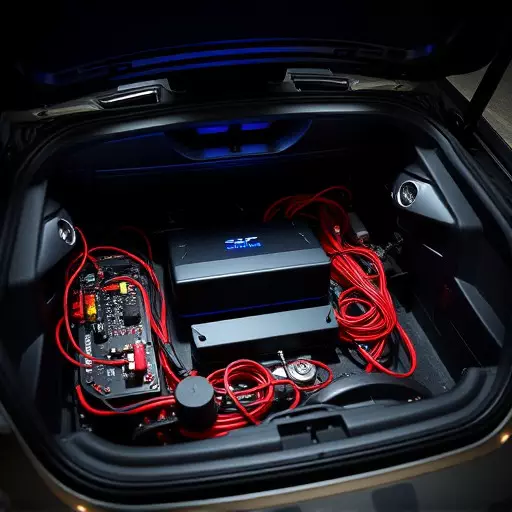
Installing a Class AB amplifier in your vehicle can enhance your audio experience significantly. Here’s a step-by-step guide for both DIY enthusiasts and those considering professional help, focusing on a smooth process tailored for car amplifier installation in Toledo or anywhere else. Begin by locating an appropriate space within your vehicle’s firewall for the amplifier. Ensure it’s secure and well-ventilated to prevent overheating. Next, gather all necessary tools: wiring kit, soldering iron, crimping tool, and connectors. Disconnect the battery to ensure safety during installation. Remove any existing amplifier or components in the way, tracing wires carefully to avoid damage.
Identify the positive and negative terminals for your new Class AB amplifier, typically labeled +12V and GND. Route the power and signal wires through pre-drilled holes or accessible areas, securing them with tie wraps or cable clamps. Connect the amplifier to the vehicle’s electrical system, following manufacturer guidelines precisely. Test the connections for any loose ends or signs of damage. Once all components are in place, reattach the battery and fire up your car to ensure everything functions optimally. For best results, consider professional amplifier installation to ensure precision, safety, and optimal performance tailored to your vehicle’s unique electrical architecture.
Post-Installation Tips and Maintenance for Optimal Sound Quality

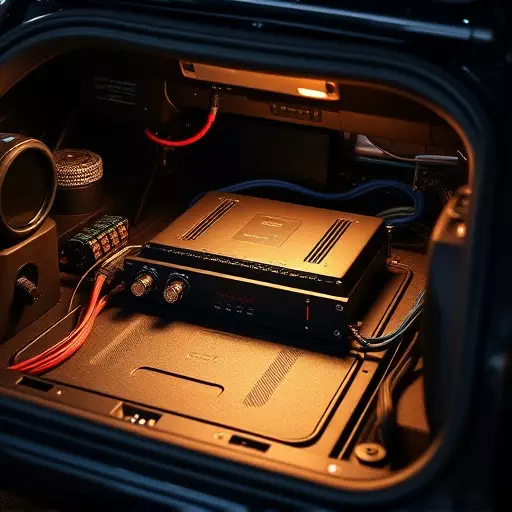
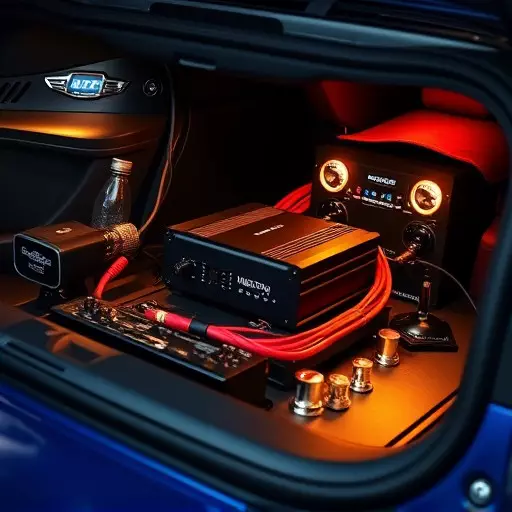
After successfully installing a Class AB amplifier in your vehicle, there are several tips and maintenance practices to ensure optimal sound quality. Regular cleaning of the amplifier and its components is essential, as dust and debris can accumulate over time, affecting performance. Use a soft cloth or brush to gently wipe down the exterior and ensure all connections are secure.
Additionally, keeping your amplifier cool is vital for maintaining its longevity and sound output. Ensure proper ventilation by checking that airflow isn’t obstructed. Regularly check for loose wires and connections, as these can cause signal loss or even damage the system. Lastly, consider using high-quality audio cables and connectors to maintain signal integrity throughout the installation, enhancing the overall listening experience during your DIY amplifier installation or professional setup in Toledo.