Class D amplifiers offer significant advantages in professional audio systems due to their compact size, lightweight design, and efficient power output. For car and DIY installations in Toledo, professional installation ensures optimal performance, safety, and customization tailored to individual vehicles. Essential tools and materials for successful DIY or professional car amplifier installation include high-quality screwdrivers, wire strippers, heat shrink tubing, and insulation tape. The process involves proper wiring, grounding, mounting, and ventilation while addressing challenges like space constraints and heat management. Regular maintenance, including cleaning and cooling, is crucial to prolonging the lifespan of both DIY and professionally installed car amplifier systems in Toledo.
“Looking to boost your audio experience with a Class D amplifier install in Toledo? This comprehensive guide covers everything from demystifying these powerful amplifiers to mastering the art of professional or DIY setup. We’ll walk you through essential tools, step-by-step instructions for a seamless Toledo car amplifier installation, and maintenance tips to ensure optimal performance. Discover the benefits of expert installation versus DIY, and learn how to navigate common challenges. Elevate your sound system today!”
- Understanding Class D Amplifiers: A Comprehensive Overview
- Benefits of Professional Installation vs DIY for Car Amplifier Setup
- Essential Tools and Materials Required for a Successful Install
- Step-by-Step Guide to Installing a Class D Car Amplifier in Toledo
- Common Challenges During Installation and How to Overcome Them
- Maintenance Tips and Best Practices for Longevity of Your Amplifier System
Understanding Class D Amplifiers: A Comprehensive Overview
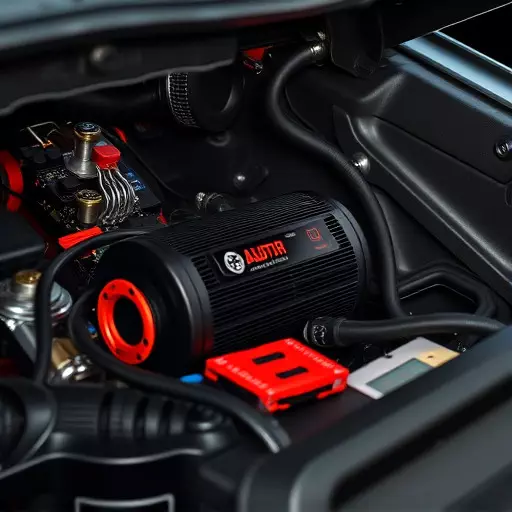
Class D amplifiers are a type of electronic component that has revolutionized the audio enhancement industry, particularly in the context of car amplifier installation Toledo and DIY amplifier setup. Unlike traditional analog amplifiers, Class D amps use digital signal processing to convert and amplify audio signals, offering significant advantages in terms of efficiency and power output. This technology is now widely used in professional amplifier installation due to its ability to deliver high-quality sound with reduced heat generation.
In the realm of car audio systems, these amplifiers are highly sought after for their compact size, lightweight design, and impressive power-to-weight ratio. When installing a Class D amp, whether it’s a DIY project or handled by professionals, the focus should be on proper wiring, heat dissipation, and ensuring compatibility with the existing audio components. This comprehensive overview aims to educate enthusiasts and professionals alike about the unique features and considerations of Class D amplifier installation, enabling them to make informed decisions when enhancing their audio systems.
Benefits of Professional Installation vs DIY for Car Amplifier Setup
Many enthusiasts opt for do-it-yourself (DIY) car amplifier installation in Toledo, believing it to be a cost-effective solution. While this approach can be appealing, professional installation offers several significant advantages. Expert technicians ensure optimal performance and safety by accurately routing wires, connecting components, and addressing potential issues that may arise during the setup process.
Professionals also provide valuable knowledge and experience, ensuring your amplifier is tailored to your vehicle’s unique requirements. This includes proper grounding, power distribution, and signal optimization. With their precision and attention to detail, a professional installation can maximize your car amplifier’s potential, delivering superior audio quality and ensuring the longevity of your system.
Essential Tools and Materials Required for a Successful Install

When undertaking a car amplifier installation in Toledo or anywhere else, having the right tools and materials is crucial for a successful DIY project or ensuring professional results. For a basic setup, you’ll need some essential items like a set of high-quality screwdrivers (both flathead and Phillips), wire strippers, soldering iron with flux, heat shrink tubing, and insulation tape. These tools enable precise and secure connections, which are vital for maintaining the performance and reliability of your amplifier.
For a more advanced or professional installation, consider adding to your kit: a voltmeter for checking power levels, crimping tools for connecting speaker wires, and a range of terminal connectors. Additionally, noise-reducing materials like isolation pads can significantly improve the overall audio quality by minimizing vibrations and electrical interference. Choosing the right components and using them effectively is key to unlocking the full potential of your car amplifier, whether it’s a DIY endeavor or a professional upgrade.
Step-by-Step Guide to Installing a Class D Car Amplifier in Toledo

Installing a Class D car amplifier in Toledo can seem daunting, but with the right guide, it’s a feasible DIY project for auto enthusiasts. Here’s a step-by-step breakdown to ensure a smooth installation process:
1. Preparation: Begin by gathering all necessary tools and components, including your new Class D amplifier, mounting brackets (if required), wiring harness, and any other accessories. Ensure the vehicle is off, and all electrical systems are powered down for safety. Create a clean workspace around the engine bay to facilitate easy access to the installation areas.
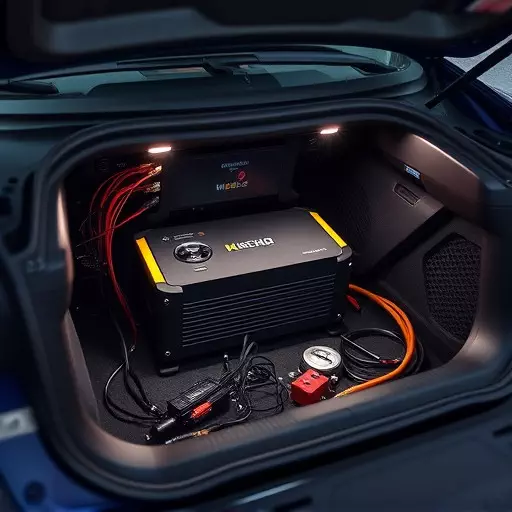
2. Location and Mounting: Identify the ideal location for your amplifier within the engine bay, ensuring adequate space and proper ventilation. Securely mount the amplifier using provided brackets or mounting hardware. Ensure stability and firm attachment to prevent vibration damage during operation. Proper grounding is crucial; connect a ground wire from the amplifier to an appropriate metal surface on the vehicle chassis.
3. Wiring and Connections: Trace the wiring harness to locate the positive and negative terminals for power supply. Connect the positive (red) wire to your vehicle’s 12V power source, typically the battery positive terminal. Securely fasten the other end to the amplifier’s corresponding input. For negative connections, run a dedicated ground wire directly from the amplifier to a clean metal surface on the chassis, avoiding proximity to the battery or other electrical components to prevent short circuits.
4. Final Checks and Testing: Double-check all connections for secure and proper grounding. Before starting your vehicle, consult the amplifier’s manual for any specific setup instructions. Turn on the ignition and test the amplifier’s functionality, adjusting settings as needed for optimal performance. Ensure smooth operation and no unusual noises or vibrations during playback.
Common Challenges During Installation and How to Overcome Them

During a car amplifier installation Toledo or a DIY amplifier installation, one often encounters several common challenges. One of the primary hurdles is ensuring proper wiring and grounding, which demands meticulous attention to detail and adherence to safety protocols. Improper connections can lead to electrical hazards, so using high-quality wires and following manufacturer guidelines for grounding is essential.
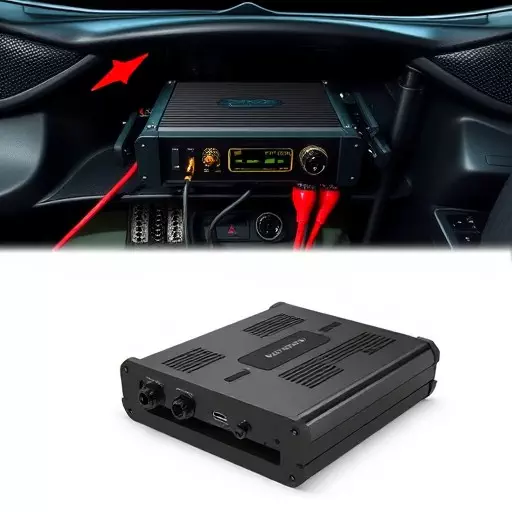
Another challenge arises from fitting the amplifier within the vehicle’s confines. Professional amplifier installation often involves creative solutions to accommodate larger amplifiers in compact spaces. This may include modifying existing components or using custom mounting brackets. Proper heat management is also crucial, as overheat can damage the amplifier; ventilation and cooling solutions are necessary for a successful and lasting installation.
Maintenance Tips and Best Practices for Longevity of Your Amplifier System

Proper maintenance and adherence to best practices are essential for ensuring the longevity of your amplifier system, whether installed professionally or done as a DIY project in Toledo. Regular cleaning of the amplifier and its components, including fans and heat sinks, is crucial to prevent dust buildup, which can hinder cooling and lead to premature failure. Always refer to the manufacturer’s guidelines for recommended cleaning solutions and techniques.
Additionally, keeping your amplifier system cool is paramount. Avoid placing it in environments with excessive heat or direct sunlight. Adequate ventilation is key; ensure the amplifier has enough space around it and isn’t obstructed to prevent overheating. Regularly inspect connections for any loose or corroded wires, as these issues can cause instability and potentially damage components. Timely maintenance and addressing any concerns promptly will contribute to the sustained performance and reliability of your car amplifier installation in Toledo, whether DIY or professional.