Installing a subwoofer in your Toledo vehicle requires understanding your 12-volt electrical system and fuse box. Identify the power source and select compatible fuses for safe integration. For DIY installations, assess interior space, choose placement points considering seating and ventilation, and use professional tools for precise cuts and attachments. Wiring involves identifying terminals, stripping wires, crimping connectors, and routing them safely through the vehicle to connect the subwoofer to the amplifier. Both DIY and professional options are available, with benefits based on skill level. Proper installation ensures optimal sound quality and safety for your Toledo vehicle.
Are you ready to transform your car’s audio experience with a powerful DIY subwoofer installation? This comprehensive guide is tailored for those seeking to enhance their vehicle’s bass without breaking the bank. From understanding your car’s electrical system to optimizing sound settings, we’ll walk you through every step. Learn how to choose the perfect subwoofer, prepare your car interior, and wire it all up with our detailed, easy-to-follow instructions. Elevate your DIY journey with professional tips for a seamless, high-performance installation.
- Understanding Your Car's Electrical System for DIY Subwoofer Installation
- Choosing the Right Subwoofer for Your Vehicle
- Preparing Your Car Interior for Subwoofer Placement
- Wiring and Connecting the Subwoofer: A Step-by-Step Guide
- Optimizing Sound Settings for Maximum Bass
- Testing and Troubleshooting Common Issues
- Tips from Professionals: Enhancing Your DIY Experience
Understanding Your Car's Electrical System for DIY Subwoofer Installation
Before tackling any DIY car audio project, understanding your vehicle’s electrical system is paramount. In a car, power delivery for components like subwoofers differs significantly from home audio systems. Your car’s electrical system operates on 12 volts and uses a fuse box to protect circuits, ensuring any installation must be compatible with these specifications.
For DIY subwoofer installation in Toledo or professional setup, it’s crucial to identify the appropriate power source, usually the battery, and choose fuses that can handle the subwoofer’s current draw. Navigating this system requires care but enables you to integrate your subwoofer seamlessly, enhancing your in-car audio experience without compromising safety or functionality.
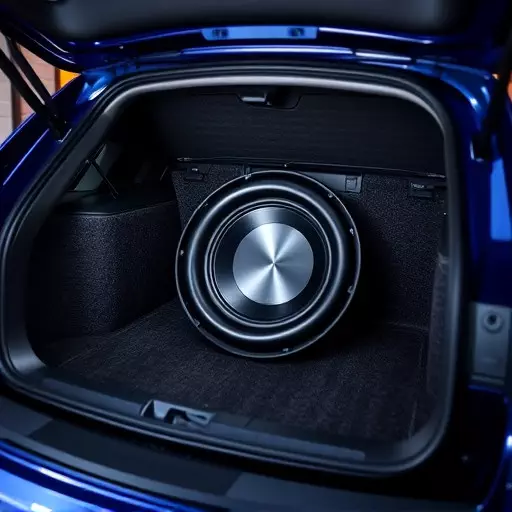
Choosing the Right Subwoofer for Your Vehicle
Preparing Your Car Interior for Subwoofer Placement
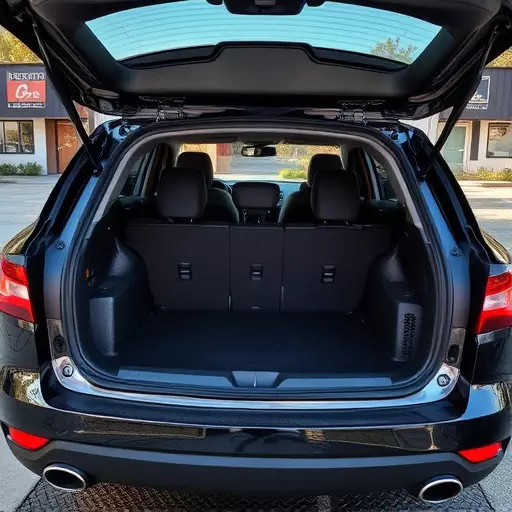
Preparing your car interior for a DIY subwoofer installation in Toledo requires careful consideration and planning to ensure optimal sound quality and safety. Start by assessing your vehicle’s interior space, identifying potential placement areas that offer both ample room for the subwoofer and easy access for wiring connections. Remove any obstructing components or panels that might interfere with the subwoofer’s position, ensuring proper ventilation as well. A clean, organized cabin allows for a smoother installation process, making it easier to route cables discreetly and securely.
Consider factors like the orientation of seats, footwell space, and even passenger comfort when selecting the final placement point. Proper mounting ensures the subwoofer is secure during operation and minimizes vibrations that could cause damage or dislodge other components. With professional-grade installation tools at hand, you’ll be able to make precise cuts and attachments for a seamless fit within your car’s interior environment.
Wiring and Connecting the Subwoofer: A Step-by-Step Guide

When it comes to wiring and connecting your subwoofer for a DIY car audio installation in Toledo, it’s all about following a structured approach. Start by identifying the positive (+) and negative (-) terminals on your subwoofer and amplifier. Next, gather your tools: wire strippers, crimping tools, and any connectors specific to your setup.
First, route the speaker wire carefully through your vehicle’s interior, ensuring it’s well-protected and out of harm’s way. Then, connect one end of the wire to the subwoofer terminal, stripping about an inch of insulation beforehand. Next, securely crimp the connector onto the wire. Repeat this process for the other end, connecting it to your amplifier’s designated input. Double-check all connections for any loose ends or exposed wires before powering on your system for a seamless and professional subwoofer installation experience.
Optimizing Sound Settings for Maximum Bass

Testing and Troubleshooting Common Issues

Tips from Professionals: Enhancing Your DIY Experience

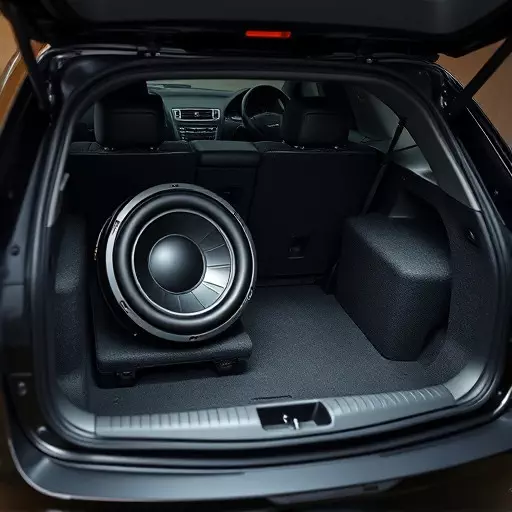
When taking on a DIY car subwoofer installation in Toledo, professionals suggest starting with a well-planned layout. Understanding your vehicle’s interior space and choosing the right placement for your subwoofer can significantly impact sound quality. Many experts recommend experimenting with different positions to find the sweet spot where bass is rich and clear, without causing unnecessary vibrations or interference with daily driving.
Additionally, investing in high-quality components designed for optimal performance is crucial. Using wire and connectors suitable for audio systems ensures a clean signal transmission, minimizing noise and distortion. Remember that professional subwoofer installation often involves precise calibration and tuning to tailor the sound to your vehicle’s acoustic properties. This step can be overlooked in DIY projects but makes a notable difference in overall listening experience.