Before installing a new toilet, clear and secure the workspace, turn off utilities, and gather Toilet Installation Tools Toledo including wrenches, pliers, screwdrivers, a level, and sealing compounds. Remove the old toilet, set up the new one on level ground, connect water lines, secure it to the floor with appropriate fasteners, test plumbing connections for leaks, and apply sealant around the base for leak prevention.
Looking to install a new toilet yourself? This comprehensive guide walks you through the entire DIY toilet installation process, from preparing your workspace and gathering essential Toilet Installation Tools Toledo to final adjustments. Learn how to remove the old toilet, install the new base, connect water lines, adjust and secure the toilet, test plumbing connections, and ensure proper waste removal—all with ease.
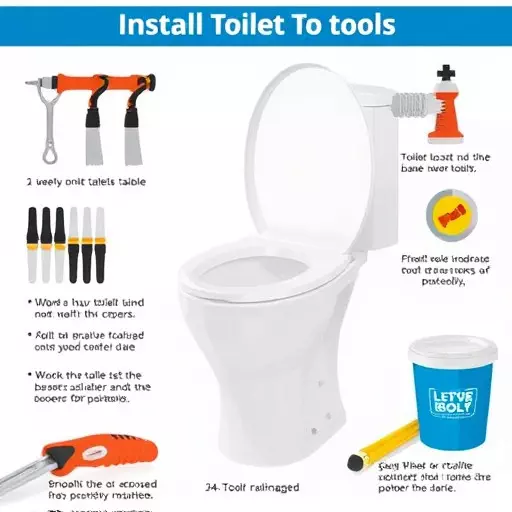
- Prepare the Workspace and Gather Toilet Installation Tools Toledo
- Remove the Old Toilet: A Step-by-Step Guide
- Install the New Toilet Base and Connect Water Lines
- Adjust the Toilet's Position and Secure It in Place
- Test the Plumbing Connections and Make Final Adjustments
- Ensure Proper Waste Removal and Sealant Application
Prepare the Workspace and Gather Toilet Installation Tools Toledo
Before installing your new toilet, preparing your workspace is a crucial step in the DIY toilet installation process. Clear the area around the intended toilet location, ensuring no obstacles or furniture interfere with access. Remove any old flooring or fixtures to expose the subfloor, allowing for a clean and level surface. Check that all utilities—water, gas, and electrical—are turned off and secured at their main connections for safety during installation.
Gathering the right Toilet Installation Tools Toledo is essential for a successful DIY project. You’ll need basic tools like wrenches, pliers, screwdrivers, and a level to ensure accurate measurements. For a complete set, include a toilet bolt kit specific to your toilet model, water supply lines, a new toilet seat, and any necessary sealing compounds or caulk. Having all these Toilet Installation Tools Toledo readily available will streamline the process and enable you to complete your toilet installation efficiently.
Remove the Old Toilet: A Step-by-Step Guide
To begin the toilet installation process, one of the initial steps is removing the old toilet. This task requires a set of specific tools tailored for toilet installation, commonly referred to as Toledo tools. Start by shutting off the water supply valves connected to the toilet. Next, use a wrench or a screwdriver to loosen and remove any connecting bolts or brackets securing the toilet in place. Once the toilet is loose, carefully lift it out of the bowl, being mindful of any plumbing connections still attached.
With the old toilet removed, inspect the existing floor structure for any damage or adjustments needed. Ensure the floor is level and solid to support the new toilet installation. This step-by-step guide forms a crucial part of the DIY toilet installation process, setting the foundation for a successful and secure toilet fitting.
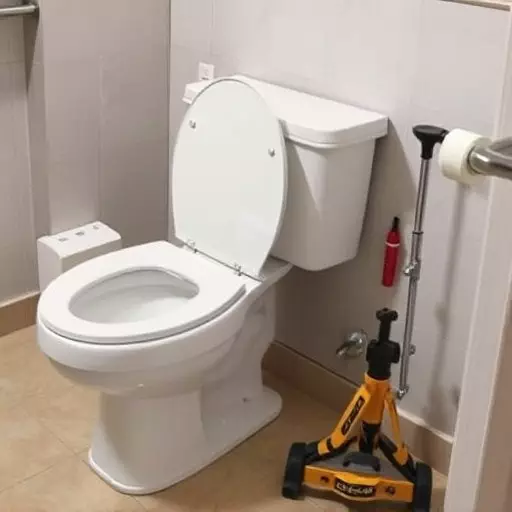
Install the New Toilet Base and Connect Water Lines
To begin the toilet installation process, the first step is to set up the new toilet base. This involves placing the toilet on level ground and ensuring it’s securely fastened to the floor. Use the appropriate Toilet Installation Tools Toledo for this task, including a spirit level and suitable fasteners. Once the toilet is in place, connect the water lines. Turn off the water supply at the main shut-off valve to prevent leaks during installation. Then, attach the incoming water line to the toilet’s inlet port, ensuring a tight seal with plumber’s tape or a similar sealing compound.
After connecting the water lines, check for any leaks and make adjustments as needed. This DIY Toilet Installation step is crucial for maintaining water pressure and preventing potential flooding. With the base installed and water lines connected, you’re well on your way to completing your toilet installation project efficiently.
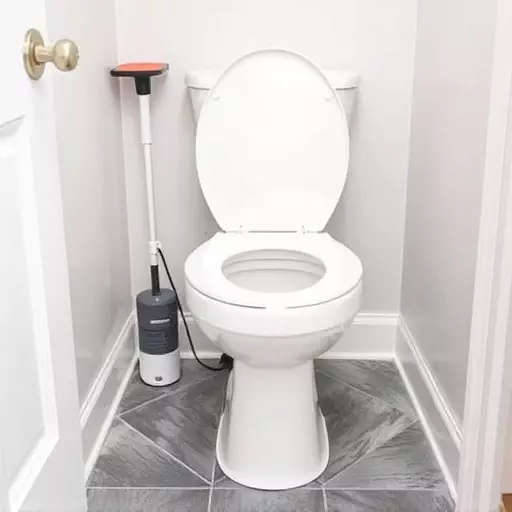
Adjust the Toilet's Position and Secure It in Place

After carefully removing the old toilet and preparing the floor, it’s time to install your new one. The first step is to adjust the toilet’s position to ensure a level and secure fit. Use a spirit level to check the horizontal and vertical alignment, making adjustments with shims if needed. This crucial step guarantees that your new toilet will function optimally and prevent any future issues.
Once satisfied with its positioning, secure the toilet in place using suitable toilet installation tools. This typically involves tightening anchor bolts into the floor or a plastic toileting flange. Ensure all bolts are tightly fastened to create a sturdy base for your toilet. With these final adjustments, you’re well on your way to completing the DIY toilet installation process successfully.
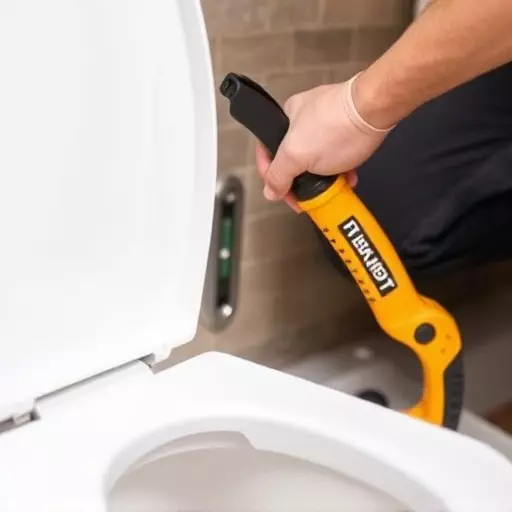
Test the Plumbing Connections and Make Final Adjustments

After successfully installing the toilet and securing it in place, it’s crucial to test the plumbing connections before making any final adjustments. Gather your Toilet Installation Tools Toledo—a wrench or pliers for tight fittings, a bucket, and some soapy water. Turn on the water supply valves connected to the toilet and inspect for leaks at the connections. If there are no leaks, fill the toilet tank with water to ensure proper functionality of all components.
Once you’ve confirmed that the plumbing is secure and leak-free, it’s time to make any last-minute adjustments to the Toilet Installation Process. This might include leveling the toilet by tightening or loosening the bolts on the mounting hardware. Double-check that the flush handle operates smoothly and that the flush mechanism functions correctly. Lastly, clean up any debris or leftover materials, ensuring a neat and tidy space upon completion of your DIY Toilet Installation.
Ensure Proper Waste Removal and Sealant Application

During the DIY toilet installation process, one of the most critical steps is ensuring proper waste removal and sealant application. Before installing your new toilet, make sure the existing plumbing is clear and free from clogs. Use the appropriate Toilet Installation Tools Toledo to remove any obstructions and verify that the drain lines are in good condition. A thorough cleaning of the pipes can prevent future issues and ensure smooth water flow.
After confirming proper waste removal, apply a high-quality sealant around the toilet’s base to create an airtight seal. This step is vital to avoid leaks and maintain the integrity of your new installation. Use a waterproof, fast-drying sealant that is suitable for bathroom use, following the manufacturer’s instructions for application. By doing so, you’ll safeguard against water damage and ensure the longevity of your toilet installation, making it an essential part of your DIY Toilet Installation process.