
Vinyl siding is a popular choice for Appleton, Wisconsin homeowners due to its durability, low maintenance, and aesthetic appeal. Before starting a DIY installation, measure walls accurately, prepare the surface, and cut an underlayment for a solid base. Secure vinyl panels with staples or nails, or use a siding installation gun for enhanced strength. Finish by trimming excess material, sealing corners, and ensuring proper gaps between panels to prevent water damage. Proper preparation, cutting, sealing, and flashing are key to avoiding common mistakes in Appleton's DIY siding projects.
Looking to tackle a DIY siding project? This comprehensive guide breaks down the process step-by-step, from understanding durable vinyl siding and its benefits to mastering each stage of installation. We’ll walk you through preparing your home, installing underlayment, attaching panels with expert techniques, and finishing touches for a neat, professional look. Avoid common mistakes and elevate your skills with insider tips from professionals. Get started on your Appleton, Wisconsin siding installation with confidence!
- Understanding Vinyl Siding: Materials and Benefits
- Preparation for Installation: Measuring and Cutting
- Installing the Underlayment: A Step-by-Step Guide
- Attaching the Siding Panels: Methods and Tools
- Trimming and Finishing Touches: Ensuring a Neat Look
- Tips and Tricks from Professionals: Common Mistakes to Avoid
Understanding Vinyl Siding: Materials and Benefits
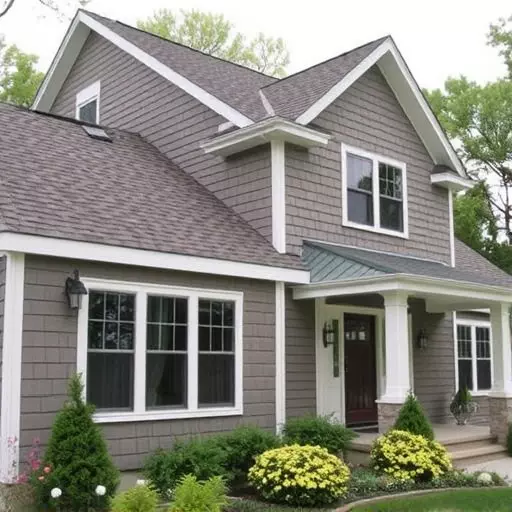
Vinyl siding has emerged as a popular choice for homeowners in Appleton, Wisconsin, and beyond, thanks to its diverse range of materials and impressive benefits. This durable material is made from polyvinyl chloride (PVC), a synthetic polymer known for its resilience and low maintenance requirements. Vinyl siding comes in various styles, colors, and textures, offering homeowners endless design possibilities to enhance their property’s curb appeal.
One of the key advantages of vinyl siding installation is its cost-effectiveness compared to other siding options like wood or fiber cement. It requires minimal upkeep, ensuring long-lasting beauty without the need for frequent painting or repairs. Vinyl’s water-resistant nature makes it an excellent choice for all climates, providing insulation and protecting homes from extreme weather conditions. Additionally, its lightweight construction simplifies the siding installation process, making it a practical and efficient DIY project for handy homeowners in Appleton, Wisconsin.
Preparation for Installation: Measuring and Cutting
Before tackling any DIY siding installation project in Appleton, Wisconsin, thorough preparation is key. Start by carefully measuring the length and height of your exterior walls to determine the exact amount of vinyl siding needed. This step requires precision as it ensures you purchase the right quantity, avoiding unnecessary costs and wastage. Use a tape measure and take multiple measurements at different points to account for any irregularities or variations in wall dimensions.
Once you have your measurements, it’s time to cut the vinyl siding panels to fit your property. A siding installation appleton wisconsin guide or tutorial can be immensely helpful here. You’ll need the right tools, such as a circular saw or utility knife, and safety gear to ensure accurate cuts. Follow the manufacturer’s instructions for recommended cutting techniques and safety precautions when handling vinyl siding materials.
Installing the Underlayment: A Step-by-Step Guide
When preparing for DIY vinyl siding installation in Appleton, Wisconsin, one crucial step is installing the underlayment—a protective barrier that enhances your home’s durability and prevents moisture damage. Start by ensuring your wall surface is clean, dry, and free from debris. Cut the underlayment to fit the dimensions of each section, allowing a few inches of overlap between joints. Fasten the underlayment securely using staples or nails, spacing them evenly about 6-8 inches apart. This step ensures a solid foundation for your new vinyl siding, enhancing its longevity and performance.
Next, create a smooth surface by sealing any gaps or seams in the underlayment with a high-quality tape designed for this purpose. This prevents air leaks and moisture intrusion, which could compromise the integrity of your siding. With a level surface established, you’re ready to move on to the next phase: installing the vinyl siding itself. Remember, proper underlayment installation is key to achieving a durable, low-maintenance exterior for your Appleton home, enhancing its overall curb appeal with new vinyl siding.
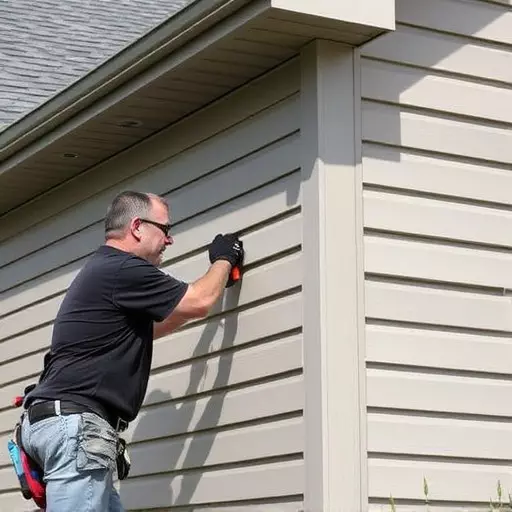
Attaching the Siding Panels: Methods and Tools

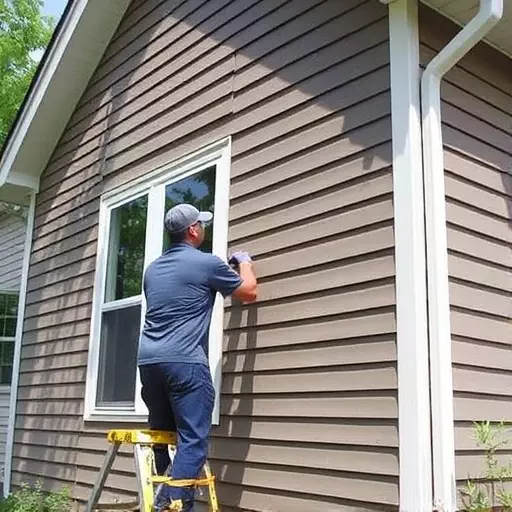
When attaching vinyl siding panels in Appleton, Wisconsin, there are several methods and tools you can use to ensure a secure fit. One common approach is to employ mechanical fasteners like staples or nails. For a more permanent solution, consider using a siding installation gun that fires specialized pins through the panel and into the underlayment. This method not only secures the siding but also creates a tight seal against weather elements.
Use a level to ensure each panel is aligned properly before securing it. Start at the bottom, near the ground, and work your way up, leaving a small gap between panels for expansion. A siding installation tool can help create uniform gaps, ensuring an even finish. Whether using staples or pins, make sure they’re driven into the underlayment for extra hold, especially in areas exposed to high winds or severe weather conditions.
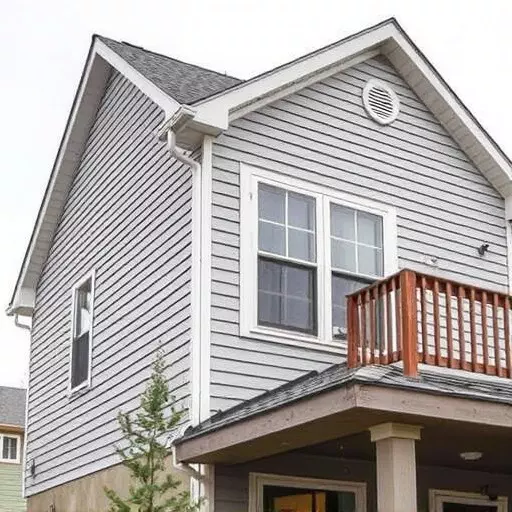
Trimming and Finishing Touches: Ensuring a Neat Look

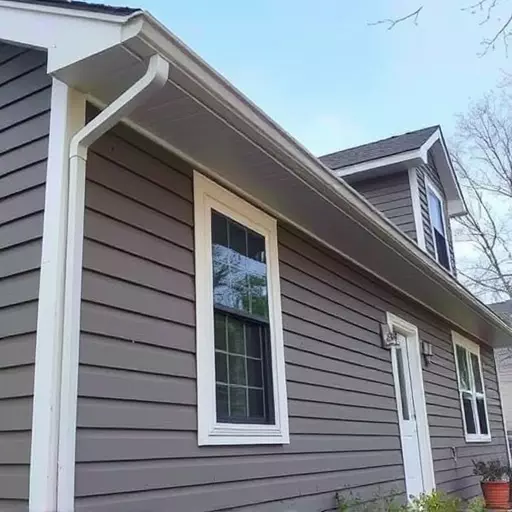
After completing the DIY vinyl siding installation in Appleton, Wisconsin, it’s time to focus on the finishing touches. Trimming is a crucial step in ensuring your new siding looks neat and professional. Use a utility knife or a trim tool to carefully cut any excess siding material, creating clean lines along rooftops, around windows, and doors. This meticulous process prevents unsightly bulges or gaps that can compromise the integrity of your installation.
Finishing touches also include securing all corners and edges properly. Use a level to ensure each section is aligned perfectly, then seal any joints with appropriate caulk. Proper trimming and sealing not only enhance the aesthetic appeal of your siding but also protect against water damage and other environmental factors. This final step will make your DIY siding installation project look as good as new.
Tips and Tricks from Professionals: Common Mistakes to Avoid

When tackling DIY siding installation in Appleton, Wisconsin, whether it’s vinyl siding or another material, professionals share insights on common mistakes to steer clear of. One frequent error is improper measurement and cutting. Always double-check your measurements; a few extra inches can make a significant difference in the overall look and cost. Using a level and marking guidelines precisely will ensure straight cuts, enhancing the professional appearance of your siding.
Another crucial tip is to prioritize sealing and flashing. Neglecting these details can lead to water damage over time. Ensure proper sealing between panels and around doorframes, windows, and other openings. Flashing should be installed correctly to divert water away from joints, preventing moisture seepage into your home. Using the right tools and following manufacturer guidelines for installation will help avoid these common pitfalls.