
Installing a swinging glass shower door in Lake Orion, Michigan requires careful preparation and specific tools. Start by measuring and marking the enclosure, then gather essential tools like measuring tape, level, drill, saw, and protective gear. Cut and fit glass panels, install hinges and hardware securely, and make final adjustments for leveling. Prioritize safety and accurate measurements throughout to achieve a successful, stylish installation.
Looking to transform your Lake Orion, Michigan bathroom with a stylish and functional swinging glass shower door? This comprehensive guide breaks down the installation process step-by-step. From understanding key components to final adjustments, learn everything you need to know for a successful DIY project. Discover the essential tools required and follow our detailed instructions for installing your new swinging glass shower door like a pro.
- Understanding Your Swinging Glass Shower Door: Components and Hardware
- Measuring and Preparing the Shower Enclosure for Installation
- Gathering Essential Tools for a Successful Installation
- Attaching the Door Frame and Hinges: Step-by-Step Guide
- Installing the Swinging Glass Door Panels: Techniques and Tips
- Final Adjustments: Ensuring Smooth Operation and Leveling
- Safety and Sealing: Completing Your Lake Orion, Michigan Shower Door Installation
Understanding Your Swinging Glass Shower Door: Components and Hardware
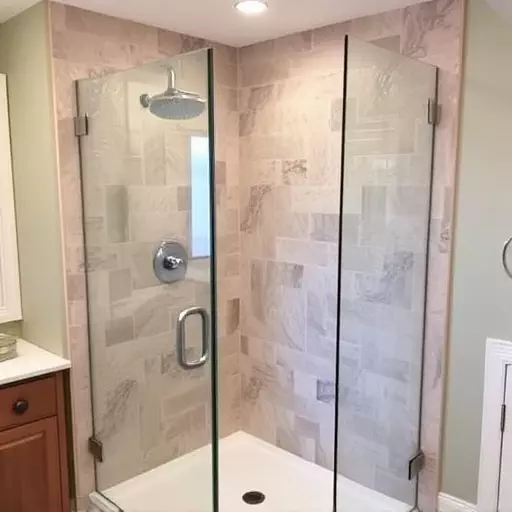
When it comes to your swinging glass shower door in Lake Orion, Michigan, understanding the components and hardware is key to a successful do-it-yourself installation or ensuring professional services. This style of shower door typically consists of a frame, hinges, a swing mechanism, and, of course, the glass panel itself. The frame surrounds the opening and provides support, while hinges allow for the swinging motion. The swing mechanism connects the door to the frame and enables its smooth rotation.
The tools required for installation vary slightly depending on the specific door model but generally include measuring tape, a level, a drill with appropriate bits, a saw (for cutting the frame if necessary), wrenches or socket sets, and safety gear such as gloves and eye protection. Knowing these components and what tools are needed will help you tackle the swinging glass shower door installation steps confidently, ensuring your new door functions flawlessly and enhances your bathroom’s aesthetic appeal.
Measuring and Preparing the Shower Enclosure for Installation
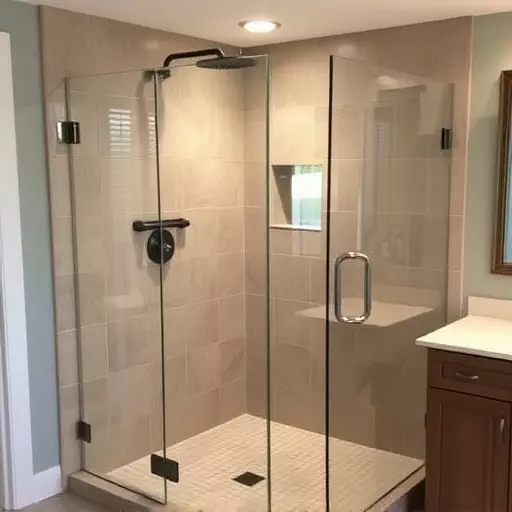
Measuring and preparing your shower enclosure is a crucial step in the swinging glass shower door installation process. Begin by removing any existing doors or fixtures to ensure accurate measurements. Take precise dimensions, paying close attention to the width, height, and pivot points where the door will swing. This information is vital for sourcing the correct size swinging glass shower door and hardware in Lake Orion, Michigan.
Next, clean the enclosure thoroughly, removing any dirt, mould, or residue that might hinder installation. Prepare the walls by ensuring they are level and secure, as these factors directly impact the door’s alignment and functionality. Making sure your space is ready sets a solid foundation for a seamless swinging glass shower door installation. Remember, having the right tools on hand—like measuring tapes, level tools, and safety gear—will make this process much smoother.
Gathering Essential Tools for a Successful Installation
When undertaking a swinging glass shower door installation in Lake Orion, Michigan, or anywhere else, having the right tools is paramount to achieving a seamless and secure fit. For this type of installation, you’ll need a variety of items to ensure precision and safety. The basics include measuring tape for accurate dimensions, a level to maintain vertical and horizontal alignment, and a drill with appropriate bits for securing the door hinges.
Additionally, a stud finder is essential for locating wall studs behind drywall, ensuring the door’s weight is evenly distributed. You’ll also require a pair of adjustable wrenches or pliers for tightening screws, silicone caulk for sealing gaps, and a clean cloth to ensure the glass remains smudge-free. These tools collectively empower you to complete the swinging glass shower door installation steps with confidence and expertise.
Attaching the Door Frame and Hinges: Step-by-Step Guide

To begin the swinging glass shower door installation process in Lake Orion, Michigan, start by preparing your workspace and gathering all necessary tools. This includes a level, a measuring tape, a drill with various bits, a saw (either hand or power), wrenches, and the actual swinging glass shower door with its frame and hinges. Ensure your space is clear and organized to facilitate smooth work.
Next, attach the door frame to the existing shower structure. Use the level to ensure it’s perfectly aligned, then secure it in place using appropriate hardware. Once the frame is firmly attached, install the hinges. Typically, these will be connected to both the frame and the shower wall, allowing for smooth swinging motion. Follow the manufacturer’s instructions carefully, utilizing the correct bits and tools for drilling pilot holes and securing the hinges with screws or bolts. Regularly check your work for level and stability throughout this step.
Installing the Swinging Glass Door Panels: Techniques and Tips

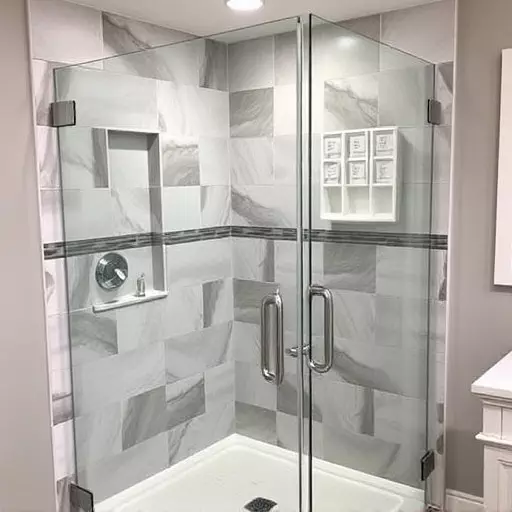
When installing a swinging glass shower door in Lake Orion, Michigan, the process begins with carefully measuring and marking the door frame to ensure precise cuts for the panels. Use a level to ensure the frame is straight and mark the height and width of the opening. Next, cut the glass panels according to these measurements, making sure they fit snugly within the frame. This step requires precision and the right tools—a measured tape, a circular saw with a glass cutting blade, and protective gear are essential.
Once the panels are cut, it’s time to install them. Start by positioning one panel in the frame, ensuring it is centered and level. Secure it in place using appropriate hardware, such as hinges and door stops. Repeat this process for each panel, working methodically around the entire shower enclosure. Remember, a secure fit is crucial for safety and longevity, so ensure all hardware is properly fastened.
Final Adjustments: Ensuring Smooth Operation and Leveling

After completing the initial installation steps, it’s time to make those final adjustments that will ensure your swinging glass shower door operates smoothly and looks level. Begin by checking the hinges for any loose parts or misalignments. Tighten any screws that may have come loose during transport or initial setup. Ensure all pivot points are secure and properly lubricated to allow for effortless swinging.
Next, verify the overall leveling of the door. Most doors will have adjustable feet or levelers that can be adjusted using a simple tool like a screwdriver. Adjust these until the door is perfectly level, both front-to-back and side-to-side. This step is crucial for ensuring the door opens and closes smoothly and prevents any potential damage to the door or its hardware over time. Remember, the tools required for swinging shower door installation include a measuring tape, level, screwdriver, and lubricant for the hinges.
Safety and Sealing: Completing Your Lake Orion, Michigan Shower Door Installation

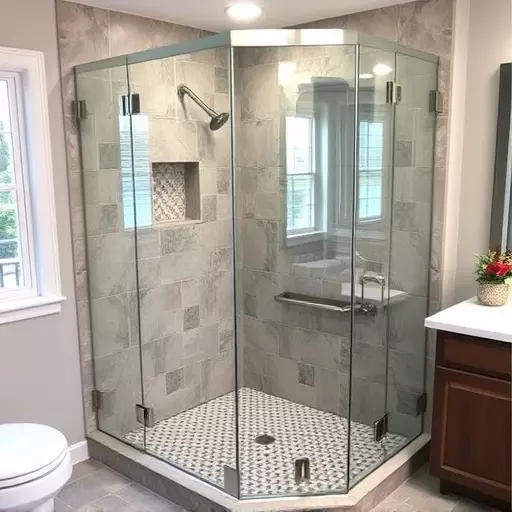
When installing a swinging glass shower door in Lake Orion, Michigan, safety should always be your top priority. The last thing you want is an accident or injury during what should be a straightforward process. Before you begin, ensure you have all the necessary tools on hand—a level, measuring tape, a drill with a bit set, a saw (for cutting the frame if needed), silicone caulk, and a putty knife. Proper sealing is also crucial for both functionality and longevity. Use high-quality silicone caulk to create a watertight seal around the door’s perimeter, ensuring no water can seep in under or around the door. This step will not only prevent your shower from becoming a mud pit but will also protect your walls from damage over time.
Remember, accurate measurements are key to a successful installation. Take your time to ensure all components fit perfectly before securing the door in place. Once everything is aligned correctly, use your drill to install the hinges and any other hardware provided with your swinging glass shower door. Finish by applying a bead of caulk along the bottom edge of the door for added protection against moisture. With these final touches, you’ll have a safe and stylish swinging glass shower door in no time.