Applicator pads are key tools for effective and accurate application of shower glass protectants. Choosing the right pad and protectant, using proper DIY application techniques, and regular cleaning ensure streak-free results and prolonged protection for Toledo's glass surfaces. SEO keywords: shower glass protectant application toledo, shower glass protectant application techniques, diy glass protectant application.
“Discover the secret to achieving streak-free, protected glass in your Toledo shower with the power of applicator pads. This comprehensive guide explores the art of efficient glass coating using these innovative tools. From understanding the benefits of applicator pads for a smooth application process to choosing the ideal glass protectant and mastering DIY techniques, we’ll walk you through every step. Learn how proper maintenance can extend the lifespan of your shower glass protectant, ensuring long-lasting protection.”
- Understanding Applicator Pads: The Tool for Efficient Glass Coating
- Choosing the Right Glass Protectant for Your Shower
- DIY Application Techniques: A Step-by-Step Guide
- Maintenance and Longevity: Tips for Optimal Results with Your Shower Glass Protectant
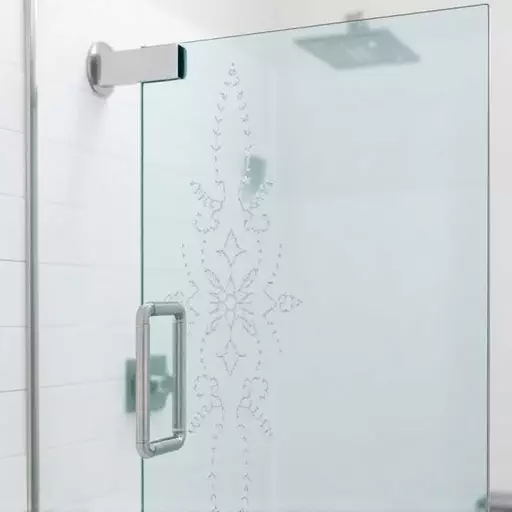
Understanding Applicator Pads: The Tool for Efficient Glass Coating

Applicator pads play a pivotal role in the efficient application of glass coatings, including popular shower glass protectants. These innovative tools are designed to streamline the process, ensuring even distribution and maximum coverage of the protective layer on various glass surfaces. By using applicator pads, DIY enthusiasts and professionals alike can achieve professional-grade results without the usual hassle.
The key advantage lies in their versatility. Applicator pads come in different materials and absorbencies, tailored for specific coating types. For shower glass protectant application in Toledo or beyond, these pads offer a precise and controlled method, allowing for efficient coverage while minimizing waste. Whether you’re looking into DIY glass protectant application techniques, the right applicator pad can enhance your project’s outcome, ensuring your glass surfaces remain sparkling and protected for longer.
Choosing the Right Glass Protectant for Your Shower
When it comes to protecting your shower glass, selecting the right product is just as important as the application process. The market offers various shower glass protectants, each with unique features and benefits. For a DIY approach, opt for easy-to-apply solutions designed for home use. These products often come in spray or foam formulations, making them user-friendly and cost-effective.
Consider factors like durability, water repellency, and ease of cleaning when choosing your protectant. Some advanced options provide long-lasting protection against water spots and stains, ensuring a streak-free finish for months. Understanding the application techniques specific to your chosen product will also contribute to achieving professional results, making your shower glass look as good as new.
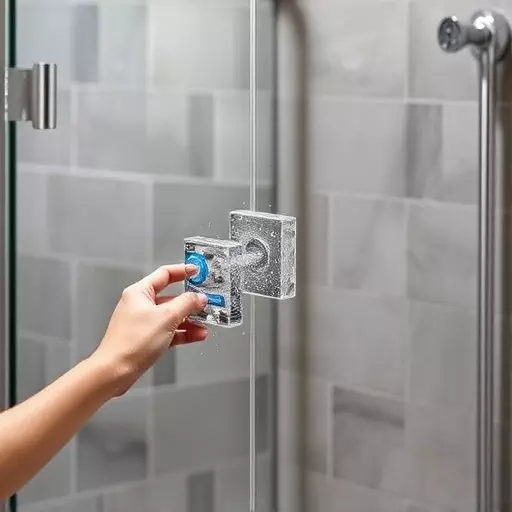
DIY Application Techniques: A Step-by-Step Guide
Applying a glass coating yourself can be a cost-effective and rewarding way to protect your shower glass in Toledo. Here’s a straightforward, step-by-step guide for a DIY application using applicator pads. Begin by gathering all necessary materials: your chosen glass protectant, clean cloths, an applicator pad, and gloves for safety. Ensure the area is well-ventilated, as most glass coatings have strong scents. Put on your gloves to protect your hands.
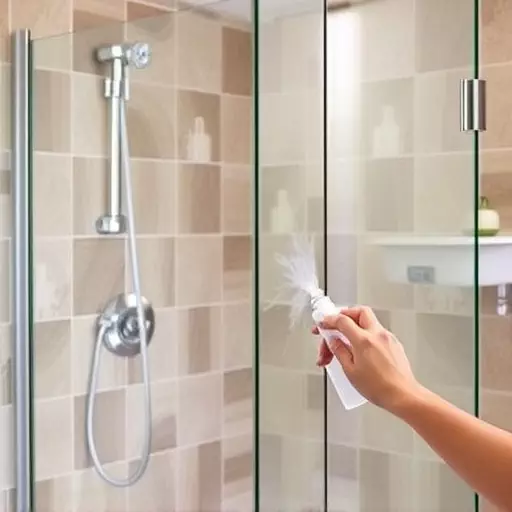
Next, lightly mist the shower glass with water to ensure the coating adheres properly. Gently squeeze out the excess from your applicator pad. Start applying the glass protectant in even strokes, covering the entire surface of the glass. Work in sections, overlapping each pass slightly to avoid streaks. Allow the first coat to dry according to the product’s instructions before adding a second coat for enhanced protection.
Maintenance and Longevity: Tips for Optimal Results with Your Shower Glass Protectant

Maintaining your shower glass protectant is key to ensuring longevity and optimal performance. After initial application, regular cleaning is essential. Use a soft cloth or sponge with mild detergent and warm water to wipe down the glass surface gently. Avoid abrasive cleaners or scrubbers that can damage the protective layer. Dry the glass thoroughly afterward to prevent water spots.
For sustained protection, reapply the shower glass protectant every 3-6 months, depending on usage and environmental factors. High humidity or frequent use may require more frequent reapplications. Following proper application techniques, such as using a microfiber cloth for even distribution and allowing the product to dry completely before contacting any surfaces, will ensure the best results. DIY glass protectant application is straightforward, offering convenience and cost savings while keeping your shower glass looking pristine.