Installing a swinging glass shower door in Lake Orion, Michigan involves careful preparation and precise execution. Begin by gathering essential tools like measuring tape, a level, drill, saw, hinges, shims, caulk, and weatherstripping. Measure and mark the door's location, cut and install the frame, then attach the glass panel while maintaining levity and security according to manufacturer instructions. Follow detailed steps for successful installation, ensuring proper alignment and hinge adjustment for smooth swinging. Final touches include adjusting hinges, securing hardware, inspecting weatherstripping, and testing balance and stability for a secure, functional door.
Testing the Door Swing is essential for a seamless installation of your Swinging Glass Shower Door in Lake Orion, MI. This comprehensive guide covers everything from understanding the basic mechanics to ensuring proper alignment and safety checks. Learn the essential steps, including what tools and materials you’ll need, to successfully install your swinging glass shower door in Lake Orion, Michigan, following best practices. By mastering these installation techniques, you’ll achieve a robust and functional fixture for your bathroom.
- Understanding the Swinging Glass Shower Door: A Basic Overview
- Preparation: Tools and Materials Needed for Installation
- Step-by-Step Guide to Installing a Swinging Glass Shower Door
- Ensuring Proper Door Swing and Alignment
- Final Touches and Safety Checks for Your Lake Orion, MI Shower Door
Understanding the Swinging Glass Shower Door: A Basic Overview
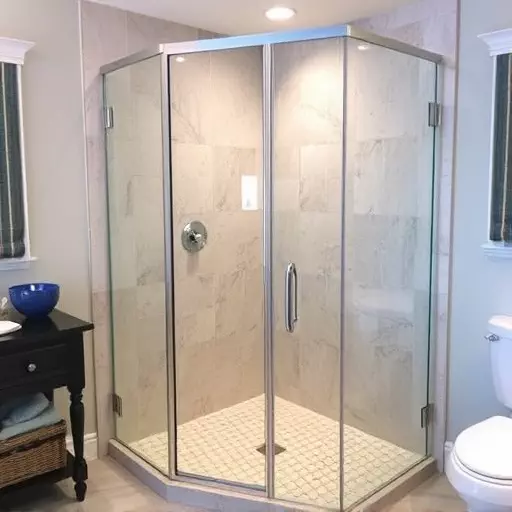
The swinging glass shower door is a modern and elegant solution for bathroom enclosures, allowing for easy entry and exit while providing a sleek aesthetic. Its smooth operation and space-saving design have made it a popular choice among homeowners in Lake Orion, Michigan, and beyond. When considering installation, understanding the basic components and steps involved is crucial.
The swinging glass shower door typically consists of two main parts: the frame and the actual glass panel. The frame is securely attached to the wall, creating a sturdy foundation for the door’s swing. The tools required for the installation process include measuring tape, a level, a drill with appropriate bits, a saw (for cutting the frame), and hardware such as hinges and door handles. Following the manufacturer’s instructions, the first step involves measuring and marking the ideal location of the door. Subsequently, the frame is cut to size and installed, ensuring it is level and secure before attaching the glass panel.
Preparation: Tools and Materials Needed for Installation

Before you begin testing and installing your swinging glass shower door in Lake Orion, Michigan, ensure you have all the necessary tools and materials to make the process smooth and efficient. The typical tools and materials required for a swinging glass shower door installation include a level, measuring tape, a drill or screwdriver (depending on your hinges), a saw (for cutting if needed), shims, caulk, weatherstripping, and of course, your new swinging glass shower door. Additionally, protective gear such as gloves and safety glasses is recommended to safeguard against debris and potential hazards during the installation process.
The specific tools and materials will vary slightly depending on the exact model and type of swinging glass shower door you’ve chosen, so it’s crucial to check the manufacturer’s instructions. Once you have everything in hand, create a clean workspace free from clutter, ensuring easy access to all your tools and materials as you follow the detailed installation steps for your swinging glass shower door.
Step-by-Step Guide to Installing a Swinging Glass Shower Door

Installing a swinging glass shower door is a project that can enhance your bathroom’s aesthetics and functionality. Here’s a step-by-step guide to help you through the process, tailored for those in Lake Orion, Michigan, considering a swinging glass shower door installation. Before you begin, ensure you have all the necessary tools: a drill with a carbide tip, a measuring tape, a level, a pencil, safety goggles, and gloves.
1. Measure and Mark: Start by accurately measuring the opening where your new swinging glass shower door will be installed. Use a level to mark the top and bottom edges of the opening to ensure it’s plumb (perfectly vertical). This ensures your door swings smoothly and opens and closes correctly.
2. Prepare the Opening: Remove any hardware or debris from the marked area. If there are existing screws or brackets, use the drill to unscrew them carefully. Ensure the opening is clean and prepared for the new door.
3. Install Door Hinges: Place the hinges on the sides of the opening, aligning them with your marks. Secure them in place using the drill and carbide tip, making sure they’re tight and level. This step ensures a secure fit for your swinging glass shower door.
4. Attach the Door Frame: Position the door frame over the hinges, ensuring it’s aligned properly. Fasten it to the hinges with screws, following the manufacturer’s instructions. Make sure the entire assembly is secure and level.
5. Hang the Glass Door: Carefully lift the swinging glass shower door into place, positioning it between the hinges. Secure it by tightening the necessary bolts or screws until the door is firmly in place.
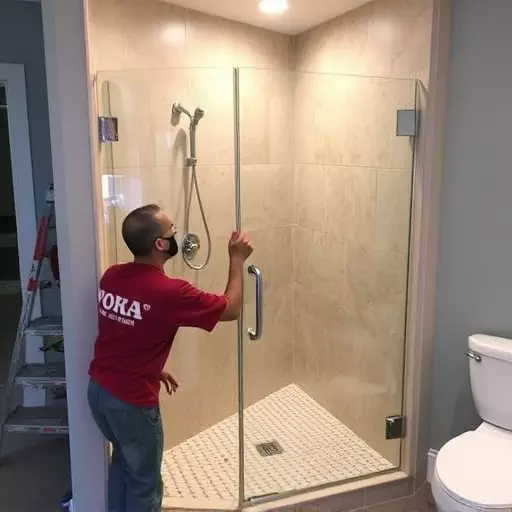
6. Final Adjustments: Test the door’s swing to ensure it opens and closes smoothly. Make any minor adjustments as needed using the drill.
Ensuring Proper Door Swing and Alignment

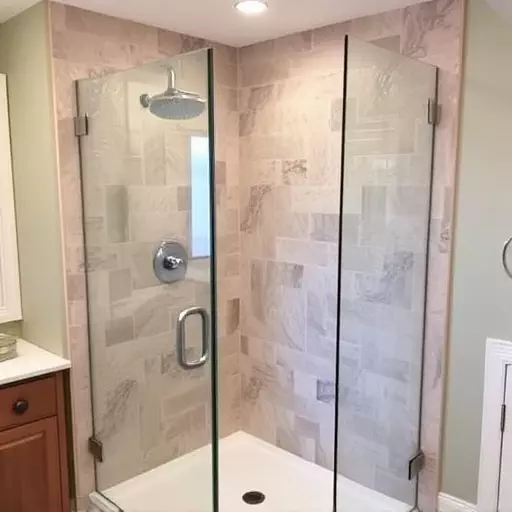
When installing a swinging glass shower door in Lake Orion, Michigan, ensuring proper swing and alignment is paramount to achieving a seamless fit and optimal functionality. The first step involves measuring the available space to determine the door’s size and direction of swing. Use tape measures and marking tools to record dimensions accurately, considering both the opening width and height. This information guides you in selecting the right door and hardware for your specific installation.
Proper alignment is crucial to prevent issues like binding or uneven operation. During installation, ensure the door hinges are level and properly secured, allowing smooth swinging motion. Adjustments might be needed based on the door’s weight and the balance required for its swing. The tools required for this process include adjustable shims, a level, a drill with appropriate bits, and a set of wrenches to tighten hardware securely. Each step should be executed carefully to ensure the door swings freely without any obstructions, creating an elegant and practical shower enclosure.
Final Touches and Safety Checks for Your Lake Orion, MI Shower Door

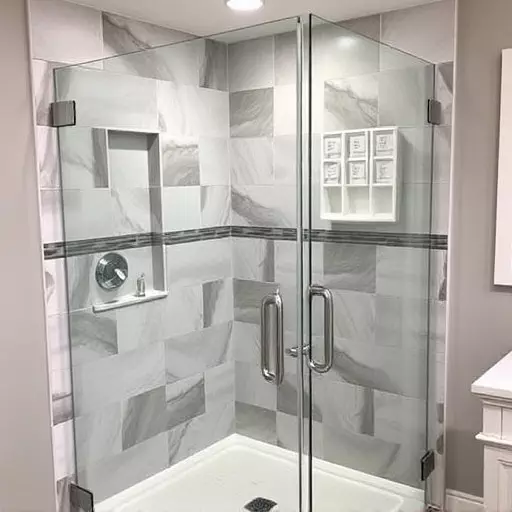
After successfully installing your Lake Orion, MI swinging glass shower door, it’s crucial to perform final touches and safety checks to ensure a seamless and secure fit. Begin by adjusting the door hinges for proper alignment, making sure the door swings smoothly and opens and closes effortlessly. Check that all hardware is securely fastened, including the handle and any additional fixtures. This step ensures not only ease of use but also prevents accidents.
Next, inspect the weatherstripping around the perimeter of the door to ensure it’s properly seated, creating a watertight seal. Any gaps or misalignments could lead to leaks, so take your time to caulk and secure it properly. Finally, test the door’s balance and stability by opening it fully and closing it gently. The door should remain level and not sag or tip, indicating that the installation is complete to the highest standards, ensuring both functionality and safety for years to come. For a swinging glass shower door installation in Lake Orion, Michigan, knowing these installation steps and required tools can make all the difference.