
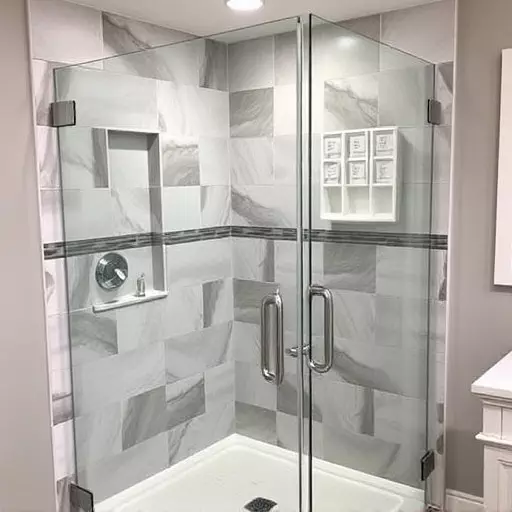
Installing a swinging glass shower door in Lake Orion, Michigan, involves meticulous preparation and precise measurements. Begin by clearing the wall space, gathering essential tools like a level, tape measure, drill, and specific hardware. Measure and mark the door opening accurately, ensuring the area is even. Mount hinges on tiled walls securely, follow manufacturer instructions for door mounting, sealing, and adjustments for smooth swinging. Final checks include verifying hinges' security, alignment, and functionality to ensure a safe, spa-like bathroom retreat.
Looking to transform your Lake Orion, Michigan bathroom with a stylish and functional swinging glass shower door? This comprehensive guide breaks down the process step-by-step, from understanding the installation basics to final safety checks. Learn the essential tools and materials needed for a successful swinging glass shower door installation in Lake Orion, Michigan. Discover expert tips on preparing your tiled wall, measuring accurately, and ensuring a secure fit for a seamless upgrade.
- Understanding Swinging Glass Shower Door Installation
- Preparing Your Lake Orion, Michigan Tiled Wall for the Door
- Gathering the Necessary Tools and Materials
- Measuring and Marking the Door Opening
- Installing the Door Frame and Hinges
- Attaching the Glass Door and Hardware
- Final Adjustments and Safety Checks
Understanding Swinging Glass Shower Door Installation
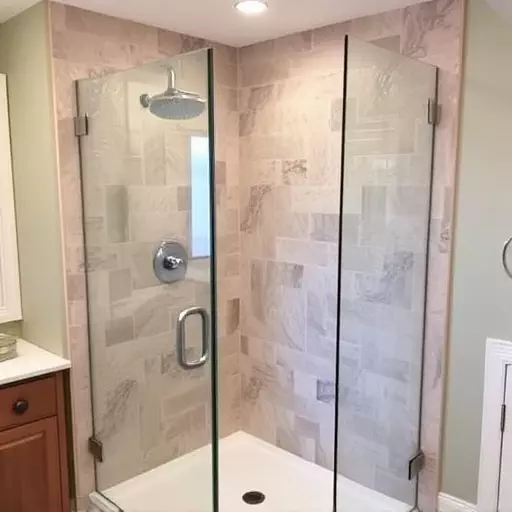
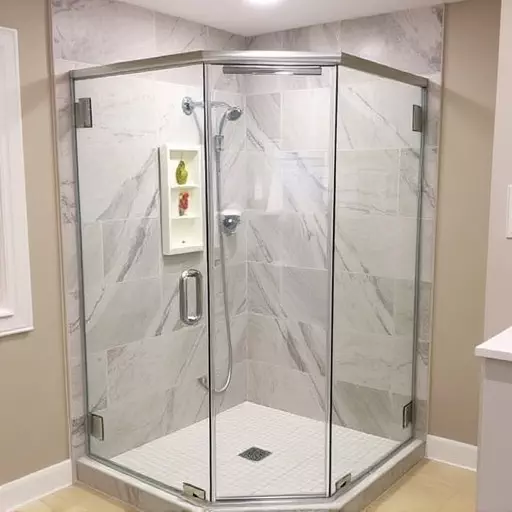
Installing a swinging glass shower door on a tiled wall is a project that can transform your bathroom into a spa-like oasis. Before beginning, it’s crucial to understand the process and gather the necessary tools for a successful swinging glass shower door installation in Lake Orion, Michigan. The first step involves preparing the wall by ensuring it’s clean and free of debris. Then, you’ll need to measure the opening precisely to get the right fit for your swing door. This includes marking the positions for the hinges and the door frame.
Next, the tools required include a level, measuring tape, pencil, power drill with various bits, saw, and a new swinging glass shower door with hardware. You’ll attach the hinges to the wall using anchors suitable for tiled surfaces. The door is then mounted on the hinges, ensuring it swings freely. Proper sealing around the edges with weatherstripping prevents water leaks. Adjustments may be needed for an even swing, and finally, you test the door’s operation and ensure its security.
Preparing Your Lake Orion, Michigan Tiled Wall for the Door

Before installing a swinging glass shower door on your Lake Orion, Michigan tiled wall, there are several preparation steps to ensure a smooth and successful process. Begin by assessing the existing space, making sure it meets the necessary dimensions for the door. Clear away any debris or obstacles from the area where the door will swing, as this could impede its proper functionality. Remove any accessories or hardware that might get in the way during installation, such as old shower handles or hooks.
Next, inspect your tiled wall to ensure its integrity and stability. The wall should be solid and free from cracks or weak spots. If needed, repair or replace damaged tiles before proceeding. Gather all the tools required for the swinging glass shower door installation, including a level, measuring tape, power drill, screws, and any hardware specific to your door model. Ensure proper ventilation in the area during the process due to potential dust generation from tile removal and drilling.
Gathering the Necessary Tools and Materials

Before starting the swinging glass shower door installation Lake Orion Michigan, ensure you have all the necessary tools and materials. This typically includes a measuring tape, level, pencil, power drill with various bits, stud finder, saw (for cutting the wall if needed), silicone caulk, and the swinging glass shower door itself. The specific tools required may vary slightly based on your unique situation, but these are the most common items needed for the job.
When preparing for the swing glass shower door installation steps, follow safety guidelines by wearing protective gear such as goggles and gloves. Additionally, clear a wide workspace around the area where you’ll be working to ensure easy access and maneuverability of tools. Proper planning and the right equipment will make the installation process smoother and more efficient.
Measuring and Marking the Door Opening

Measuring and marking the door opening is a crucial step in the swinging glass shower door installation process. Begin by removing any existing hardware or obstructions that might interfere with your measurements. Next, use a tape measure to determine the width and height of the space where the swinging door will be installed. It’s important to note that this measurement should include the thickness of the tiled wall for accurate fitting. Employ a level to ensure the area is even, as any sloping surface could impact the door’s alignment.
Once you’ve established the dimensions, use a permanent marker to mark the outline on the wall. This provides a clear reference point during the installation process. Remember, precise measuring and marking are key to a successful swinging glass shower door installation, ensuring a perfect fit for your Lake Orion, Michigan, home. The tools required for this step include a tape measure, level, and marker—all readily available in any standard hardware store.
Installing the Door Frame and Hinges

Installing the door frame and hinges is a crucial step in adding a swinging glass shower door to your tiled wall. Begin by preparing the wall, ensuring it’s clean and free of debris or loose tiles. Measure the opening precisely to get the right fit for your door. This involves using a tape measure to take accurate measurements across the top, sides, and bottom of the desired door location. Mark these points clearly on the wall as references.
Next, acquire the appropriate tools: a level, a drill with matching bits, a hammer, and any necessary hardware (like anchor screws or plugs). Install the door frame by securing it at one end using the marked reference points. Ensure it’s level before moving on to the hinges. The hinges should be attached according to the manufacturer’s instructions, aligning them carefully to allow for smooth swinging motion. This step requires precision, so take your time to get it right, as it will impact the overall functionality and appearance of your new swinging glass shower door in Lake Orion, Michigan.
Attaching the Glass Door and Hardware

Attaching the Glass Door and Hardware involves a series of precise steps to ensure a secure fit. Start by placing the swinging glass shower door on the designated track, ensuring it aligns perfectly with the tiled wall. Next, use the appropriate tools, such as a drill and corresponding bits, to create pilot holes for the hinges and other hardware components. This step is crucial for a seamless installation and proper drainage. Once the holes are drilled, attach the hinges, followed by the door handle and any additional accessories like a lock or privacy panel.
Make sure all hardware is securely fastened using the correct size screws. Double-check the door’s alignment and functionality, ensuring it swings smoothly and opens and closes without obstruction. This meticulous process guarantees a professional swinging glass shower door installation in Lake Orion, Michigan, providing an elegant and practical solution for your bathroom renovation steps.
Final Adjustments and Safety Checks

After successfully hanging your swinging glass shower door, it’s crucial to perform a series of final adjustments and safety checks. First, ensure all hinges are securely fastened and aligned, adjusting any screws or pins if needed. Double-check that the door swings smoothly and opens and closes easily without any binding or catching on the tiles. Next, verify the door’s alignment with the shower frame, making sure it’s centered and level. Any slight misalignment can affect the door’s functionality and appearance.
To ensure safety, test the door’s latch mechanism to guarantee it secures tightly when closed, preventing water from seeping through the gaps. Check all seals and gaskets for any signs of damage or wear and replace them if necessary. Additionally, verify that the floor around the shower is slip-resistant, especially if you’ve installed a glass door, as this can significantly impact safety. The tools required for these final steps typically include a level, adjustable wrenches, a screwdriver, and a measuring tape, all of which are essential for making precise adjustments and ensuring your swinging glass shower door installation in Lake Orion, Michigan, is both functional and safe.