Car sound deadening in Toledo is crucial for enhancing audio quality and creating an immersive listening experience within enclosed vehicle spaces. DIY enthusiasts can improve the process by understanding echo and resonance sources and using absorptive materials, while professionals offer precise results with specialized knowledge and tools. Effective sound deadening, whether DIY or professionally installed, optimizes driving pleasure by delivering clearer audio and a quieter cabin, even with deep bass from subwoofers. Key methods include car sound deadening in Toledo, with DIY gaining popularity among local vehicle owners seeking to enhance their audio experiences while reducing noise levels.
In today’s world, minimizing unwanted noise is paramount, especially in vehicles. Sound deadening for subwoofers, a process that reduces low-frequency vibrations and resonances, has become an essential upgrade for music enthusiasts and those seeking a quieter ride. This article explores the art of sound deadening, guiding you through understanding its fundamentals, performing DIY installations, and recognizing the benefits of professional best practices in car sound deadening Toledo residents trust.
- Understanding Sound Deadening for Subwoofers
- DIY Car Sound Deadening: Tools and Materials Required
- Professional Installation: Tips and Best Practices
- Benefits of Effective Sound Deadening in Vehicles
Understanding Sound Deadening for Subwoofers
Sound deadening for subwoofers is a process that involves reducing the resonance and reflections of low-frequency sounds to enhance audio quality and create a more immersive listening experience, especially in enclosed spaces like vehicles. It’s particularly crucial when it comes to car sound deadening in Toledo, as the unique shape and materials of cars can cause sound waves to bounce around, leading to distortion and an uneven listening environment. Both DIY car sound deadening and professional installation methods are available, each with its own advantages.
For those inclined towards do-it-yourself projects, understanding the principles behind sound deadening is a good starting point. This involves identifying sources of echo and resonance within your vehicle and using materials designed to absorb these sounds. Professional sound deadening installation, on the other hand, offers precise results and ensures optimal performance by utilizing specialized knowledge and tools. Regardless of the method chosen, effectively implementing sound deadening can transform your driving experience, providing clearer audio and a quieter cabin, especially when playing deep bass notes from your subwoofer.
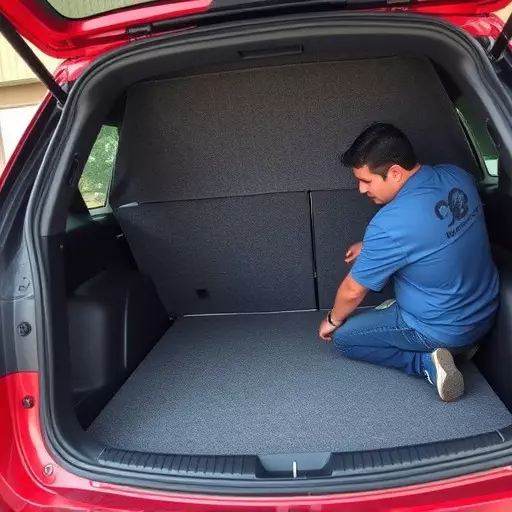
DIY Car Sound Deadening: Tools and Materials Required
DIY car sound deadening has become a popular way for vehicle owners in Toledo to enhance their audio experience while minimizing noise levels. Before tackling this project, it’s essential to gather the right tools and materials. For car sound deadening, you’ll need items like acoustic foam panels, soundproof mats, and adhesive or specialty mounts designed for automotive applications. These materials are crucial for effectively absorbing low-frequency sounds that subwoofers produce.
When equipping yourself for a DIY car sound deadening project, consider the following tools: a utility knife for cutting materials, a measuring tape to ensure precise cuts, and a drill with appropriate bits for securing the soundproofing materials. Additionally, you might require a vacuum cleaner to clean the interior before installation and a heat gun or hair dryer to warm up adhesive for easier application. For a professional sound deadening installation, consider seeking expert advice to achieve optimal results.
Professional Installation: Tips and Best Practices

Benefits of Effective Sound Deadening in Vehicles
