Low-flow toilet installations using tools from Toilet Installation Tools Toledo offer significant water conservation benefits with minimal cost savings on utility bills. While DIY installation is feasible with proper tools and skills, complex setups or older homes may require professional help. The process involves preparing the base, connecting pipes, and installing the toilet securely. Using specialized tools and following a structured Toilet Installation Process ensures a successful DIY Toilet Installation, promoting environmental responsibility.
Thinking of installing a low-flow toilet in your Toledo home? This comprehensive guide covers everything you need to know. From understanding the benefits and basics of low-flow toilet installation to navigating the step-by-step process, common challenges, and water conservation tips, we’ve got you covered. Plus, learn which factors to consider when choosing the right low-flow model for your DIY toilet installation in Toledo, ensuring a smooth and efficient upgrade.
- Understanding Low-Flow Toilet Installation: Benefits and Basics
- Necessary Tools for a Successful DIY Toilet Installation in Toledo
- Step-by-Step Guide to the Toilet Installation Process
- Common Challenges and Solutions During Installation
- Tips for Efficient Water Conservation with Low-Flow Toilets
- Choosing the Right Low-Flow Toilet: Factors to Consider
Understanding Low-Flow Toilet Installation: Benefits and Basics
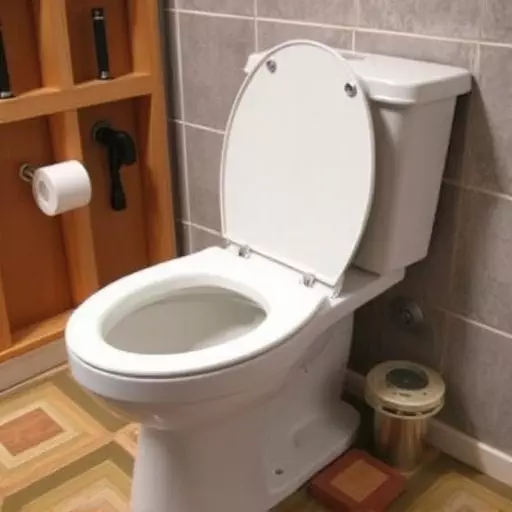
Low-flow toilet installation is a popular choice for those looking to conserve water and reduce their environmental impact. Understanding the process involves grasping the benefits and basics of this efficient plumbing upgrade. The primary advantage lies in its water-saving capabilities; these toilets use significantly less water per flush compared to traditional models, often utilizing as little as 1.6 gallons (as opposed to the standard 3.5–7 gallons). This not only reduces water bills but also minimizes strain on local water supplies.
The toilet installation process typically requires specific tools and knowledge. DIY toilet installation is feasible for those with basic plumbing skills, as it involves connecting the new toilet to existing pipes while ensuring a secure seal. Professional assistance may be needed for more complex setups or older homes. The basics include preparing the toilet base, connecting water supply lines, attaching drainage pipes, and installing the toilet itself. With the right tools and guidance from resources like Toilet Installation Tools Toledo, homeowners can efficiently incorporate this sustainable solution into their bathrooms.
Necessary Tools for a Successful DIY Toilet Installation in Toledo
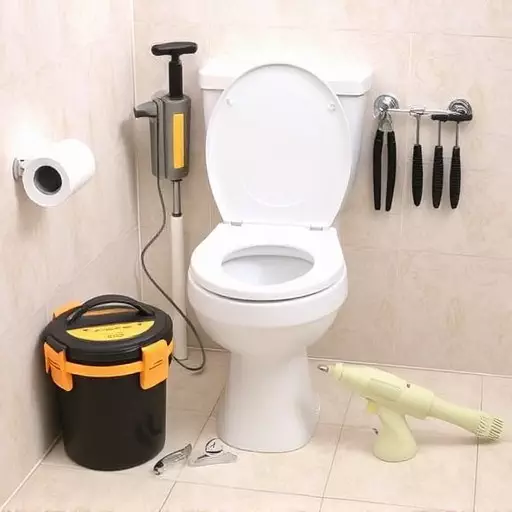
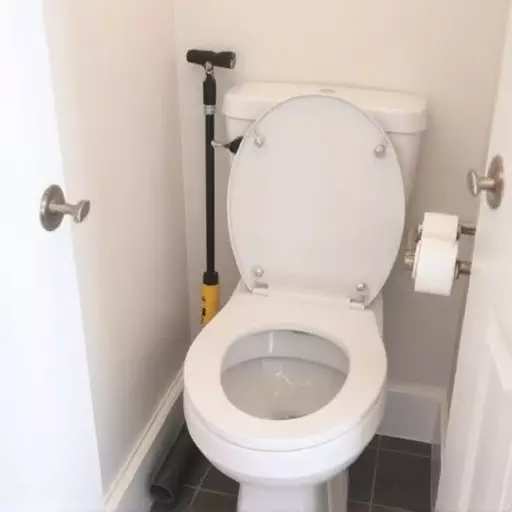
Installing a low-flow toilet yourself can be a cost-effective and eco-friendly project for any DIY enthusiast in Toledo. Before beginning, it’s essential to gather all the necessary tools to ensure a successful and smooth installation process. Basic hand tools like wrenches (both open-end and adjustable), pliers, and a screwdriver set are crucial for disassembling the old toilet and installing the new one. For a more efficient process, consider investing in specialized toilet installation tools, such as a toilet flange puller, which simplifies removing the existing flange, and a new flange or wax ring, designed to create a secure seal with the bathroom floor.
Additionally, have a bucket, cleaning solutions, and protective gear on hand for any necessary clean-up or preparation tasks. With the right tools ready, you’ll be well-equipped to navigate the toilet installation process, step-by-step, making your DIY project a rewarding experience that saves money and benefits the environment.
Step-by-Step Guide to the Toilet Installation Process
Installing a low-flow toilet is an effective way to reduce water consumption and contribute to environmental sustainability. Here’s a step-by-step guide for DIY enthusiasts looking to replace their old toilet with a more efficient model using standard Toilet Installation Tools Toledo:
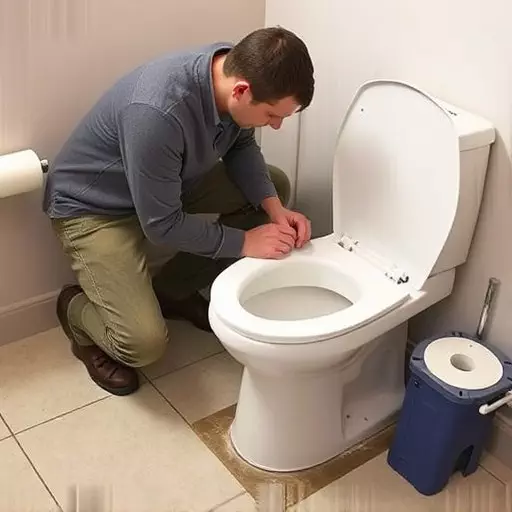
1. Prepare the Area: Turn off the water supply to your toilet by locating and closing the shut-off valves under the bathroom sink or in the utility room. Remove the lid from the toilet tank and flush to empty it, then disconnect the electrical hookup to the old toilet (if applicable). Use a level to ensure your new toilet will sit flat on the floor.
2. Remove the Old Toilet: Loosen and remove any mounting bolts around the base of the toilet using the appropriate tools from your Toledo kit. Lift the old toilet away from the floor, being careful not to damage pipes or components connected to it. Remove all screws, washers, and flange pieces securing the toilet in place. Clean the bathroom floor and ensure the area is clear for installation.
Common Challenges and Solutions During Installation

Low-flow toilet installation can present several challenges, but with the right tools and a structured approach, DIY enthusiasts can successfully navigate this process. One common hurdle is adapting to the newer, more compact designs that require precise fitting. Toilet installation tools specifically designed for Toledo models, such as specialized wrenches and adapters, can help overcome this challenge. These tools ensure secure connections, which are crucial for maintaining water pressure and preventing leaks.
Another challenge lies in the intricate toilet installation process, requiring careful manipulation of components like flush valves and supply lines. Proper sealing is paramount to prevent water damage and ensure a seamless fit. Using high-quality sealants and taking measured steps during installation can mitigate these issues. DIY enthusiasts should refer to detailed instructions or consult professionals for complex cases, ensuring a smooth DIY toilet installation process.
Tips for Efficient Water Conservation with Low-Flow Toilets

Low-flow toilets are an excellent way to reduce water usage and contribute to sustainable living. When installing a low-flow toilet, it’s essential to understand the unique features and benefits this process offers. One of the key advantages is the efficient use of water; these toilets use significantly less water per flush compared to traditional models, often as little as 1.6 gallons or even less.
During the toilet installation process, especially when opting for a DIY Toilet Installation using Toledo Toilet Installation Tools, pay close attention to the flushing mechanism. Modern low-flow toilets employ advanced systems like gravity-fed or pressure-assisted technology to ensure powerful flushing with minimal water. Regular maintenance, such as cleaning the flush valve and ensuring proper sealing, can further optimize water conservation.
Choosing the Right Low-Flow Toilet: Factors to Consider

When considering a low-flow toilet installation, DIY enthusiasts and homeowners alike should first evaluate their specific needs and preferences to choose the right model. Factors like bathroom size, water pressure, and existing plumbing setup play a crucial role in determining compatibility and efficiency. Modern low-flow toilets come in various designs, including gravity-fed, pressure-assisted, and tankless options, each with unique features and benefits.
For a smooth Toilet Installation Process using Toledo tools, it’s essential to check the toilet’s flush volume (typically measured in gallons per flush) against your local water usage regulations and personal preferences. Opting for a model that offers a stronger flush while using less water can significantly reduce overall consumption, making it an eco-friendly choice. Additionally, considering the toilet’s design, color, and additional features like soft-close seats or dual-flush options will ensure a satisfying and efficient bathroom experience.