Toilet Installation Codes guide safe fitting in Toledo, dictating tools (like Toilet Installation Tools Toledo), materials, and drainage systems. DIY installation saves costs but requires understanding the Toilet Installation Process and local regulations to avoid plumbing issues. Before starting, research building codes, obtain permits, and ensure the right tools for a successful, secure toilet setup using Toilet Installation Tools Toledo.
“Toilet Installation: Navigating Codes and Processes in Toledo
Are you ready to embark on a DIY toilet upgrade? Understanding Toledo’s toilet installation codes is crucial before diving into the process. This comprehensive guide breaks down everything from essential tools for a successful fit to step-by-step instructions for a seamless DIY toilet installation. We also explore legal requirements, common mistakes to avoid, and expert tips for efficient, safe, and code-compliant toilet fitting in Toledo.”
- Understanding Toilet Installation Codes: A Comprehensive Guide
- Essential Tools for Successful Toilet Installation in Toledo
- Step-by-Step DIY Toilet Installation Process
- Legal Requirements and Permits for Toilet Upgrades
- Common Mistakes to Avoid During Installation
- Tips for Efficient and Safe Toilet Fitting
Understanding Toilet Installation Codes: A Comprehensive Guide
Toilet Installation Codes provide a set of guidelines and regulations that ensure proper sanitation and safety during toilet installation. Understanding these codes is crucial for both professional plumbers and DIY enthusiasts undertaking a toilet installation process. The codes cover various aspects, including the type of tools required (such as Toilet Installation Tools Toledo), building materials permitted, drainage systems, and distance requirements from other fixtures.
DIY toilet installation can be a cost-effective option, but adhering to these codes is essential for preventing plumbing disasters. The installation process involves careful planning, measuring, and following specific steps to ensure the new toilet is level, securely fastened, and properly connected to the existing drainage system. By familiarizing themselves with the Toilet Installation Process and relevant regulations, homeowners can guarantee a safe and efficient setup.
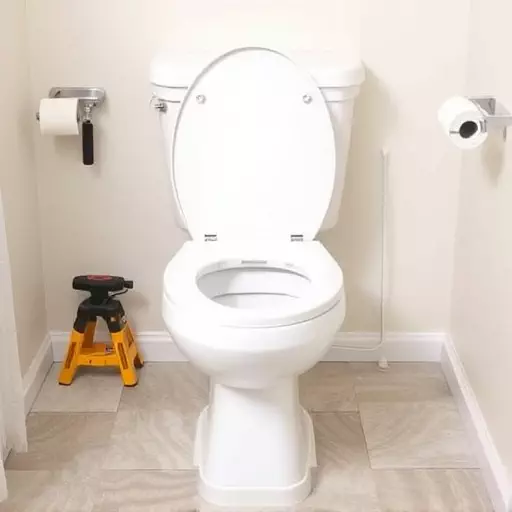
Essential Tools for Successful Toilet Installation in Toledo
When tackling a DIY toilet installation in Toledo, having the right tools is essential for a successful and seamless process. Basic hand tools like wrenches, pliers, and screwdrivers are a must-have for any home improvement project, including toilet installations. For a more complex setup, you might need specialized tools such as a toilet flange gage, a water supply line cutter, and an adjustable wrench to ensure proper fitting and alignment. These tools help in accurately measuring, cutting, and tightening components, guaranteeing a secure and leak-free installation.
Additionally, consider having a good set of safety gear, including gloves, eye protection, and a dust mask, to protect yourself from debris and potential hazards during the installation process. With the right tools at your disposal, you’ll be well-prepared to navigate the DIY toilet installation journey in Toledo with confidence and efficiency.
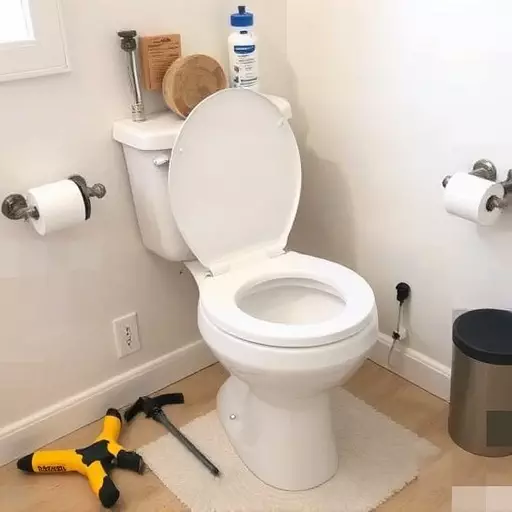
Step-by-Step DIY Toilet Installation Process
Installing a new toilet can be a DIY project for those with basic plumbing skills. Here’s a step-by-step guide for a smooth and successful toilet installation process:
1. Gather your toilet installation tools Toledo: You’ll need a few essential tools, including a wrench (for removing the old toilet), a new toilet, a bucket, cleaning solution, caulk, a putty knife, and a new toilet lid and seat. Ensure you have all the necessary parts and tools before starting.
2. Turn off the water supply: Before beginning any installation, it’s crucial to shut off the water valves connected to the toilet to prevent leaks during the process. Remember to place a bucket underneath to catch any residual water.
3. Remove the old toilet: Carefully lift the old toilet and detach it from the floor using the wrench. Remove the tank and all components, taking note of how they were attached for easy reassembly later. Clean the area thoroughly to ensure a smooth installation of the new toilet.
4. Prepare the new toilet: Follow the manufacturer’s instructions for preparing the new toilet. This might involve leveling it or adjusting the legs for stability.
5. Secure the toilet base: Position the new toilet in place and secure its base to the floor using screws or bolts, ensuring a firm and level fit.
6. Connect the water supply: Turn on the water valves and check for any leaks. If there are none, you’re ready to move forward.
7. Install the tank and flush mechanism: Reconnect the tank, making sure it is properly aligned. Attach the flush handle and chain, ensuring they function correctly.
8. Add caulk and finishing touches: Apply a bead of caulk around the base of the toilet for water-tightness. Finally, install the new lid and seat, securing them in place.
Legal Requirements and Permits for Toilet Upgrades

When planning a toilet upgrade, understanding local building codes and obtaining necessary permits is crucial before starting the toilet installation process. These regulations ensure that any modifications meet safety and health standards. Every region has its own set of guidelines, so it’s essential to check with your local authorities in Toledo to grasp the specific requirements for toilet installations.
While some minor upgrades might be eligible for DIY installation, more complex projects often necessitate professional tools and expertise. Obtaining the right permits is a legal requirement and protects both homeowners and contractors by ensuring compliance. This process involves submitting detailed plans, specifying materials, and demonstrating that the installation meets local codes, especially in terms of plumbing and structural integrity.
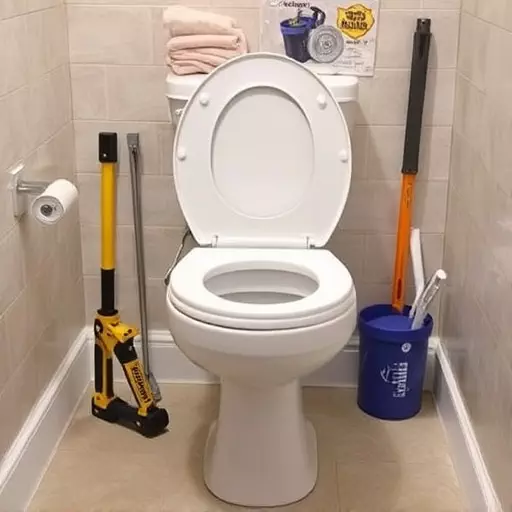
Common Mistakes to Avoid During Installation

When undertaking a DIY toilet installation or hiring professionals for the toilet installation process, it’s crucial to be aware of common mistakes that can lead to costly repairs or inefficient plumbing. One of the most frequent errors is neglecting proper leveling, which can result in a shaky toilet and potential water leaks. Always ensure the floor is even before installing the new toilet using toilet installation tools Toledo like spirit levels.
Another mistake to avoid is improper drainage connections. Misalignment or loose connections can cause clogs and flooding. Make sure all pipes are securely fastened, sealed, and properly angled for smooth water flow. Additionally, never skip the step of testing the toilet’s functionality after toilet installation. A simple flush test will reveal any issues with the setup, allowing you to address them before they become bigger problems.
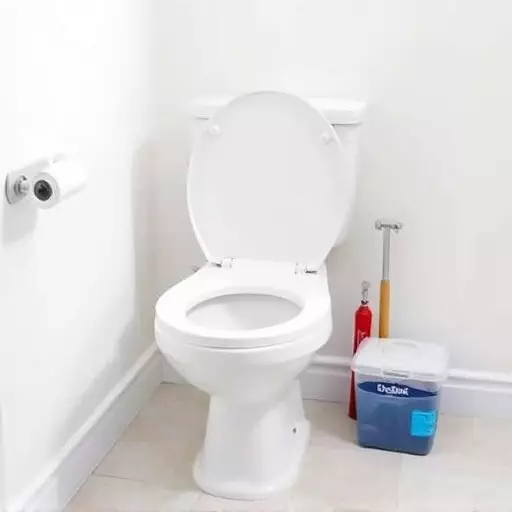
Tips for Efficient and Safe Toilet Fitting

Installing a new toilet can be a straightforward DIY project using the right tools and following a structured process. First, gather all necessary Toilet Installation Tools Toledo, ensuring you have everything from wrenches to plumbing supplies. Begin by turning off the water supply to avoid any accidents during the installation. The next step involves removing the old toilet, which may require some muscle power but can be done with a few key turns and a good set of pliers. Once the old toilet is out, prepare the new one by ensuring it’s level and properly positioned.
The actual Toilet Installation Process involves connecting the water supply lines, securing the toilet’s bolts, and checking for any leaks. It’s crucial to follow local plumbing codes and regulations throughout this process. For instance, ensure that the new toilet’s height aligns with accessibility standards. After installation, test the flush mechanism and check for any water damage or leaks around the base of the unit. DIY Toilet Installation can be a cost-effective solution, but always remember that proper safety precautions and adherence to codes are paramount to prevent future issues.