Upgrading your toilet in Toledo can be a manageable DIY project with the right tools and knowledge. Gather essential Toilet Installation Tools Toledo, including pliers, wrenches, a new toilet, and sealing compounds. Follow these steps: turn off water supplies, remove old toilets, prepare the floor, install the new toilet levelly, reinstall bolts, apply seals, and test flush functionality to ensure a successful DIY Toilet Installation process without leaks.
Thinking of upgrading your toilet? Navigating the toilet installation process in Toledo can seem daunting, but with the right tools and knowledge, it’s a project you can tackle yourself. This guide covers everything from understanding the toilet installation process to essential DIY toilet installation tips using specific tools designed for Toledo homes. Learn how to ensure a seamless upgrade with our step-by-step instructions and final considerations.
- Understanding the Toilet Installation Process
- Essential Tools for Seamless Toilet Installation in Toledo
- DIY Toilet Installation: A Step-by-Step Guide
- Final Considerations and Tips for Successful Upgrades
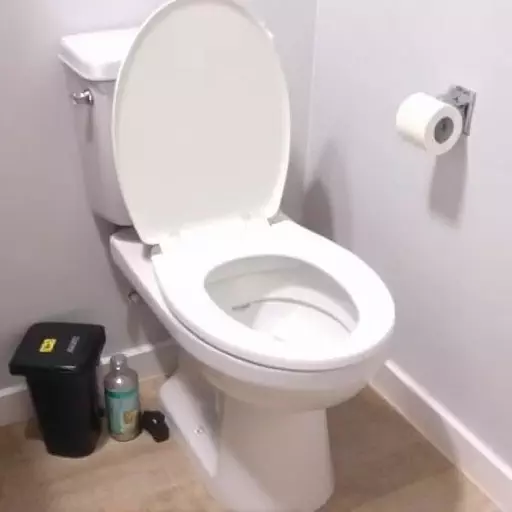
Understanding the Toilet Installation Process
Upgrading your toilet might seem like a daunting task, but understanding the Toilet Installation Process can make it a manageable DIY project. The first step is to assess your current plumbing setup and gather the necessary Toilet Installation Tools Toledo. This typically involves locating the water supply lines and drain pipes connected to the existing toilet. Once you have a clear view of these components, you can begin disassembling the old toilet with care, taking note of how each part connects.
The actual installation process begins by disconnecting the water supply and securing new plumbing connections. This often requires specific tools like pliers and adjustable wrenches to tighten or adjust fittings. Next, the new toilet is carefully positioned, ensuring it’s level and aligned correctly. The process concludes with reassembling any necessary parts, such as the tank mechanism, flapper, and chain, before finally connecting the water supply and testing for leaks. DIY Toilet Installation can be a cost-effective way to enhance your bathroom, but always consider seeking professional advice if you’re unsure about any stage of the process.
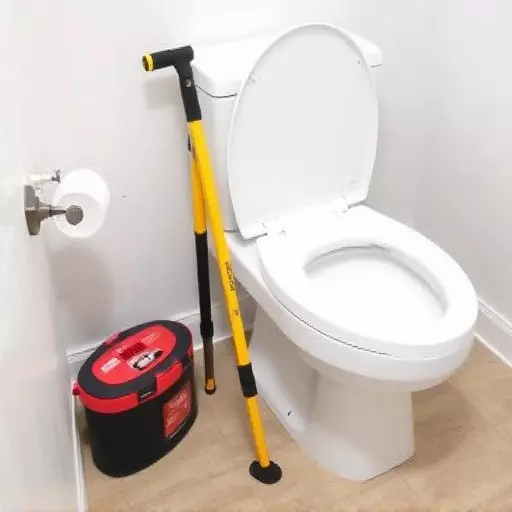
Essential Tools for Seamless Toilet Installation in Toledo
When it comes to upgrading your toilet in Toledo, having the right tools is essential for a seamless installation process. For a DIY project, gather a few fundamental tools that will make the task easier and more manageable. Start with a robust set of wrenches, including adjustable and pipe wrenches, to securely fasten the new toilet components. A plunger and a set of pliers are also indispensable; these tools help tackle any clogs and loosen stubborn connections during the installation.
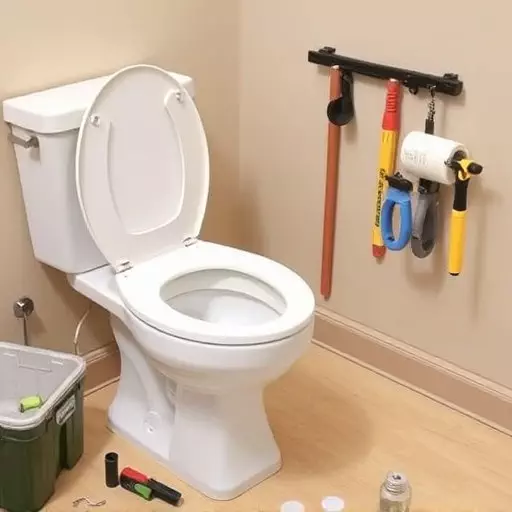
Additionally, consider investing in a toilet installation kit, which typically includes all the necessary hardware and gaskets for a proper fit. Measuring tape and a level are crucial to ensure accurate measurements and a square connection, preventing leaks and ensuring the new toilet is aligned correctly. With these tools at your disposal, navigating the DIY toilet installation process in Toledo becomes more accessible and less daunting.
DIY Toilet Installation: A Step-by-Step Guide
Upgrading your toilet can be a straightforward process with the right tools and knowledge. If you’re considering a DIY toilet installation, this step-by-step guide will help you navigate the toilet installation process. Begin by gathering all necessary Toilet Installation Tools Toledo, including a new toilet, wrenches, pliers, a putty knife, and sealing compound. Next, turn off the water supply to your toilet using the valve under the basin or in the basement. Remove the old toilet carefully, taking note of any connecting hardware for future reference. Prepare the floor by cleaning it thoroughly and ensuring it’s level. Place the new toilet in position, aligning it with the existing bolts. Secure it in place with the provided hardware and tighten with your wrenches. Apply a bead of sealing compound around the base of the toilet to create a watertight seal. Finally, turn on the water supply and test the flush to ensure everything functions correctly.
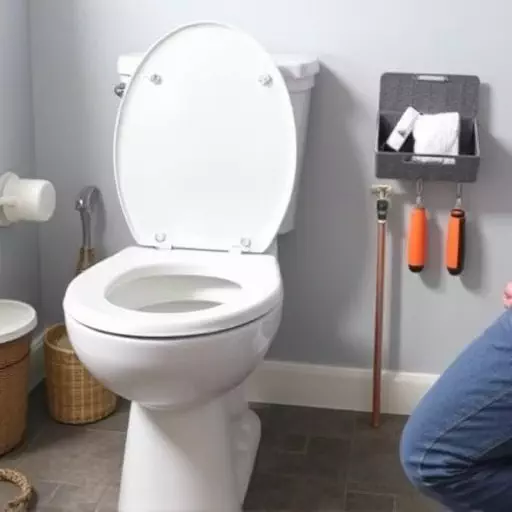
Final Considerations and Tips for Successful Upgrades

When upgrading your toilet, it’s crucial to prepare for the installation process by gathering the necessary tools and materials. A typical Toilet Installation Tools Toledo kit includes a new toilet, a wax ring, bolts, pliers, a wrench, and sometimes a caulk gun. Ensure you have enough clearance in your bathroom and that the floor is structurally sound before beginning the Toilet Installation Process.
For DIY enthusiasts, understanding the Toilet Installation Process can be rewarding. Start by turning off the water supply, removing the old toilet, and preparing the new one according to the manufacturer’s instructions. Position the new toilet carefully, ensuring it’s level and aligned correctly. Reinstall the bolts securely and apply a bead of caulk around the base for extra sealing. Remember, proper installation is key to preventing leaks and ensuring a smooth DIY Toilet Installation experience.