Understanding toilet installation involves assessing bathroom space, choosing a model, gathering Toilet Installation Tools Toledo, and following key steps: removing old toilets, preparing new ones, connecting water lines tightly, adjusting flush mechanisms, and testing functionality. DIY installation is rewarding but seeking professional help for complex issues or unclear steps is recommended. Essential tools include wrenches, pliers, level, measuring tape, hammer, utility knife for easy navigation. Successful DIY toilet installation requires proper preparation, hardware, alignment, waterproof sealants, and regular maintenance for optimal performance.
Toilet Installation Techniques: A Comprehensive Guide for Do-It-Yourselfers in Toledo
Thinking of installing a new toilet in your Toledo home? Understanding the toilet installation process is key to a successful DIY project. This guide covers everything from gathering the right toilet installation tools Toledo to final checks and maintenance tips. Learn the steps involved, avoid common mistakes, and prepare your bathroom for a seamless transition with our detailed toilet installation process overview. Whether you’re a seasoned handyman or a first-time installer, this guide ensures a job well done.
- Understanding the Toilet Installation Process
- Tools Required for a Successful Toilet Installation in Toledo
- Preparing Your Bathroom for the New Toilet
- Step-by-Step Guide to DIY Toilet Installation
- Common Mistakes to Avoid During Installation
- Final Checks and Maintenance Tips for Your New Toilet
Understanding the Toilet Installation Process
Toilet installation might seem like a daunting task, but understanding the process can make it more manageable. The first step is to assess your space and choose the right toilet for your bathroom. Consider factors such as size, shape, and water efficiency when selecting your new toilet. Once you have the correct model, gather your Toilet Installation Tools Toledo—you’ll likely need a wrench, pliers, and possibly a level.
The actual installation involves several key steps. Remove the old toilet, taking care to disconnect the water supply lines. Prepare the new toilet by ensuring it’s level and secure. Connect the water lines, making sure they’re tightly sealed to prevent leaks. Finally, adjust the flush mechanism and test the toilet’s functionality. DIY Toilet Installation can be a rewarding project, but if you encounter any issues or are unsure about any step, don’t hesitate to consult a professional for guidance.
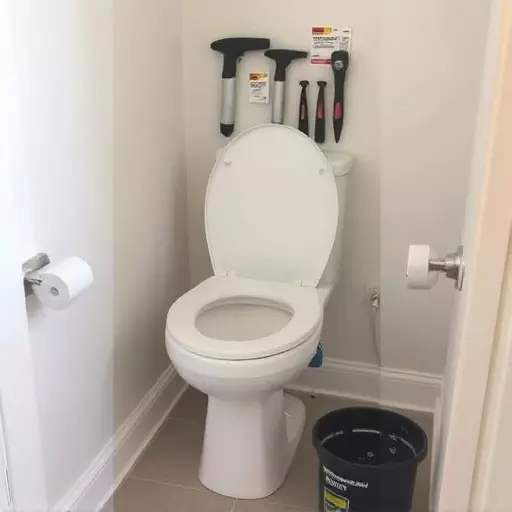
Tools Required for a Successful Toilet Installation in Toledo
When it comes to a successful toilet installation in Toledo, having the right tools is paramount. For a DIY project or a professional setup, a well-equipped tool kit ensures precision and efficiency throughout the process. Essential tools for this task include a wrench set (adjustable or pipe), pliers, a level, a measuring tape, and possibly a hammer and utility knife. These tools are crucial for tasks such as adjusting the toilet’s height to ensure it sits level, tightening connections, cutting through old flooring if necessary, and marking precise installation points.
A comprehensive toolset allows you to navigate the intricate steps of the toilet installation process with ease. This includes preparing the floor, connecting the water lines, securing the tank and bowl, and hiding any exposed pipes or wiring. With the right tools at hand, you’ll be better equipped to handle unexpected challenges that may arise during the installation, ensuring a seamless and successful outcome whether for a new construction or bathroom renovation project in Toledo.
Preparing Your Bathroom for the New Toilet
Before installing your new toilet, it’s crucial to prepare your bathroom space. This involves gathering all the necessary Toilet Installation Tools Toledo and ensuring the area is ready for the process. Start by removing the old toilet, flushing it thoroughly to empty its tank, and clearing away any debris or waste left behind. Use this opportunity to inspect the plumbing connections and ensure they are secure and in good condition. If there are any leaks or damage, address them before proceeding.
For a smooth DIY Toilet Installation Process, lay out your new toilet and check that it fits properly within the bathroom’s designated space. Verify that all the necessary hardware is included with your purchase and that you have everything required to complete the job. Double-check your plumbing connections again to ensure they align with your new toilet’s specifications, allowing for any adjustments or modifications needed before securing the toilet in place.
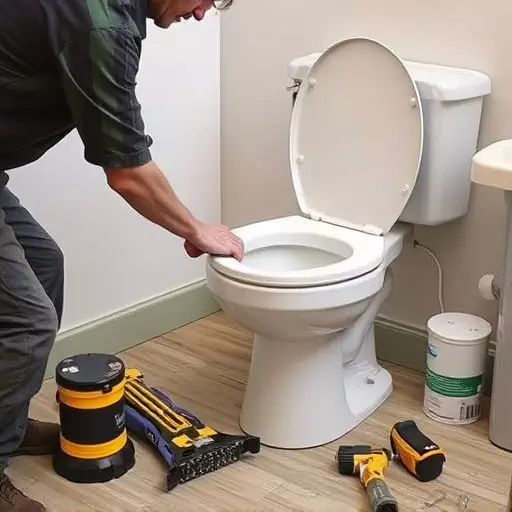
Step-by-Step Guide to DIY Toilet Installation

Installing a toilet yourself can be a cost-effective way to save on professional plumbing services. Here’s a straightforward guide for a DIY toilet installation using common Toilet Installation Tools Toledo. Begin by gathering all necessary tools and materials, including a new toilet, wax ring, bolt kit, pliers, wrenches, and a level. Remove the old toilet, carefully disassembling it if needed. Inspect the floor and ensure the plumbing connections are accessible.
Next, set the new toilet in place, ensuring it’s level and properly positioned. Secure it with the provided bolts, tightening them firmly but not excessively. Apply a generous amount of waterproof sealants around the base of the toilet, forming a ring to prevent leaks. Place the wax ring on top of this sealant, aligning it carefully with the toilet’s drainage hole. Finally, connect the toilet’s drain and supply lines according to the manufacturer’s instructions, ensuring all connections are secure.
Common Mistakes to Avoid During Installation

When installing a toilet, whether as part of a new construction project or a DIY renovation, it’s crucial to avoid common mistakes that can lead to costly repairs and inefficient plumbing. One of the primary blunders is misaligning the toilet with the floor or the existing waste pipe, which can cause leaks and an uneven installation. Always double-check the level and alignment before securing the toilet in place.
Another mistake to steer clear of is using the wrong tools for the job. Using inappropriate tools may result in damage to the toilet or the plumbing system. For instance, failing to employ proper tightening techniques with a wrench can lead to loose connections, while using subpar adhesive might compromise the overall integrity of the installation. DIY enthusiasts should invest in high-quality Toilet Installation Tools Toledo to ensure a seamless and long-lasting process.
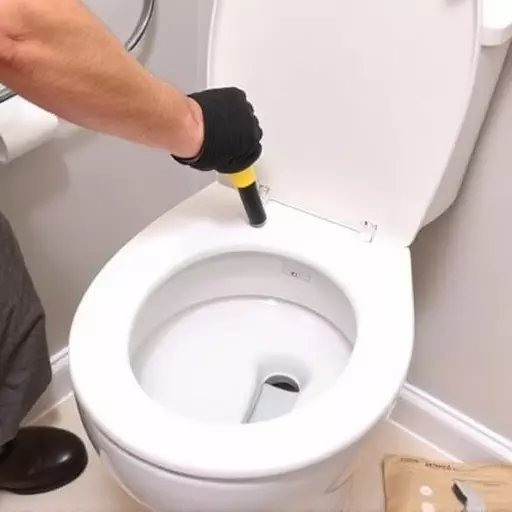
Final Checks and Maintenance Tips for Your New Toilet

After successfully installing your new toilet, it’s crucial to conduct final checks to ensure everything is in place and functioning correctly. Begin by verifying the water supply lines are secure and sealed, checking for any leaks around the connections. Test the flush mechanism to confirm it operates smoothly and efficiently. Ensure the toilet is level by adjusting the feet if needed; a level installation is essential for proper drainage and flushing performance.
Regular maintenance is vital for keeping your new toilet in top condition. This includes routine cleaning to prevent mineral buildup and stains. Use mild, non-abrasive cleaning agents suitable for porcelain or ceramic surfaces. Periodically check for any signs of damage or wear, addressing issues promptly. Keep an eye on the water level in the tank; adjust as necessary according to your toilet’s specifications. DIY toilet installation can be a rewarding project, but regular upkeep is key to maintaining its functionality and longevity.