Toilet flange installation is vital for water-tightness and longevity in any toilet replacement or new construction project. Using specific tools like those in the Toilet Installation Tools Toledo kit, DIYers can successfully install a new toilet through preparation (floor & drain opening), flange placement, sealing with caulk/wax ring, securing with bolts, testing for leaks, and troubleshooting common issues. The Toilet Installation Process emphasizes proper tools, level installation, watertightness, and final adjustments for a successful DIY Toilet Installation experience.
“Unsure about flange installation for your new toilet? This comprehensive guide walks you through the entire DIY toilet installation process, from gathering the right Toilet Installation Tools Toledo to mastering the Toilet Installation Process. Learn how to locate and prepare the drain opening, insert the flange securely, attach the toilet, and test for any common issues. By following these simple steps, you can confidently tackle your next DIY Toilet Installation project.”
- Understanding Toilet Flange Installation
- Tools Required for the Job: A Comprehensive List
- Step-by-Step Guide to DIY Toilet Installation
- Locating and Preparing the Drain Opening
- Inserting the Flange and Achieving a Secure Fit
- Attaching the Toilet and Final Adjustments
- Testing and Troubleshooting Common Issues
Understanding Toilet Flange Installation
Toilet flange installation is a critical step in any toilet replacement or new construction project. It involves securing the toilet’s wax seal (or flange) to the floor, providing a watertight connection between the bowl and the plumbing system. Understanding this process is essential for a successful DIY toilet installation or ensuring proper toilet setup by professionals using Toledo toilet installation tools.
The typical toilet installation process begins with preparing the bathroom floor, adjusting the toilet’s level, and inserting the flange ring. The flange is then centered over the drain pipe, and a caulk gun is used to apply sealing caulk around its base, creating an airtight fit. In some cases, additional tools like adjustable wrenches and pliers may be required for tight installations. Proper flange placement and a well-applied seal are key to preventing leaks and ensuring a long-lasting toilet setup.
Tools Required for the Job: A Comprehensive List
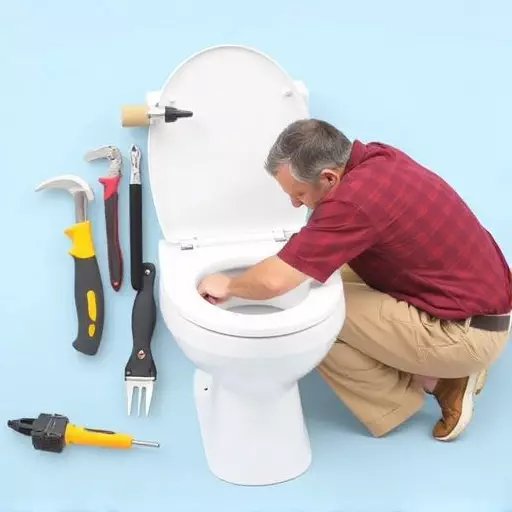
To undertake a toilet installation, whether as part of a new build or a replacement, several specific tools are essential. The Toilet Installation Tools Toledo plays a vital role in ensuring the job is done correctly and efficiently. Here’s a breakdown of what you’ll need for the DIY Toilet Installation process:
Start with basic hand tools such as adjustable wrenches for tightening connections, pliers for gripping and bending, and a level to ensure your toilet is aligned correctly. For more complex tasks, a power drill with various bits will be helpful, especially when attaching the water supply lines. Additionally, a measuring tape, marker, and safety goggles are crucial for accurate measurements and eye protection during the installation process.
Step-by-Step Guide to DIY Toilet Installation
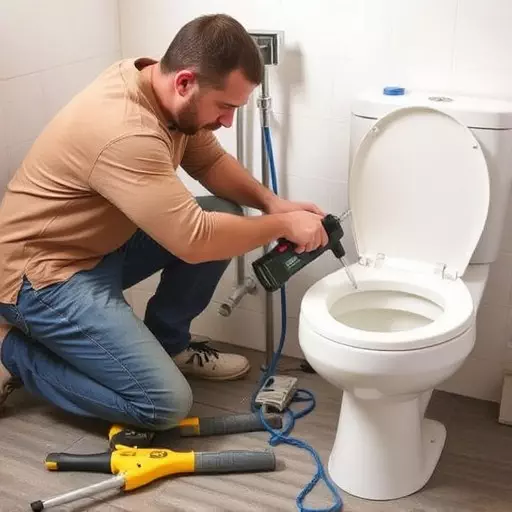
Installing a toilet is a common home improvement task that many DIY enthusiasts take on. It’s an essential part of any bathroom renovation or new construction project, and with the right tools and a systematic approach, it can be accomplished successfully. This guide will walk you through the simple steps to ensure a smooth DIY toilet installation using Toilet Installation Tools Toledo.
First, gather all necessary tools and materials: a new toilet, wax rings, flange, bolts, a level, measuring tape, pliers, and a utility knife. Prepare the floor by removing any debris or old adhesive. Measure and mark the toilet’s location, ensuring it’s centered and level. Remove the old toilet carefully, cutting through any remaining hardware with your utility knife. Clean the floor thoroughly, checking for any cracks or damage. Place the new toilet in position, align the flange holes with the bolts, and secure it firmly using the provided hardware. Apply a generous amount of wax ring around the base of the toilet, ensuring a watertight seal. Finally, tighten the bolts gently to achieve a level finish.
Locating and Preparing the Drain Opening

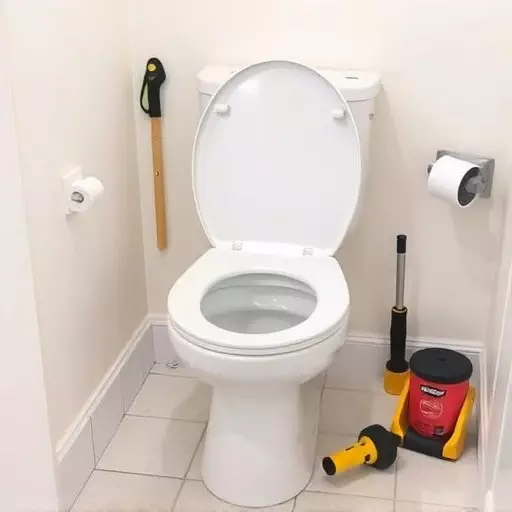
When undertaking a DIY toilet installation or replacing an old one, locating and preparing the drain opening is a crucial step in the toilet installation process. The drain opening, often referred to as the flange or mounting ring area, needs to be accurately identified. This typically involves removing the existing toilet to access the floor or wall behind it, revealing the plumbing connections and drain pipe. Using the right Toilet Installation Tools Toledo, carefully inspect the area for any damage or obstructions that might affect the new toilet’s fit.
Preparation of this opening includes ensuring it is clean, dry, and free from debris. The surface should be level to guarantee the new toilet sits flush on the floor or wall. Any gaps around the drain opening must be filled with suitable material to create a watertight seal when the flange is installed. This step is vital for preventing water leaks and ensuring the longevity of your newly installed toilet, making it a seamless part of your DIY toilet installation project.
Inserting the Flange and Achieving a Secure Fit

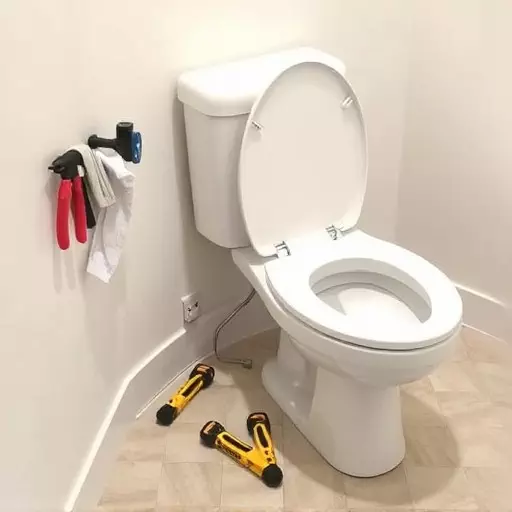
After preparing the toilet base and ensuring a level surface, it’s time to insert the flange. Position the flange in the center of the base, aligning it with the drain hole. Using suitable Toilet Installation Tools Toledo, secure the flange by tightening the bolts or screws that fasten it to the base. It’s crucial to achieve a tight and secure fit for a leak-free connection.
For a DIY Toilet Installation, this step requires careful handling. Ensure all components are properly seated and aligned before applying force. A secure flange installation is fundamental to the overall success of your toilet installation process.
Attaching the Toilet and Final Adjustments

After securely fastening the flange to the floor with bolts and washers, it’s time to attach your toilet. Position the toilet bowl over the flange, ensuring all holes align. Use the provided tools—typically a wax ring and a plunger—to create a watertight seal around the toilet’s base. The wax ring goes between the toilet and the flange, providing crucial insulation against leaks.
Once the toilet is firmly in place, make final adjustments to ensure it’s level. Check that the water supply lines are connected correctly, and flush the toilet for the first time to test its functionality and seal. DIY toilet installation can be a challenging but rewarding process, and with proper tools and attention to detail, you’ll have a new toilet up and running in no time.
Testing and Troubleshooting Common Issues

When it comes to DIY toilet installation, testing and troubleshooting common issues is an essential part of the process. Before finalizing the flange installation for toilets in Toledo using the appropriate Toilet Installation Tools Toledo, ensure that everything is functioning as expected. Start by checking for any leaks around the flange and base of the toilet after filling the bowl with water. Even a slight drip can indicate loose connections or improper sealing.
For DIY enthusiasts, it’s crucial to familiarize yourself with common problems like a running toilet or poor flushing power. These issues often stem from faulty parts such as the flush valve or fill valve. Regularly inspect these components and replace them if necessary. Additionally, ensure that the water supply lines are securely connected to avoid any disruptions during the installation process. This proactive approach will make your DIY toilet installation experience smoother and more successful.