The Toilet Installation Tools Toledo are essential for both professionals and DIY enthusiasts aiming for precise, efficient toilet installations. This kit guides users through every step, from measuring and cutting to assembly and sealing, ensuring accuracy and a sturdy final product. By following the provided instructions and utilizing these tools, one can successfully install a toilet using DIY methods, achieving professional results while saving time and money.
Thinking of installing a compact toilet in your Toledo home? This comprehensive guide is your go-to resource for navigating the entire DIY toilet installation process. From gathering the right Toilet Installation Tools Toledo to final adjustments and testing, we break down each step into a simple, actionable plan. Learn how to measure and cut for a perfect fit, master plumbing connections, and avoid common mistakes that can derail your project. Get ready to transform your space with a sleek, efficient compact toilet installation.
- Understanding Your Toilet Installation Tools Toledo
- Pre-Installation Preparation: A Step-by-Step Guide
- The DIY Toilet Installation Process
- Measuring and Cutting for a Perfect Fit
- Plumbing Connections: An Overview
- Final Adjustments and Testing
- Common Mistakes to Avoid During Installation
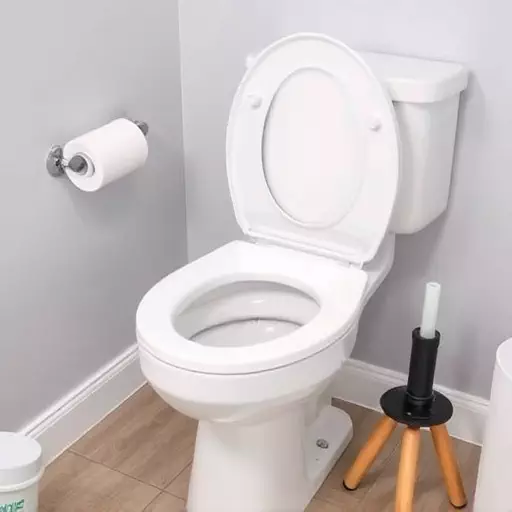
Understanding Your Toilet Installation Tools Toledo
When it comes to compact toilet installation, having the right tools is paramount. The Toilet Installation Tools Toledo are specifically designed to streamline the process, catering to both professional installers and DIY enthusiasts. These tools include a range of equipment tailored for various tasks, from measuring and cutting to assembling and sealing. Understanding how to use them effectively is key to ensuring a successful and efficient Toilet Installation Process.
For those opting for a DIY toilet installation, familiarizing yourself with these tools is crucial. The process involves several steps that require precision and the right tools can make all the difference. From marking the installation location accurately to connecting the plumbing and securing the toilet in place, each step demands the use of specific tools from your Toilet Installation Tools Toledo kit.
Pre-Installation Preparation: A Step-by-Step Guide
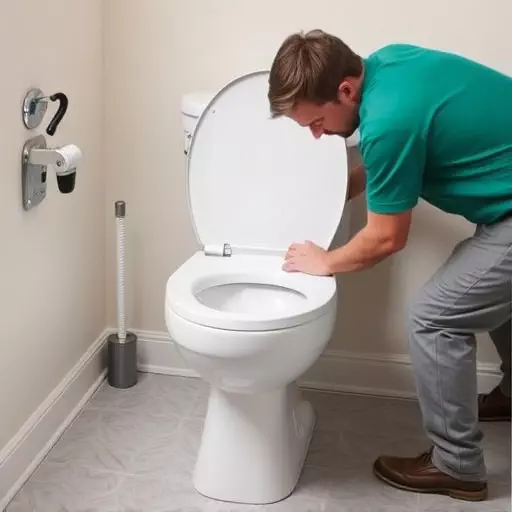
Before diving into the actual installation process, proper preparation is key to ensuring a smooth and successful DIY toilet installation. Start by gathering all the necessary toilet installation tools Toledo; this includes a new toilet, removal tools for the old unit, a wrench set, pliers, a level, and possibly a helper for heavy lifting. Clear the bathroom floor of any obstacles, ensure access to the plumbing under the sink, and locate the water supply lines and drainage pipes.
Next, turn off the water supply at the main valve or at the toilet’s valve assembly. Test the water shut-off to confirm it’s turned off completely. Remove the old toilet by breaking it apart from the floor using a hammer and chisel, then carefully lift it out. Inspect the existing drain pipe for any damage and adjust its position if needed to accommodate the new toilet’s size. Prepare the drainage connections and ensure they are secure, allowing for proper water flow and draining.
The DIY Toilet Installation Process
Measuring and Cutting for a Perfect Fit

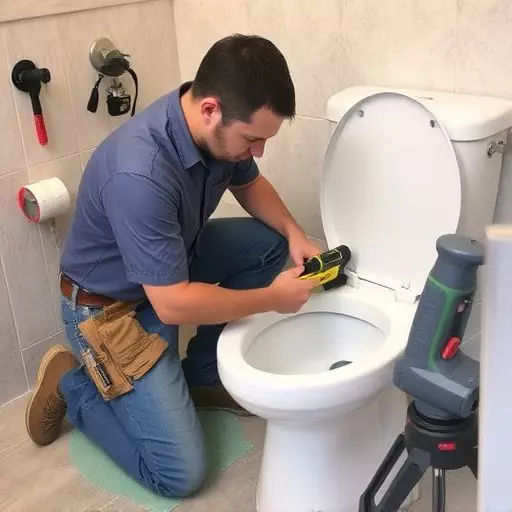
Measuring and Cutting for a Perfect Fit is a crucial step in any Toilet Installation process, whether you’re using professional Toilet Installation Tools Toledo or tackling a DIY Toilet Installation project. Start by accurately measuring the existing space to ensure the new toilet fits perfectly. This involves assessing the width, length, and height of the intended location, accounting for any obstructions like walls, pipes, or floors.
Using these measurements, carefully cut the floor surface to accommodate the toilet’s base. This can be done with a variety of tools depending on the material, including saws or specialized flooring cutters. The goal is to create a smooth, level opening that securely holds the toilet in place, ensuring a leak-free and stable installation throughout the Toilet Installation Process.
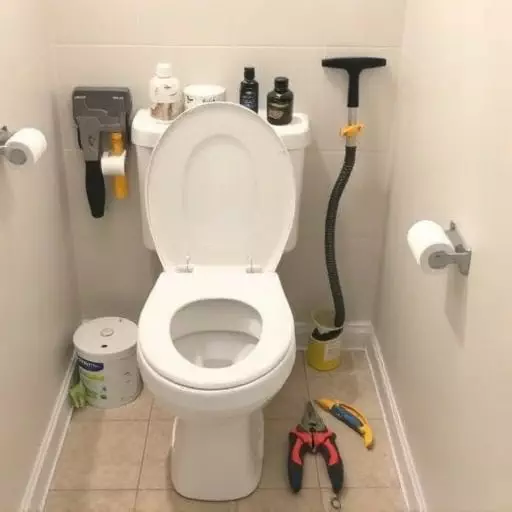
Plumbing Connections: An Overview

Final Adjustments and Testing

After completing the main installation steps, it’s time for the final adjustments and testing. This crucial phase ensures your new compact toilet is ready for use and functions flawlessly. Adjust the water supply lines to the correct pressure and ensure they are securely connected. Check all bolts and brackets for any loose parts, tightening them as needed with the appropriate Toilet Installation Tools Toledo.
Next, flush the toilet several times to verify its performance. Inspect for any leaks around the base, tank, or connections. If everything is secure and dry, you can proceed with confidence. DIY Toilet Installation can be a rewarding project, and this final testing step ensures your new compact toilet will provide years of efficient and reliable service.
Common Mistakes to Avoid During Installation
