Installing an in-dash video system in Toledo involves careful planning and execution. Residents should research and purchase the right fit, prepare their vehicle by cleaning and removing old systems, and gather necessary tools. Mounting requires precise alignment, while wiring must be done correctly referencing your car's diagram. Post-installation testing ensures optimal performance. Regular maintenance, including firmware updates and checking connections, prevents issues. Complex repairs or upgrades should be left to professionals for best results and adherence to evolving entertainment standards.
- Understanding Aftermarket In-Dash Video Systems: A Comprehensive Overview
- Benefits of Installing an In-Dash Video System in Your Vehicle
- DIY vs Professional Installation: Weighing the Pros and Cons
- Choosing the Right In-Dash Video System for Your Needs
- Step-by-Step Guide to Installing an In-Dash Video System in Toledo
- Maintenance and Upgrades: Keeping Your In-Dash System Running Smoothly
Understanding Aftermarket In-Dash Video Systems: A Comprehensive Overview
Aftermarket in-dash video systems have become increasingly popular among car enthusiasts and those looking to enhance their driving experience. These systems offer a wide range of features, from entertainment and navigation to advanced driver assistance. Understanding what these systems entail is crucial for anyone considering an upgrade.
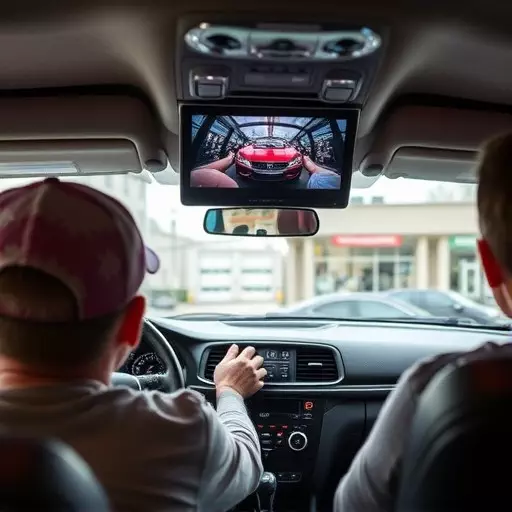
An in-dash video installation involves replacing the factory dashboard display with a new video system, often featuring a larger touchscreen interface. DIY enthusiasts can opt for kits that include all necessary components and step-by-step instructions, allowing them to install the system themselves. However, for those without experience in car electronics, professional installation is recommended. Toledo-based experts in automotive audio and video can provide precise and reliable in-dash video installations, ensuring optimal performance and a seamless integration with your vehicle’s existing systems.
Benefits of Installing an In-Dash Video System in Your Vehicle
DIY vs Professional Installation: Weighing the Pros and Cons
Choosing the Right In-Dash Video System for Your Needs

Step-by-Step Guide to Installing an In-Dash Video System in Toledo

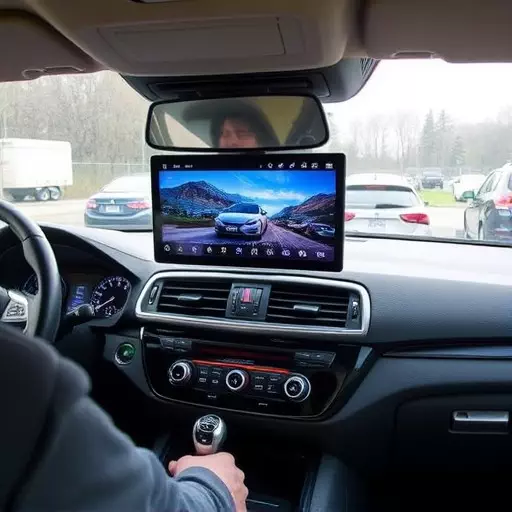
Installing an in-dash video system can be a great way to enhance your car’s entertainment and navigation experience. Whether you opt for a DIY approach or hire a professional, the process involves several key steps. Here’s a step-by-step guide tailored to Toledo, Ohio, residents looking to install their own in-dash video system:
1. Research and Purchase: Start by identifying your vehicle’s make and model to ensure compatibility. Visit reputable automotive stores or online marketplaces in Toledo, such as local car parts suppliers or well-known e-commerce platforms, to find the right in-dash video system for your needs. Compare features, brands, and prices to make an informed decision.
2. Prepare Your Vehicle: Before installation, ensure your vehicle is clean and prepared. Remove any existing stereo or navigation system, if applicable. Prepare tools like screwdrivers, wire strippers, and a protective mat to keep the interior clean. Gather all necessary hardware and components from your purchase.
3. Mounting the In-Dash Unit: Carefully remove the dash trim and identify the mounting locations for your new in-dash system. Use a template or measuring tape to mark and drill any required holes. Ensure proper alignment and secure the in-dash unit firmly using screws provided by the manufacturer.
4. Wiring and Connections: This step requires careful attention. Consult your vehicle’s wiring diagram to identify the correct wires for power, audio, and video signals. Properly connect these wires to the in-dash system, ensuring secure and clean connections. Some systems may include a harness adapter for easier installation. Test each connection to ensure functionality.
5. Testing and Calibration: Once the unit is mounted and wired, power on your vehicle and test the new system. Check all functions, including audio, video, navigation (if applicable), and any additional features. Ensure the display is visible and clear. Adjust settings as needed for optimal performance.
Maintenance and Upgrades: Keeping Your In-Dash System Running Smoothly

Maintaining and upgrading your in-dash video system is essential for keeping it running smoothly and ensuring optimal performance. For those who opted for a DIY in-dash video installation toledo, regular checks and minor fixes can be tackled independently. This includes inspecting connections for any loose or damaged wires, cleaning the system’s components, and updating firmware when new versions are released. These simple tasks can prevent common issues like screen glitches, audio problems, or system crashes.
If your in-dash video system demands more complex repairs or upgrades, it’s best to trust a professional. They have the specialized tools and expertise to handle even the most intricate in-dash video installation. Regular maintenance by professionals includes component replacements, software optimization, and integrating new technologies. This ensures your system remains reliable, enhances visual and audio quality, and keeps up with evolving entertainment standards, whether you’re looking for the latest navigation features or advanced audio systems.