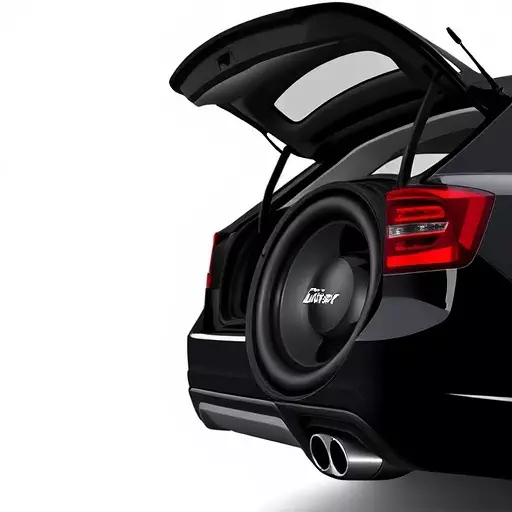
Marine subwoofer systems offer immersive audio for boats, requiring careful installation to withstand moisture and temperatures. DIY enthusiasts in Toledo can save costs but need tools like screwdrivers and wire strippers, while professionals ensure optimal performance with specialized brackets and wiring. After installation, calibration and testing are crucial to fine-tune sound quality, ensuring a clear, powerful audio experience on the water.
Are you ready to transform your marine audio experience? This comprehensive guide explores the art of marine subwoofer installation, from understanding complex systems to optimizing performance. We dissect DIY vs professional options, providing insights for every level of expertise. Discover essential tools and materials, master step-by-step integration techniques, and learn advanced calibration methods. Whether you’re in Toledo or beyond, elevate your car subwoofer setup with this expert advice tailored for marine enthusiasts.
- Understanding Marine Subwoofer Systems: A Comprehensive Overview
- DIY vs Professional Installation: Weighing Your Options
- Essential Tools and Materials for Successful Installation
- Step-by-Step Guide to Marine Subwoofer Integration
- Optimizing Performance: Calibration and Testing Techniques
Understanding Marine Subwoofer Systems: A Comprehensive Overview

Marine subwoofer systems are designed to enhance underwater listening experiences, offering a powerful and immersive audio performance for boats and watercraft. Unlike standard car audio setups, these systems must withstand the unique challenges posed by marine environments, including moisture, salt corrosion, and varying temperature conditions. A comprehensive understanding of these systems is crucial for both DIY enthusiasts and those seeking professional installation in Toledo or any other region.

These subwoofers are typically equipped with waterproof enclosures and high-quality components to ensure longevity and optimal sound quality. The installation process involves careful planning and precision to integrate the subwoofer seamlessly into the vessel’s audio system. Whether you opt for a DIY approach, learning about car subwoofer installation techniques, or hire professionals, understanding the specific requirements of marine environments is key to achieving superior audio performance and ensuring the reliability of your subwoofer system.
DIY vs Professional Installation: Weighing Your Options

When considering marine subwoofer installation in your Toledo vehicle, the choice between DIY and professional services is a significant one. Doing it yourself (DIY) offers cost savings and the satisfaction of completing a project independently. It’s an attractive option for car enthusiasts who enjoy hands-on tasks and have some experience with automotive installations. A DIY approach allows you to choose the subwoofer, design the system, and customize the placement according to your preferences.
However, professional installation has its advantages. Experts bring specialized knowledge, ensuring optimal performance and safety. They use high-quality equipment and techniques to achieve a seamless fit, providing peace of mind and a superior listening experience. Professional installers can navigate complex vehicle interiors, handle challenging factory systems, and offer valuable insights into system tuning for the best audio output. This option might be preferable for those with limited time or technical skills, ensuring a hassle-free and efficient marine subwoofer installation in Toledo.
Essential Tools and Materials for Successful Installation

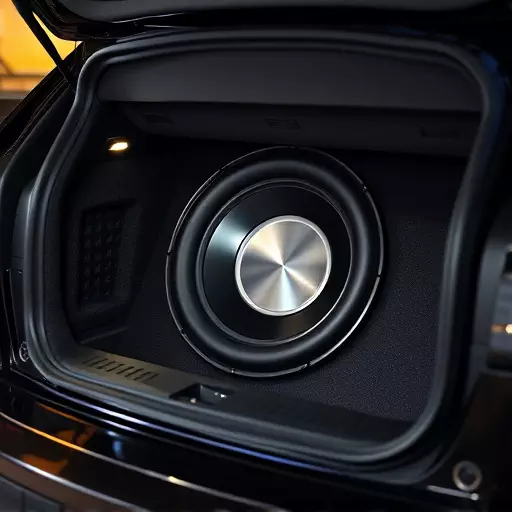
When tackling a marine subwoofer installation, whether it’s a DIY project or a professional setup in Toledo, having the right tools and materials is paramount for achieving optimal sound quality and performance. For a successful car subwoofer installation, you’ll require a variety of essential items. These include appropriate screwdrivers (both flathead and Phillips), wire strippers, crimping tools, a voltmeter, and high-quality speaker wiring. Additionally, consider investing in a subwoofer mounting bracket tailored for your vehicle to ensure secure placement.
For professional-grade results, don’t skimp on materials. Opt for iso-strip or pre-terminated wiring harness for cleaner connections and easier installation. High-torque screws and cable ties are crucial for securing the subwoofer and wiring in place while vibration-resistant foam padding helps isolate the sub from unnecessary movements. Lastly, a set of clear instructions specific to your vehicle model will streamline the process, ensuring a seamless DIY subwoofer installation or guiding professionals in Toledo through every step.
Step-by-Step Guide to Marine Subwoofer Integration

Integrating a marine subwoofer into your vessel is an exciting way to enhance your boating experience with powerful and immersive sound. Whether you’re a DIY enthusiast or seeking professional assistance, here’s a step-by-step guide tailored for both approaches.
1. Preparation: Begin by assessing your boat’s electrical system and determining the ideal location for the subwoofer. Ensure proper ventilation is available to prevent overheating. Gather all necessary tools, including wire strippers, screwdrivers, and any specific marine-grade hardware. For a DIY project, research compatible subwoofers with existing marine speakers for seamless integration. If hiring professionals, communicate your vision and specific requirements.
2. Installation: Start by disconnecting the boat’s battery to ensure safety during installation. Create a mount for the subwoofer using suitable materials or purchase a pre-fabricated bracket. Securely attach it at the desired location, ensuring stability. Connect the subwoofer’s power and signal wires to the marine head unit or amplifier. Use insulated wiring and follow color coding for positive and negative connections. Test the system with a sample audio track to verify functionality and adjust settings for optimal sound quality.
Optimizing Performance: Calibration and Testing Techniques

Optimizing Performance involves a crucial step in marine subwoofer installation: calibration and testing. After installing your subwoofer, it’s essential to fine-tune its performance for the best audio experience. This process includes adjusting the sub’s frequency response to match your vessel’s unique acoustics. By utilizing professional calibration tools, you can tailor the sub’s output to the specific space, ensuring optimal sound projection without distortion.
Testing is a critical component of this optimization. It involves playing various audio content at different volumes and frequencies to evaluate the subwoofer’s performance. This hands-on approach allows you, whether you’re a DIY enthusiast or have opted for professional installation in Toledo, to identify any issues, such as phase cancellation or frequency imbalances. Regular testing ensures your marine audio system delivers clear, powerful sounds, enhancing the overall experience during your time on the water.