This guide outlines the key steps for successful DIY shower glass protectant application in Toledo. It emphasizes proper preparation, using soft cloths and following manufacturer instructions to avoid sticky residue. Effective cleaning techniques with mild detergent and microfiber cloths prevent water spots. These methods ensure a streak-free finish and prolong the protective barrier of the shower glass protectant.
After applying a shower glass protectant in Toledo, proper residue removal is crucial for maintaining a clear, streak-free finish. This guide delves into the intricacies of understanding and addressing shower glass protectant residue effectively. We explore DIY application steps and practical cleaning techniques to ensure optimal results. Learn how to master post-application cleaning, making your shower glass protectant application in Toledo truly successful. Discover proven methods for achieving a sparkling, protected surface using simple, effective techniques—all easily accomplished with everyday tools.
- Understanding Shower Glass Protectant Residue
- DIY Application: Step-by-Step Guide
- Effective Post-Application Cleaning Techniques
Understanding Shower Glass Protectant Residue
Shower glass protectants are designed to create a hydrophobic barrier on glass surfaces, repelling water and making it easy to clean. However, during application, residue can remain behind, leaving a sticky or cloudy film if not properly addressed. Understanding this residue is crucial for effective cleaning and maintaining the protective layer. The residue typically results from the chemical composition of the protectant, which may include surfactants and other compounds that don’t fully evaporate after application.
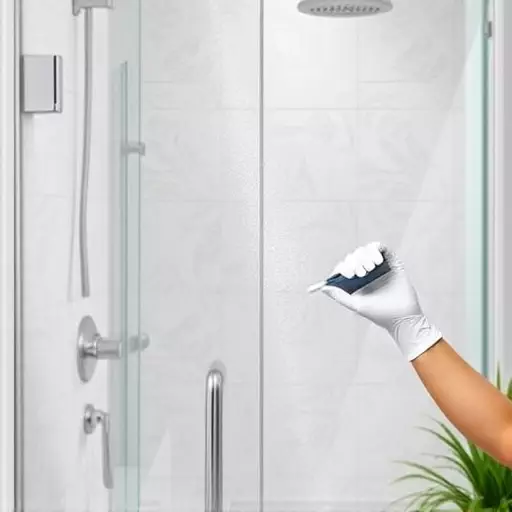
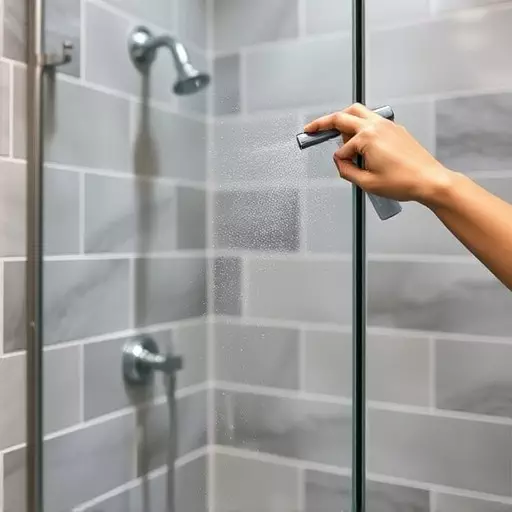
To ensure optimal results with your shower glass protectant in Toledo or wherever you live, it’s essential to employ proper application techniques. Using a soft microfiber cloth or sponge, evenly apply the product across the glass surface, following the manufacturer’s instructions. After allowing it to dry according to the recommended time frame, test a small area for residue by gently rubbing with another clean cloth. If residue is detected, simply wipe away any remaining film using a dampened cloth and follow up with a dry buff to achieve a streak-free finish. DIY glass protectant application can be a straightforward process when executed correctly, leading to better protection and reduced cleaning efforts in the long run.
DIY Application: Step-by-Step Guide
Removing residue after applying a shower glass protectant is crucial for achieving a streak-free, long-lasting shine on your Toledo shower glass. While professional application services are available, many prefer the DIY approach for cost-effectiveness and control over the process. Here’s a step-by-step guide tailored for the shower glass protectant application in Toledo:
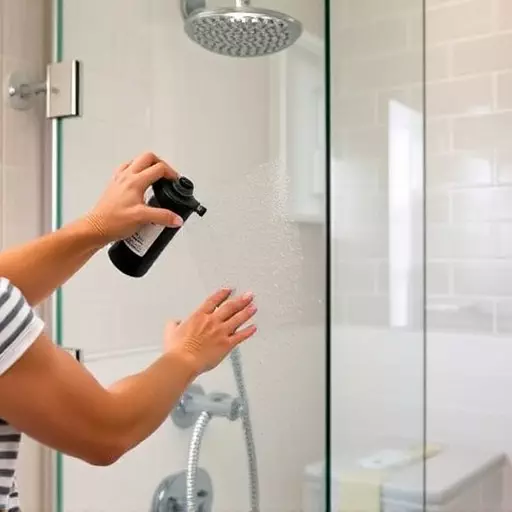
1. Preparation: Gather all necessary tools and materials, including clean cloths, a spray bottle filled with water, and your chosen glass protectant. Ensure your work area is well-ventilated to avoid inhalation of fumes. Lightly wipe down the shower glass with a damp cloth to remove any existing residue or dirt, ensuring a clean surface for application.
Effective Post-Application Cleaning Techniques
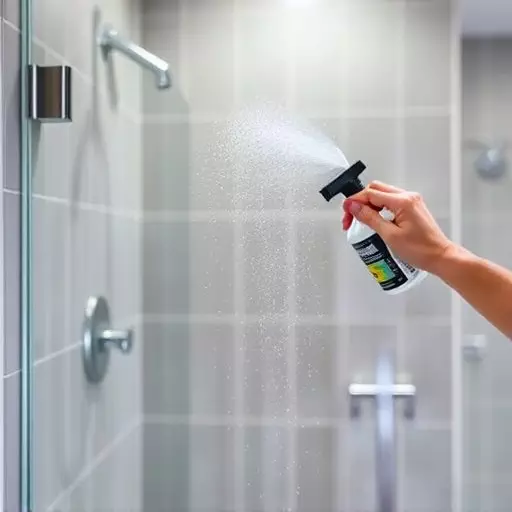
After applying a shower glass protectant in Toledo, proper cleaning techniques are essential to ensure optimal results and maintain the product’s effectiveness. Start by gathering the right tools, including microfiber cloths, soft sponges, or brushes designed for glass cleaning. Avoid using abrasive materials or harsh chemicals that can damage the protective layer. Instead, focus on gentle yet thorough cleaning methods.
One effective DIY glass protectant application technique involves using a mixture of warm water and a mild, pH-neutral detergent. Apply this solution to the shower glass with a microfiber cloth, working in small sections at a time. Gently scrub away any residue or streaks, then rinse thoroughly with clean water. For hard-to-reach areas or stubborn stains, a soft-bristled brush can be helpful. Always dry the glass immediately after cleaning to prevent water spots and ensure the protectant adheres properly.