“Elevate your shower experience with the ultimate guide to shower glass coatings! Discover the secrets to achieving a streak-free, easy-to-clean surface for your bathroom. From understanding different coating types and their benefits to mastering the art of application, this article covers it all. Learn about preparing your shower, choosing the right protectant, and whether DIY or professional installation is best for you. Optimize your shower glass protectant application in Toledo with our expert tips, ensuring a long-lasting, low-maintenance solution.”
- Understanding Shower Glass Coatings: Types and Benefits
- Preparing Your Shower Surface for Coating Application
- Choosing the Right Shower Glass Protectant: Formulas and Ingredients
- DIY Glass Protectant Application: Step-by-Step Guide
- Professional Shower Glass Coating Techniques and Tips
- Common Mistakes to Avoid During Coating Installation
- Maintenance and Longevity of Shower Glass Coatings
Understanding Shower Glass Coatings: Types and Benefits
Shower glass coatings are an innovative way to enhance the durability and appearance of your shower enclosure. These protective layers are designed to create a barrier between the glass and potential contaminants, ensuring longer-lasting results. When considering a coating application, understanding the types available is key. There are various options tailored for different needs, such as anti-fog, anti-scratch, or water repellency. Each has unique benefits: anti-fog coatings eliminate misty visions, while anti-scratch varieties protect against everyday wear and tear. Water-repellent treatments ensure that water beads up and rolls off, making cleaning a breeze.
For homeowners looking to preserve their shower’s gleam, DIY glass protectant application is a viable option. Many products are user-friendly and offer step-by-step instructions for optimal results. The process typically involves cleaning the glass thoroughly, applying the chosen coating with a cloth or sprayer, and then allowing it to dry. Regular maintenance, such as reapplication every few months, ensures maximum protection. Additionally, professional installation services in Toledo are readily available for those who prefer expert care, guaranteeing a seamless finish that elevates their shower space.
Preparing Your Shower Surface for Coating Application

Before applying any coating to your shower glass, it’s crucial to prepare the surface properly for optimal results. Start by thoroughly cleaning the shower stall with a mild detergent and warm water to remove any dirt, soap scum, or mineral deposits. This initial step ensures that the coating adheres well to the glass. After washing, dry the area completely using a soft cloth or towel.
Next, inspect the surface for any imperfections such as scratches, chips, or rough spots. Minor repairs may be necessary using appropriate repair kits available in hardware stores. Sanding the surface gently with fine-grit sandpaper can also help create a smooth base for application. Remember to use safety gear, like gloves and a mask, during this process, especially if you’re opting for a DIY glass protectant application in Toledo or any other location.
Choosing the Right Shower Glass Protectant: Formulas and Ingredients

When it comes to choosing a shower glass protectant, understanding the formula and ingredients is key. Look for products that are specifically designed for bathroom use and offer long-lasting protection against water spots and stains. Common active ingredients include silicones, polymers, and surfactants, which work together to create a hydrophobic barrier on the glass surface. This barrier repels water, preventing it from leaving marks or accumulating minerals, keeping your shower looking pristine.
The application process for a shower glass protectant can be done as part of your regular cleaning routine. Many commercial products offer easy-to-follow DIY application techniques, ensuring you get even coverage without streaks. For best results, use a clean microfiber cloth to apply the protectant in circular motions, following the product’s instructions for drying times. Regular reapplication, typically every few months, will maintain the protective layer, making it easier to clean and keeping your shower glass looking as good as new.
DIY Glass Protectant Application: Step-by-Step Guide

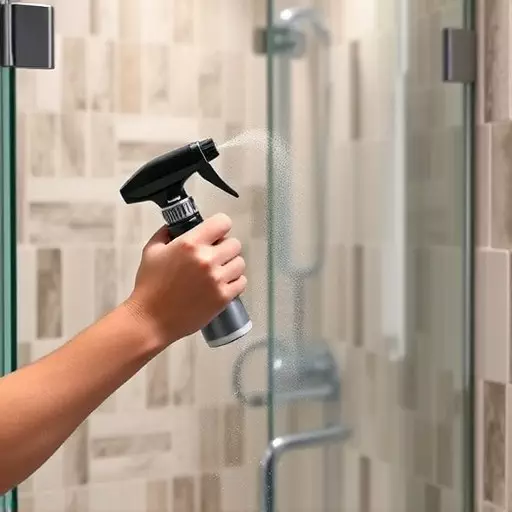
Applying a shower glass protectant yourself is an easy and cost-effective way to keep your glass surfaces looking pristine. Here’s a step-by-step guide tailored for the DIY enthusiast in Toledo, Ohio, navigating the process of shower glass protectant application. Begin by preparing your work area, ensuring it’s well-ventilated to avoid inhalation of any fumes. Next, gather your materials: a high-quality glass protectant suitable for shower enclosures, soft cloths or sponges, and a spray bottle (if your protectant comes in that form).
Start by thoroughly cleaning the glass surface to remove any dirt, soap residue, or minerals. Use a mild detergent and warm water, then rinse well. Dry the glass completely before applying the protectant. Following the manufacturer’s instructions, apply an even coat of protectant to the shower glass using your chosen method—either by spraying it on and wiping it down, or immersing the glass in a soapy solution if your product recommends it. Allow the protectant to dry according to the recommended time frame, then inspect the surface for any missed spots or streaking. If needed, reapply until you achieve a uniform, glossy finish.
Professional Shower Glass Coating Techniques and Tips

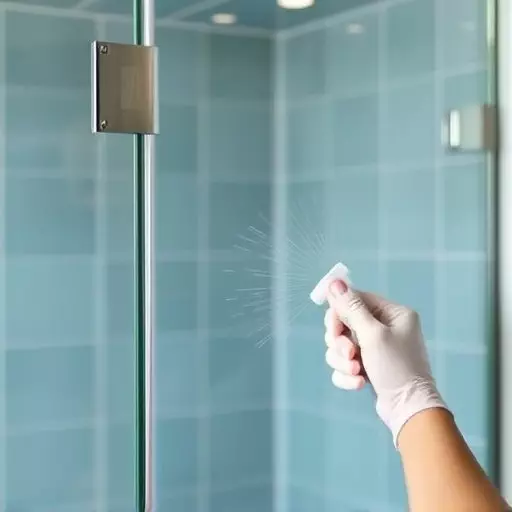
Professional shower glass coating techniques involve precise application of protective layers designed to repel water and stains. The process often begins with thorough cleaning and preparation of the glass surface to ensure optimal adhesion. Specially formulated coatings are then applied using advanced methods such as spraying or dipping, creating a smooth, durable barrier that enhances the aesthetics and functionality of the shower enclosure.
For DIY applications, utilizing a high-quality glass protectant is crucial. Before application, ensure the glass is free from dust and debris. Follow the product’s instructions for proper mixing and application, typically involving a spray bottle or soft cloth. Even coverage is essential to prevent streaking and ensure maximum protection against water spots, soap residue, and mineral deposits. Regular reapplication, as recommended by the manufacturer, will maintain the protective coating’s effectiveness over time.
Common Mistakes to Avoid During Coating Installation

Maintenance and Longevity of Shower Glass Coatings

Maintaining and prolonging the life of your shower glass coatings is essential for keeping your bathroom looking its best. Regular cleaning and proper care can significantly extend the lifespan of these protective coatings. Start by using a mild, pH-neutral detergent and a soft cloth to wipe down the glass surface regularly. Avoid harsh chemicals or abrasive materials that could damage the coating. Additionally, keep an eye out for any signs of wear or scratches and address them promptly to prevent further deterioration.
For added protection, consider applying a high-quality shower glass protectant. DIY applications are possible using readily available products, ensuring you follow the manufacturer’s instructions carefully. The correct application techniques, such as even distribution and avoiding water spots, will enhance the effectiveness of the protectant. By combining routine cleaning with preventative measures like protectant reapplication every few months, you can maintain the initial gloss and transparency of your shower glass coatings for years to come.