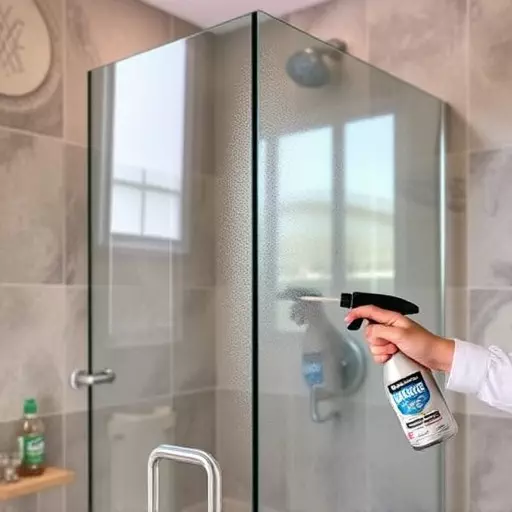
Regular DIY applications of a well-applied shower glass protectant prevent water spots and stains on your Toledo shower glass. Begin by thoroughly cleaning the glass with a non-ammonia cleaner, then use a soft cloth or sponge to apply the protectant in even strokes from top to bottom, following manufacturer instructions for air drying. Alternatively, mist the protectant evenly onto the surface and use a microfiber cloth to spread it, removing any excess, ensuring even application especially in corners for a scratch-resistant finish that keeps your shower looking pristine.
Maintaining a protective coat on your shower glass is crucial for keeping it streak-free and easy to clean. This article explores the importance of regular maintenance after applying a shower glass protectant in Toledo. We’ll delve into effective application techniques that ensure optimal protection. Additionally, we provide a DIY approach with a step-by-step guide and tips for successful implementation, empowering you to maintain your glass surface like a pro.
- Understanding the Importance of Regular Maintenance
- Effective Application Techniques for Optimal Protection
- DIY Approach: Step-by-Step Guide and Tips for Success
Understanding the Importance of Regular Maintenance
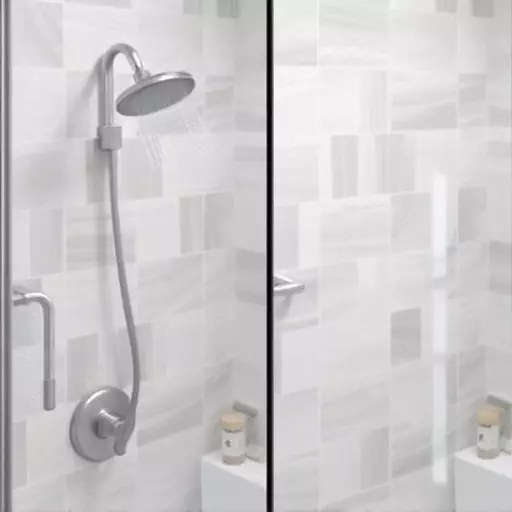
After applying a protective coating to your shower glass, maintaining its effectiveness is paramount. Regular maintenance ensures that your shower glass protectant remains functional, preserving the pristine condition of your glass and prolonging the time between reapplications. Understanding the right application techniques is key; reapplying too soon or too infrequently can impact the protection’s quality.
A DIY glass protectant application regimen should be part of your routine cleaning process. By consistently maintaining the protectant, you prevent water spots, stains, and soap scum from adhering to the surface, making future cleaning efforts easier and ensuring optimal visibility through your shower glass.
Effective Application Techniques for Optimal Protection
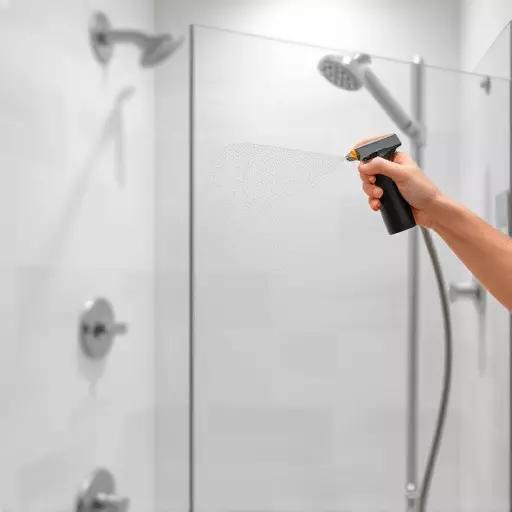
Applying a shower glass protectant correctly is key to achieving optimal protection for your Toledo shower glass. The first step in effective application techniques involves preparing the surface. This includes cleaning the glass thoroughly with a non-ammonia based cleaner to remove any dirt, dust, or residue that could hinder the protectant’s adhesion. It’s essential to ensure the glass is dry before proceeding.
For DIY applications, using a soft cloth or sponge, gently apply the protectant in even strokes, covering the entire surface of the glass. Start from the top and work your way down to avoid streaks. Allow the protectant to air dry as per the manufacturer’s instructions for the best results. These techniques ensure a smooth, streak-free finish, enhancing the appearance and longevity of your shower glass protectant application in Toledo.
DIY Approach: Step-by-Step Guide and Tips for Success
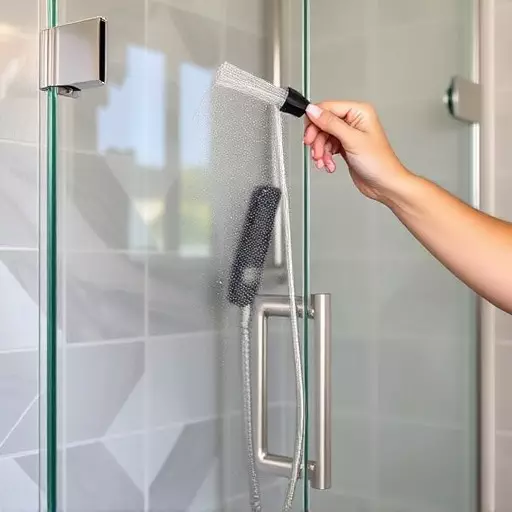
Maintaining a protective layer on your shower glass is essential for keeping it looking clean and streak-free. If you’re considering a DIY approach, we’ve got you covered with a step-by-step guide on how to apply a shower glass protectant effectively. Start by gathering your supplies: a high-quality glass protectant, a soft microfiber cloth, and perhaps a spray bottle for easier application.
Begin by cleaning the shower glass thoroughly to ensure the surface is free of any residue or dirt. Next, lightly mist the protectant onto the glass, ensuring even coverage. Using the microfiber cloth, gently wipe the protectant across the surface, removing any excess and allowing it to dry to a scratch-resistant finish. Remember, patience is key; take your time to ensure even application, especially in hard-to-reach corners. Regular maintenance will keep your shower glass looking as good as new.