In-car DVD systems in Toledo have evolved, offering various types and features. Professional installation is recommended for optimal performance, with experts handling hardware fitting, wiring, audio connections, and customisation. Systems range from basic entertainment to advanced models with GPS and Bluetooth. A professional dash camera installation enhances safety with expert placement and seamless integration. Choosing the right system for your vehicle and seeking professional help avoids DIY pitfalls. Regular maintenance ensures smooth operation, with troubleshooting guides available for common issues.
“Unleash the power of an HD dash camera with our comprehensive guide to in-car DVD system installation in Toledo. We explore various types and features of these systems, highlighting the advantages of professional installation for optimal performance and safety. From navigating the city’s bustling streets to navigating complex vehicle architectures, this article offers a step-by-step approach to installing your own in-car DVD video system. Learn from common mistakes and ensure your professional setup remains trouble-free with our maintenance tips.”
- Understanding In-Car DVD Systems: An Overview of Types and Features
- The Benefits of Professional Installation for Your HD Dash Camera
- Step-by-Step Guide to Installing an In-Car DVD Video System in Toledo
- Common Mistakes to Avoid During In-Car DVD Installation
- Maintenance and Troubleshooting Tips for Your Professional In-Car DVD Setup
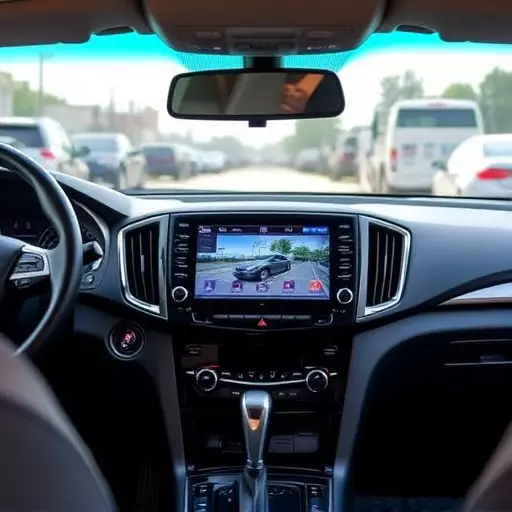
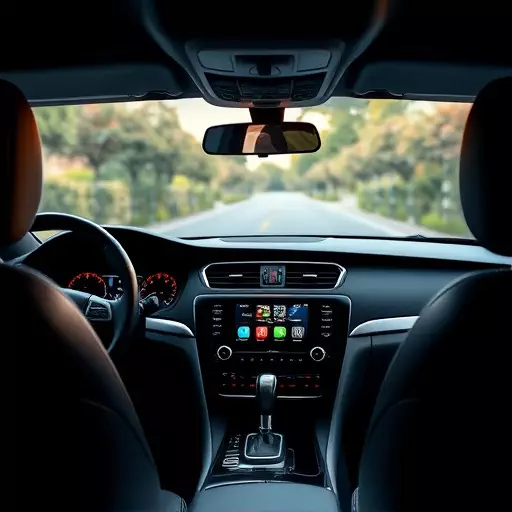
Understanding In-Car DVD Systems: An Overview of Types and Features

In-car DVD video systems have evolved significantly over the years, offering a range of features and options for drivers looking to enhance their vehicle’s entertainment and safety. These systems typically consist of a DVD player, monitor, and mounting hardware designed to fit seamlessly within a car’s interior. When considering installation, it’s crucial to understand the different types available, each with unique advantages. From standard single-DVD players to advanced multi-region, multi-format models, choosing the right system depends on personal preferences and vehicle specifications.
Professional in-car DVD installation is often recommended for optimal performance and integration. This involves not just fitting the hardware but also ensuring proper wiring for power and video signals, connection to the car’s audio system, and sometimes even customization to fit specific vehicle layouts. Depending on the make and model of your car, there are various types of in-car DVD systems to choose from, each catering to different needs. These range from basic models suitable for rear-seat entertainment to sophisticated systems featuring GPS navigation, Bluetooth connectivity, and advanced video capabilities.
The Benefits of Professional Installation for Your HD Dash Camera
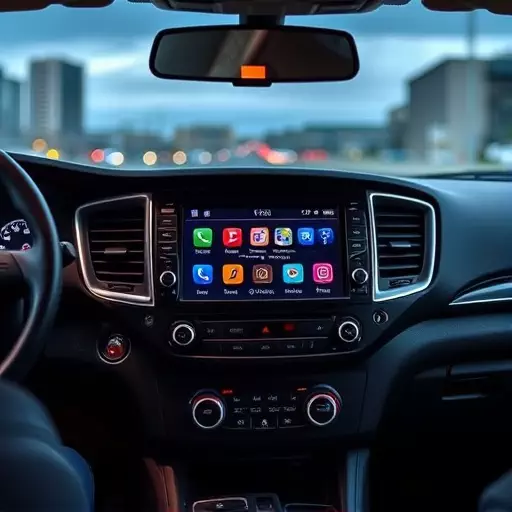
Professional installation offers several advantages when it comes to your HD dash camera. Firstly, experts can ensure the camera is correctly positioned for optimal visibility and recording quality. They understand the best angles and placement to capture clear footage, especially in different weather conditions and lighting scenarios. This ensures that every detail on the road is recorded accurately.
Additionally, professional installers have knowledge of various types of in-car DVD video systems and can recommend or integrate the most suitable one for your needs. From advanced navigation systems to multi-media entertainment centres, they can install these features seamlessly, creating a harmonious in-car experience while also ensuring your dash camera functions flawlessly as part of your overall in-car DVD system in Toledo.
Step-by-Step Guide to Installing an In-Car DVD Video System in Toledo
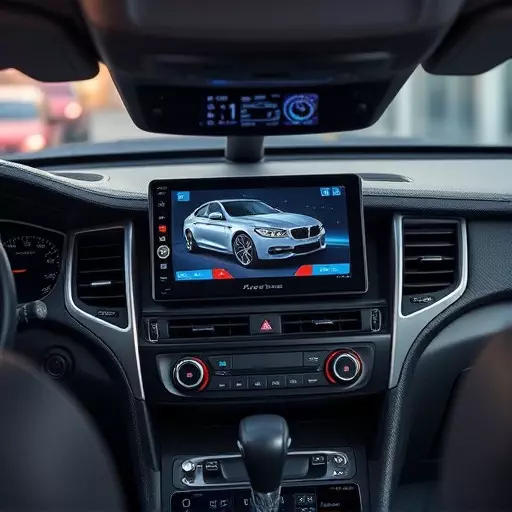
Installing an in-car DVD video system can enhance your driving experience and provide entertainment for both you and your passengers. Here’s a step-by-step guide tailored for Toledo, Ohio residents looking to professionally install an in-car DVD system.
1. Choose the Right System: First, select the type of in-car DVD system that suits your needs. There are various options available, including head unit replacements, double din systems, or aftermarket units that mount in existing dash spaces. Research different brands and models to find one with features like region free playback, high definition support, and compatible formats for DVDs, CDs, and USB drives.
2. Prepare Your Vehicle: Once you’ve chosen your system, it’s time to get your vehicle ready. Gather all necessary tools (like a screwdriver set) and locate the ideal installation spot in your car’s dashboard. In Toledo, many vehicles have interchangeable dash designs, making installation more accessible. However, always check your vehicle’s manual for specific instructions or potential challenges related to its make and model.
3. Remove Existing Components: Next, carefully remove the existing stereo head unit, following the wire connections meticulously. This step requires patience as you need to disconnect power and avoid damaging any internal components. Label each wire for easy reassembly later.
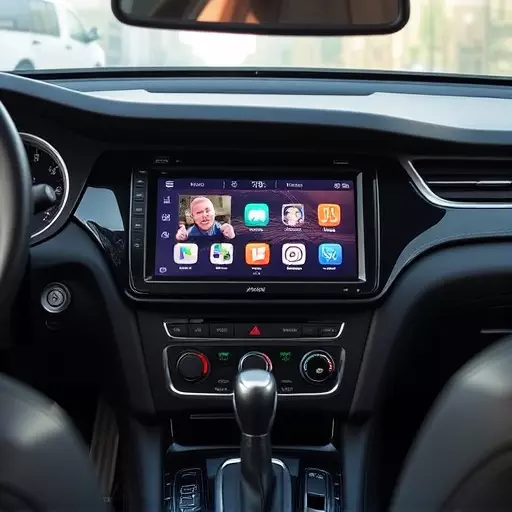
4. Install the New System: Fit your chosen in-car DVD system into the dash opening, securing it with screws or brackets provided by the manufacturer. Ensure proper alignment and a tight fit. Reconnect all wires, matching colors to their corresponding functions (e.g., power, audio, video). Test each connection for secure engagement.
5. Adjust Settings and Enjoy: After successful installation, turn on your vehicle’s ignition and adjust settings on the new system, including source selection, volume, and display preferences. Now you can play DVDs or other media, enjoy crystal-clear sound, and experience a more entertaining journey on Toledo’s roads.
Common Mistakes to Avoid During In-Car DVD Installation

During an in-car DVD video system installation to Toledo, several common mistakes can be avoided with careful planning and professional expertise. One of the most frequent errors is improper selection of the in-car DVD system, leading to compatibility issues with a vehicle’s existing electrical components. It’s crucial to choose a system that aligns with your car’s make and model, ensuring seamless integration and avoiding costly retrofitting.
Another mistake to steer clear of is poor installation techniques. Attempting DIY installations without understanding the intricate wiring and mapping of your vehicle can result in faulty systems or damage to interior components. A professional in-car DVD installation ensures accurate placement, secure connections, and optimal performance by accounting for various types of in-car DVD systems, ranging from simple replacement units to advanced navigation and entertainment packages.
Maintenance and Troubleshooting Tips for Your Professional In-Car DVD Setup

After successfully installing your professional in-car DVD setup, proper maintenance and troubleshooting are key to keeping your system running smoothly. Regularly clean the camera lenses with a soft, dry cloth to ensure optimal video quality. Check for any loose connections at the back of the unit or between cables and adaptors to prevent unexpected shutdowns or distorted signals.
For troubleshooting common issues, start by verifying power supply—ensure all cables are securely plugged in and the system is receiving adequate voltage. If the screen remains black, try resetting the system by unplugging it for a minute before plugging it back in. For audio problems, check volume settings and confirm the correct audio output is selected on your DVD player or head unit. Keep an eye out for error messages displayed on the screen, which can provide valuable clues when troubleshooting issues with your Toledo in-car DVD video system installation or any other professional in-car DVD setup. Be sure to refer to the user manual for specific guidance on maintaining and resolving issues related to different types of in-car DVD systems.