Car sound deadening in Toledo, Ohio, aims to combat noise pollution by installing specialized materials that absorb high-frequency sounds from traffic and engine noises. While DIY methods save costs, professional installations offer superior results through tailored material use and acoustic assessments. This guide provides a step-by-step process for both DIY car sound deadening and professional installation, emphasizing preparation, measurement, adhesive application, and material cutting for optimal noise cancellation, integrating SEO keywords ‘car sound deadening Toledo’, ‘DIY car sound deadening’, and ‘professional sound deadening installation’.
“Discover the art of transforming your vehicle’s interior with professional sound deadening installation. This comprehensive guide delves into the world of car sound deadening, offering a seamless and effective solution for Toledo drivers seeking peace and clarity on the road. We explore the benefits of advanced materials, contrasting DIY kits with expert installations, and provide a step-by-step process tailored to your city’s needs. From understanding essential materials to the final touch, this guide covers all aspects of professional sound deadening installation.”
- Understanding Car Sound Deadening: Materials and Benefits
- The Difference Between DIY and Professional Installation
- Step-by-Step Guide to Professional Sound Deadening Installation in Toledo
Understanding Car Sound Deadening: Materials and Benefits

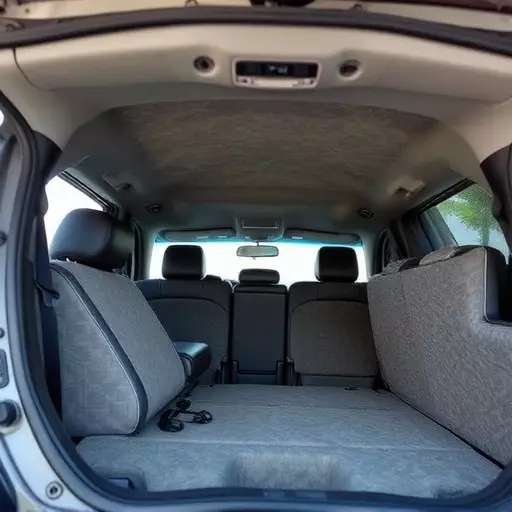
Car sound deadening is a process that involves installing specialized materials to reduce noise levels within a vehicle’s cabin. These materials are designed to absorb high-frequency sounds, minimizing echoes and reverberations. By utilizing car sound deadening techniques, drivers can enjoy a quieter, more comfortable ride, especially in Toledo where bustling highways contribute to the overall noise pollution.
Professional sound deadening installation offers several benefits beyond improved noise reduction. It enhances the overall driving experience by blocking out unwanted noises from the exterior environment, such as traffic and engine sounds. This is particularly advantageous for DIY enthusiasts who want to customize their vehicles but lack professional expertise. With the right materials and a step-by-step guide, individuals can attempt diy car sound deadening projects, saving costs while also gaining control over their vehicle’s interior ambiance.
The Difference Between DIY and Professional Installation
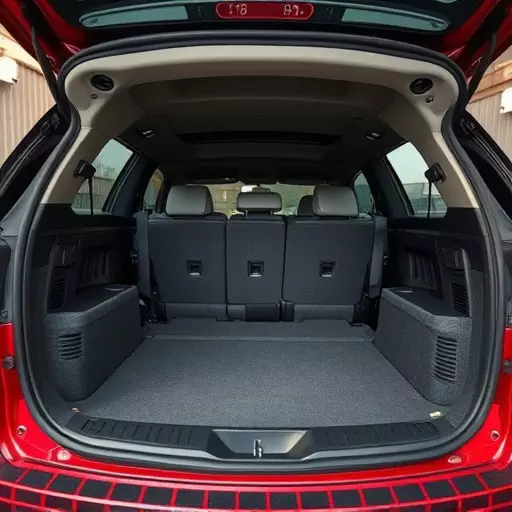
While many individuals opt for DIY car sound deadening in Toledo, professional installation offers a superior solution tailored to your vehicle’s unique acoustic needs. Unlike do-it-yourself methods that might leave gaps or uneven coverage, professionals employ specialized equipment and expertise to achieve optimal noise reduction. They carefully assess the car’s interior, select appropriate materials, and install them with precision, ensuring every corner and contour is effectively treated.
Professional sound deadening installation is particularly advantageous for those seeking maximum peace and quiet. Experts can identify and address resonating points that DIY kits may overlook, significantly enhancing overall noise cancellation. Moreover, professional work often comes with a warranty, providing peace of mind and assurance against future issues related to the soundproofing.
Step-by-Step Guide to Professional Sound Deadening Installation in Toledo

Step-by-Step Guide to Professional Sound Deadening Installation in Toledo
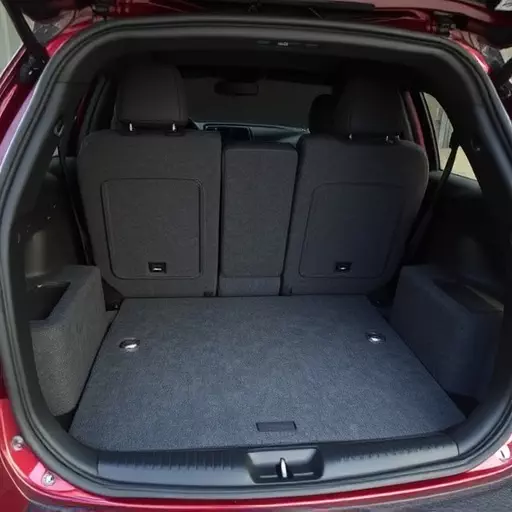
For a professional sound deadening installation in Toledo, whether for your car or home, start by identifying the areas that need treatment. Common spots include doors, trunks, and walls. Next, gather the necessary materials: sound deadening mats, adhesive, and tools like scissors, a utility knife, and a roller. Ensure your workspace is clean and well-lit. Begin by measuring and cutting the sound deadening material to fit each area perfectly. Apply the adhesive according to the manufacturer’s instructions, ensuring even coverage. Place the mat into position, smoothing it out with the roller for a tight fit. Allow ample time for the adhesive to dry completely before moving on to the next section.