In high-humidity environments, standard cleaners struggle with water spots and mineral buildup on shower glass. A DIY shower glass protectant creates a hydrophobic barrier to prevent water condensation, reducing cleaning effort. Application techniques using the right tools and following instructions ensure even coverage without streaks. Regular reapplication every few months maintains a protective barrier, preventing water spots in Toledo bathrooms.
In high-humidity bathrooms, water vapor can wreak havoc on shower glass, leading to unsightly streaks and stains. This comprehensive guide explores the unique challenges of these environments and highlights the indispensable role of a shower glass protectant application in Toledo. We’ll delve into effective DIY techniques and provide step-by-step instructions to ensure your glass stays clear and streak-free, enhancing both functionality and aesthetics. Discover proven methods for optimal results using simple, natural ingredients.
- Understanding High-Humidity Bathrooms and Their Unique Challenges
- The Role of Shower Glass Protectant: Why It's Essential
- DIY Glass Protectant Application: Step-by-Step Guide and Tips
Understanding High-Humidity Bathrooms and Their Unique Challenges
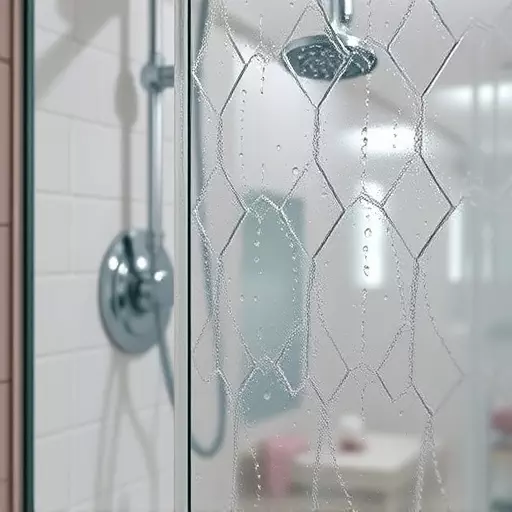
High-humidity bathrooms present unique challenges for maintaining a clean and functional space. With consistent moisture in the air, water spots and mineral buildup on surfaces like shower glass become common issues. This environment can be particularly problematic for standard cleaning products, as they may not effectively dissolve or prevent these residues.
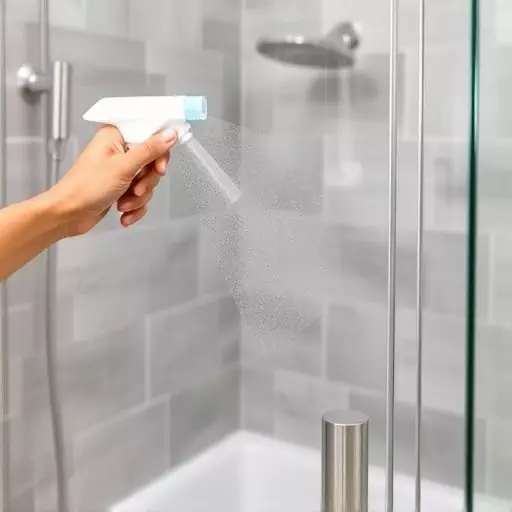
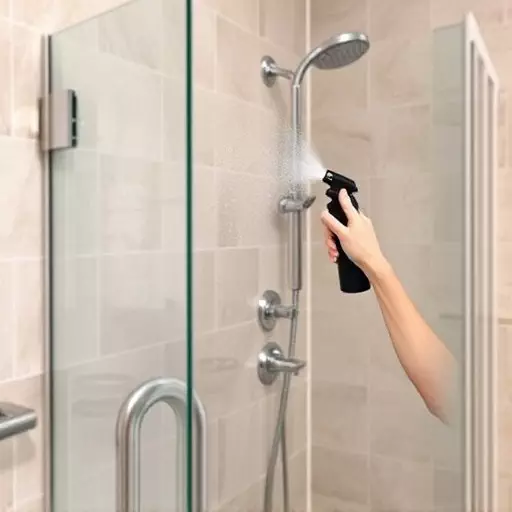
Understanding these challenges is key when applying a shower glass protectant. DIY enthusiasts often opt for protective coatings that create a barrier against moisture, ensuring longer-lasting cleanliness and reducing the need for frequent cleaning. The application process involves careful techniques to ensure even coverage without streaks. This can be achieved through specific methods, including using the right tools and following product instructions, resulting in a gleaming, streak-free shower glass that better withstands the humid conditions.
The Role of Shower Glass Protectant: Why It's Essential
In high-humidity bathrooms, moisture can cause shower glass to become foggy and difficult to see through. Here’s where a shower glass protectant steps in as an indispensable tool. Its primary role is to create a hydrophobic barrier on the glass surface, repelling water and preventing it from settling as condensation. This not only maintains clarity but also makes cleaning easier.
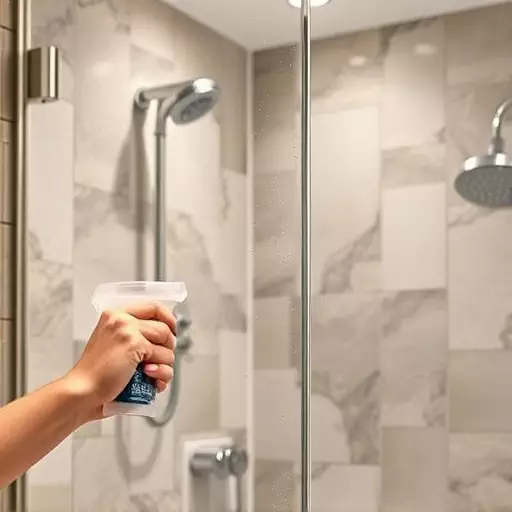
Applying a high-quality shower glass protectant is crucial, especially for those who live in areas with consistent high humidity. DIY application techniques are straightforward; most products come with easy-to-follow instructions. By regularly treating your shower glass, you can ensure a clear view and extend the life of your glass, making it a simple yet effective solution for any homeowner in Toledo looking to combat bathroom fog.
DIY Glass Protectant Application: Step-by-Step Guide and Tips
Protecting your shower glass from water spots and stains is easier than you think! This DIY guide will walk you through the simple steps to apply a shower glass protectant in Toledo, ensuring your bathroom remains sparkling and streak-free.
Start by preparing your workspace; gather all necessary materials including the chosen glass protectant, a clean microfiber cloth or sponge, and a spray bottle filled with distilled water. Ensure excellent ventilation as some products may have strong odors. Next, lightly mist the shower glass with water to activate its surface. Apply the protectant evenly using quick, back-and-forth motions, following the product’s instructions for recommended application times. For best results, allow it to dry completely before entering the shower. Regular reapplication every few months will maintain a long-lasting protective barrier, preventing water spots and making cleaning a breeze.