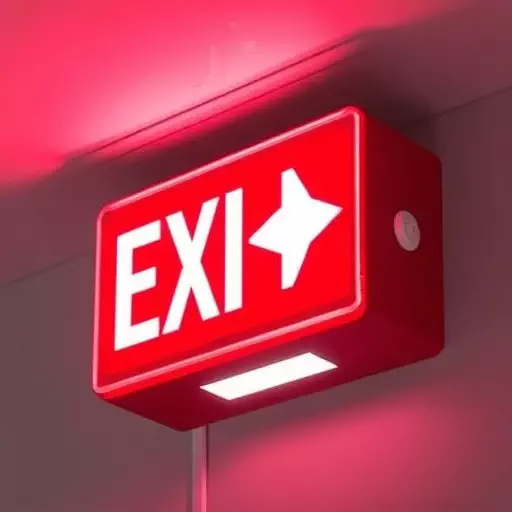
Ceiling-mounted emergency lights are vital for building safety, providing backup lighting during emergencies. Common issues include burnt-out bulbs, faulty wiring, and environmental damage. Identifying flickering lights or delayed activation is crucial for safety and compliance with local codes. Emergency Light Repair Spring Lake experts offer a meticulous repair process, guiding clients through inspection, replacement, and maintenance to ensure facilities are prepared for any situation. Understanding this repair process and recognizing distress signs is key to optimal safety and functionality.
Spring Lake residents, are your ceiling-mounted emergency lights functioning properly? These critical safety features can make all the difference during power outages or emergencies. Understanding their importance and knowing the signs of potential failure is key. This guide delves into the emergency light repair process, helping you navigate common issues, prepare for maintenance, and choose the right replacement parts. By following these steps, you’ll ensure your Spring Lake home remains safe and secure.
- Understanding Ceiling-Mounted Emergency Lights: Their Role and Importance
- Common Issues Leading to Emergency Light Failure
- The Signs Your Emergency Light Needs Repair
- Safety First: Preparing for the Repair Process
- Step-by-Step Guide to Emergency Light Repair
- Choosing the Right Replacement Parts
- Maintenance Tips to Prevent Future Emergencies
Understanding Ceiling-Mounted Emergency Lights: Their Role and Importance
Ceiling-mounted emergency lights are vital components in any building’s safety infrastructure. They serve as a critical backup system during power outages or emergencies, providing essential lighting to guide occupants safely out of the facility. These lights are designed to activate automatically when detected conditions meet specific criteria, such as a loss of power or smoke. Their strategic placement on ceilings ensures they offer clear, bright illumination without obstructing views or creating shadows that could pose safety risks.
Regular maintenance and emergency light repair in Spring Lake are crucial to ensure these systems function optimally when needed most. Over time, various factors can contribute to the degradation of emergency lights, including dust accumulation, broken or faulty components, and exposure to extreme temperatures. Signs an emergency light needs repair may include flickering or intermittent lighting, delayed activation, or complete failure to illuminate upon testing. Prompt attention to these issues is essential for maintaining a safe environment, as even minor malfunctions can significantly impact building occupants’ ability to evacuate efficiently during an emergency.
Common Issues Leading to Emergency Light Failure
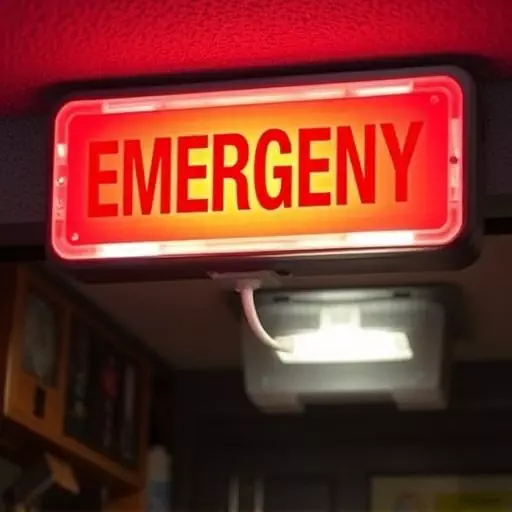
Many issues can lead to a ceiling-mounted emergency light failure in Spring Lake properties. Understanding these common problems is key to proactive maintenance and timely repairs. One of the primary culprits is burnt-out bulbs, which is an easy yet often overlooked problem. Regular use can cause filaments to break down over time, leading to sudden darkness during emergencies.
Another frequent issue involves faulty wiring or connections. Improper installation or loose connections at the light’s base can cause power surges that damage internal components. Additionally, environmental factors like moisture ingress or extreme temperature fluctuations can compromise the light’s functionality. Keep an eye out for signs such as flickering lights, delayed illumination, or total failure to activate during a power outage – these are indicators that an emergency light needs repair and should prompt immediate attention to ensure safety and compliance with local building codes.
The Signs Your Emergency Light Needs Repair
Safety First: Preparing for the Repair Process

Before tackling any ceiling-mounted emergency light repair in Spring Lake, safety should always be the top priority. This is especially crucial when dealing with lighting fixtures that are designed to provide vital illumination during emergencies. First and foremost, ensure the power is turned off at the circuit breaker or main electrical panel to prevent any accidental shocks or damages. It’s also essential to wear protective gear, including gloves and safety glasses, to shield yourself from potential hazards like falling debris or sharp objects.
During the preparation phase, carefully inspect the light fixture for any visible signs of damage, such as broken bulbs, frayed wires, or corroded components. If you notice any issues, it’s a clear indication that an emergency light needs repair. Regular maintenance can help prevent these problems, but sometimes, even with care, repairs are necessary. In such cases, follow manufacturer guidelines and, if needed, consult with a licensed electrician to ensure the job is done safely and correctly.
Step-by-Step Guide to Emergency Light Repair

Step-by-Step Guide to Emergency Light Repair
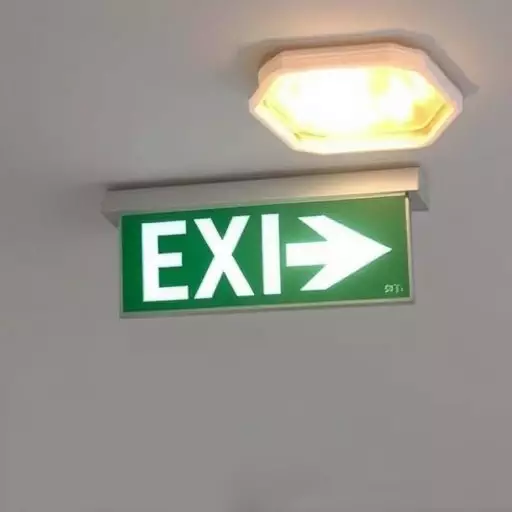
Identifying when your ceiling-mounted emergency light requires repair is crucial for ensuring safety and compliance with building codes. Keep an eye out for signs such as flickering lights, dimming, or prolonged off-times. Regular maintenance can prevent unexpected failures during emergencies. If you notice any issues, it’s time to embark on the emergency light repair process.
Begin by turning off the power at your main electrical panel to ensure safety during disassembly. Next, carefully remove the light fixture from the ceiling, taking note of its original positioning and wiring. Inspect all components for damage, including the bulb, wiring, and mounting hardware. Replace any worn or damaged parts, following manufacturer instructions precisely. Once repairs are complete, reattach the fixture, ensuring secure wiring connections before flipping the power back on.
Choosing the Right Replacement Parts

When undertaking an emergency light repair in Spring Lake, selecting the correct replacement parts is paramount to ensure both functionality and safety. The first step is to identify the specific type and model of your emergency lighting fixture. Different models may have unique specifications, including bulb types, voltage requirements, and mounting mechanisms. Check the manufacturer’s instructions or consult with a professional for accurate identification.
Additionally, consider the signs indicating that an emergency light needs repair. Frequent malfunction, dimming or flickering lights, loose connections, or broken components are all red flags. Ensuring you replace these parts accurately and with compatible models will streamline the emergency light repair process, enhancing the overall safety of your space.
Maintenance Tips to Prevent Future Emergencies
