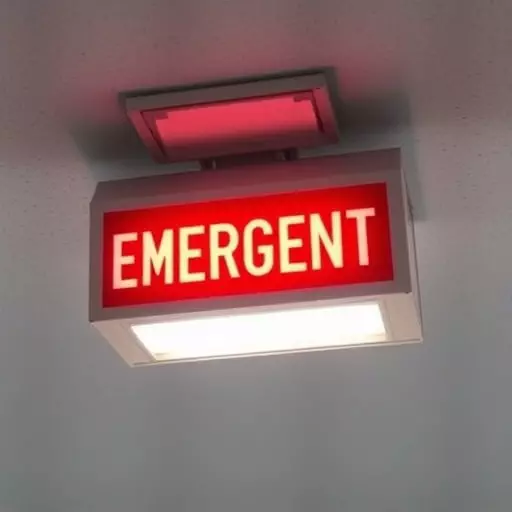
Wall-mounted emergency lights are crucial safety features requiring regular maintenance and prompt repair in Spring Lake. Common issues include flickering lights, dead batteries, and faulty wiring. To ensure safety, residents should turn off power at the main breaker, wear protective gear, and regularly inspect lights for damage or flickering. Regular maintenance involves checking connections, replacing worn fixtures, cleaning units, and promptly replacing drained batteries. Identifying signs of failure early helps maintain reliable emergency lighting during power outages.
In any home or business, wall-mounted emergency lights are a vital safety feature. At Spring Lake, understanding and maintaining these crucial systems is essential for ensuring everyone’s well-being during power outages or emergencies. This comprehensive guide delves into the world of emergency light repairs, covering common issues, signs requiring maintenance, step-by-step repair processes, and critical safety measures. By following these expert tips, you can extend the lifespan of your emergency lights and ensure they’re ready when needed most.
- Understanding Wall-Mounted Emergency Lights: Their Role and Common Issues
- The Signs Your Emergency Light Needs Repair: A Comprehensive Checklist
- Unpacking the Emergency Light Repair Process: Step-by-Step Guide
- Tools and Safety Measures Essential for Successful Repairs
- Maintenance Tips to Prevent Future Emergencies and Extending Light Lifespan
Understanding Wall-Mounted Emergency Lights: Their Role and Common Issues
Wall-mounted emergency lights are crucial safety features designed to provide immediate illumination during power outages or emergencies. These lights play a vital role in ensuring the safety and well-being of occupants in various settings, from homes to commercial buildings. They are typically installed high on walls, often near exits, to offer quick access to lighting when conventional power fails. Understanding their importance is key to recognizing when an emergency light repair Spring Lake might be necessary.
Common issues with these lights can include flickering or intermittent lighting, dead batteries, broken bulbs, or even faulty wiring. Signs that an emergency light needs repair are essential to identify promptly. For instance, if a light fails to illuminate when the power goes out or shows irregular behavior, it could indicate a problem within the system. Regular maintenance and timely repairs are necessary to ensure these safety mechanisms function correctly when needed most. The emergency light repair process involves assessing the issue, replacing faulty components, and ensuring proper wiring, ultimately safeguarding spaces from potential hazards.
The Signs Your Emergency Light Needs Repair: A Comprehensive Checklist

Unpacking the Emergency Light Repair Process: Step-by-Step Guide
Tools and Safety Measures Essential for Successful Repairs

When tackling a wall-mounted emergency light repair in Spring Lake, having the right tools and prioritizing safety is paramount for a successful outcome. The emergency light repair process requires a basic toolkit including screwdrivers (both flathead and Phillips), a ladder, work gloves, protective eyewear, and a new replacement bulb. These tools ensure you can access hard-to-reach areas safely and securely.
Safety measures cannot be overstated in any DIY project, especially when dealing with electrical components. Always turn off the power at the main circuit breaker before starting any repairs to avoid severe shocks or other hazards. Wear protective gear to shield yourself from debris and potential injury, and ensure proper ventilation in the workspace. Regularly inspect your emergency light for signs that it needs repair, such as flickering lights, burnt-out bulbs, or loose connections, as these indications can prevent more serious issues during an emergency.
Maintenance Tips to Prevent Future Emergencies and Extending Light Lifespan

Regular maintenance is key to preventing future emergencies and extending the lifespan of your wall-mounted emergency lights in Spring Lake. Start by inspecting the lights for any visible signs of damage, such as cracked or faded fixtures, loose connections, or dimming bulbs. Addressing these issues early can prevent a malfunction during an actual emergency.
Keep the lighting units clean to ensure optimal performance. Dust and debris buildup can obstruct light output and reduce energy efficiency. Use a soft cloth to wipe down the exterior of the lights regularly. Additionally, verify that the battery-powered emergency lights are charged fully and replace any old or drained batteries promptly. This simple step ensures the lights will function correctly when needed most.