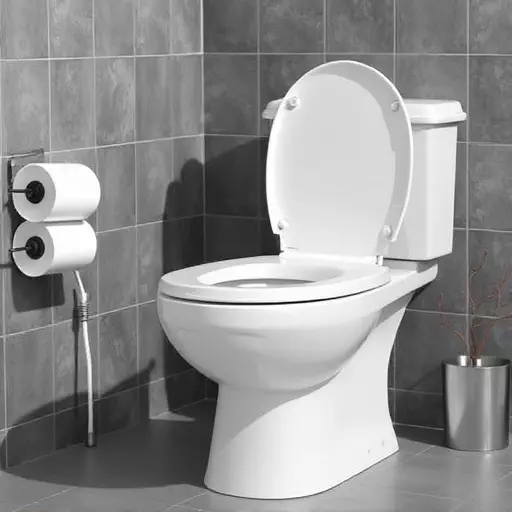
Toilets often require maintenance beyond basic repairs. Homeowners in Toledo can replace toilet seats independently using a troubleshooting guide and essential tools. The process involves removing the old seat, installing a new wax ring for a secure seal, aligning components, and fastening the seat securely. Ensuring proper levelness and alignment enhances comfort and longevity. For complex issues or blocked drains, consult Toilet Repair Experts Toledo for professional assistance and guidance.
Looking to replace your toilet seat? This comprehensive toilet seat installation guide from Toilet Repair Experts Toledo is your go-to resource. We break down common toilet issues and their causes, providing essential toilet troubleshooting tips. Learn about the required tools and materials, then follow our step-by-step guide for a successful removal of an old seat and installation of a new one. From proper seating techniques to final touches, ensure a flawless fix with these expert toilet repair techniques.
- Understanding Common Toilet Issues and Their Causes
- Tools and Materials Required for Installation
- Step-by-Step Guide to Removing an Old Toilet Seat
- Attaching the New Toilet Seat: A Detailed Walkthrough
- Ensuring Proper Seating and Leveling Techniques
- Final Touches and Testing the New Toilet Seat Installation
Understanding Common Toilet Issues and Their Causes
Toilets are an often-overlooked aspect of home maintenance, but they can present various issues that require attention. Common problems range from leaky fixtures to blocked drains, many of which can be traced back to simple installation errors or wear and tear over time. For instance, a loose toilet seat could be due to improper mounting during installation, while persistent clogs may indicate an improperly installed trap or a build-up of hard water deposits.

When it comes to fixing these issues, having a basic understanding of toilet repair techniques can save you time and money. In some cases, such as a leaky toilet, the problem might be as straightforward as replacing a worn-out flapper valve. However, more complex issues like blocked drains or persistent leaks might require the expertise of Toilet Repair Experts Toledo. With their knowledge and tools, these professionals can efficiently diagnose and resolve problems, ensuring your toilet functions optimally and prevents future headaches.
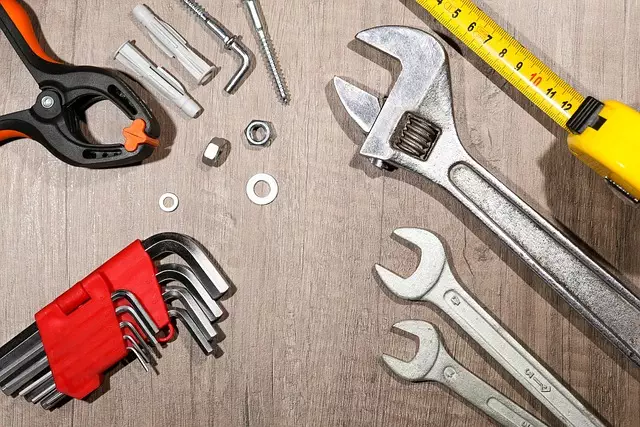
Tools and Materials Required for Installation

When it comes to toilet seat installation, having the right tools and materials is essential for a seamless process. Toilet Repair Experts Toledo recommend gathering a few basic items before beginning any DIY toilet repair project. This includes a new toilet seat cover, wax ring, and a variety of tools such as pliers, a wrench, and a level. These tools are crucial for ensuring proper alignment and a secure fit during installation.
Using the correct toilet troubleshooting guide will also prove invaluable. By following these steps and utilizing the right materials, you can efficiently install a new toilet seat without the need to consult a professional. Mastering these simple yet effective toilet repair techniques allows homeowners in Toledo to maintain their bathroom fixtures with ease and save on potential costly repairs.
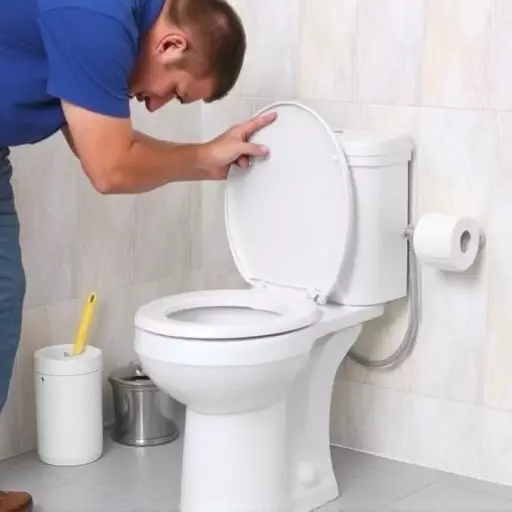
Step-by-Step Guide to Removing an Old Toilet Seat

Removing an old toilet seat is often a first step in any toilet seat installation process, and it’s crucial to approach this task with the right tools and techniques. As Toilet Repair Experts Toledo, we’ve seen our fair share of toilet-related challenges, so here’s a straightforward guide to help you navigate this process like a pro. Begin by gathering your tools: a sturdy wrench or pliers designed for toilet hardware, a new wax ring (a crucial component for a secure seal), and a replacement toilet seat. Next, shut off the water supply to prevent any accidents during disassembly. With the water turned off, carefully lift the old toilet seat and set it aside. Don’t forget to release any tension from the hinges using your tools, ensuring smooth removal.
Attaching the New Toilet Seat: A Detailed Walkthrough

Attaching the New Toilet Seat: A Detailed Walkthrough
Once you’ve removed the old toilet seat, it’s time to install a new one. Begin by laying out all the components of your new toilet seat. This typically includes the seat itself, the hinge brackets, and any hardware like screws or bolts. Follow the manufacturer’s instructions for proper placement. Often, there are markings or cutouts on the bowl that guide you in aligning the seat correctly. Ensure these align before proceeding.
Next, attach the hinge brackets to the sides of the toilet bowl using the provided hardware. Secure them tightly with screws or bolts, ensuring they’re firmly in place. Once the brackets are secured, attach the new toilet seat to the brackets. Some seats may have a clamp mechanism, while others might require screwing on. Tighten securely but be careful not to overtighten, as this could damage the hardware or bowl. Verify that the seat is level and adjust if necessary by loosening and realigning the brackets.
Ensuring Proper Seating and Leveling Techniques

When installing a new toilet seat, achieving proper seating and leveling is crucial for both functionality and comfort. Toilet Repair Experts Toledo recommend following these essential toilet troubleshooting guide steps to ensure a seamless fit. First, verify that the existing toilet base is level by adjusting any loose bolts or using shims to fill gaps, creating a stable foundation. Second, properly position the new seat, ensuring it aligns with the bowl’s center line for even weight distribution and a secure connection.
Utilizing the right tools, such as a level and adjustable wrench, will make this process more manageable. Toilet repair techniques involve careful manipulation of components to achieve precision leveling. By taking your time and paying attention to these details, you’ll avoid potential issues like wobbly seats or misaligned fixtures, enhancing both the user experience and extending the lifespan of your toilet hardware.
Final Touches and Testing the New Toilet Seat Installation

Once the new toilet seat is securely in place, it’s time for the final touches. This involves adjusting the height to your comfort level and ensuring the seat hinges are aligned correctly. Take a moment to check the overall stability of the seat and make any necessary adjustments to the bolts or screws. A level seat ensures a comfortable and safe experience each time you use it.
Before you consider the installation complete, test the new toilet seat. Drop the seat down gently to ensure smooth operation and that the hinges function properly. Check for any strange noises or signs of instability. If everything seems secure and operates smoothly, congratulations! Your new toilet seat is now ready for regular use. For any remaining concerns, refer to our comprehensive toilet troubleshooting guide or reach out to local toilet repair experts in Toledo for professional assistance.