Ensuring accessibility for individuals with disabilities in public spaces and homes is paramount, with handicap toilet installation playing a crucial role. The Toilet Installation Process requires specific tools like those from the Toilet Installation Tools Toledo kit and tailored planning. DIY projects necessitate floor adjustments, height-adjustable fixtures, and grab bars for safety. The Toilet Installation Tools Toledo toolkit equips users with essential tools for measurements, cutting, assembly, and piping, simplifying installation tasks. Planning involves assessing space, measuring, creating a layout, checking building codes, preparing plumbing, and removing old toilets. Successful installation requires careful demolition, floor preparation, securing the new toilet, connecting plumbing, testing, adding accessories, and prioritizing safety throughout the DIY process.
In many public spaces, ensuring accessibility for individuals with disabilities is a paramount concern. One crucial aspect of this effort is the installation of handicap toilets, designed to cater to the unique needs of the disabled community. This comprehensive guide delves into the essential steps of the toilet installation process, focusing on DIY toilet installation. From understanding the need and gathering toilet installation tools Toledo to final touches, we’ll walk you through each stage, ensuring proper functionality and safety considerations for your handicap toilet setup.
- Understanding the Need for Handicap Toilet Installation
- Essential Tools Required for the Job: Toilet Installation Tools Toledo
- Planning and Preparation: A Step-by-Step Guide to the Toilet Installation Process
- Demolition: Removing the Old Toilet and Preparing the Floor
- Installing the New Handicap Toilet: A Detailed Walkthrough
- Plumbing Connections: Ensuring Proper Functionality
- Final Touches and Safety Considerations for DIY Toilet Installation
Understanding the Need for Handicap Toilet Installation

In many public spaces and homes, ensuring accessibility for individuals with disabilities is a fundamental consideration. This is where handicap toilet installation plays a pivotal role in promoting inclusivity. The need for these specialized toilets arises from the fact that traditional fixtures often present significant challenges for people using wheelchairs, having limited mobility, or facing other physical impairments.

The Toilet Installation Process goes beyond simply fitting a standard toilet. It involves acquiring the correct Toilet Installation Tools Toledo and understanding the unique requirements of the individuals who will be using them. For DIY Toilet Installation projects, careful planning is essential to guarantee not only functionality but also comfort and safety for all users. This often includes adapting the floor layout, selecting height-adjustable fixtures, and incorporating additional features like grab bars to facilitate easy access and maneuverability.
Essential Tools Required for the Job: Toilet Installation Tools Toledo

When embarking on a DIY toilet installation project, particularly for handicap accessibility, having the right tools is paramount to ensuring a successful and seamless process. The Toilet Installation Tools Toledo are an indispensable set for any homeowner or professional contractor tackling this task. This comprehensive toolkit includes all the essential items needed to navigate the intricate Toilet Installation Process, from measuring and marking to cutting and assembling.
The tools are designed to simplify the often challenging DIY toilet installation. They feature high-quality materials and user-friendly designs, making them suitable for both novice and experienced do-it-yourselvers. With these tools in hand, you’ll be well-equipped to handle tasks such as cutting through tough materials, securing pipes, and fine-tuning measurements—all crucial steps in creating an accessible and comfortable restroom space.
Planning and Preparation: A Step-by-Step Guide to the Toilet Installation Process

Planning and Preparation for a Handicap Toilet Installation is key to ensuring a smooth and successful process. Before diving in, gather all necessary Toilet Installation Tools Toledo and assess your space. Measure the existing toilet area, ensuring sufficient clearance for wheelchair access, and verify that the floor can support the weight of the new handicap toilet. Create a layout plan, marking where the toilet will be positioned, and check local building codes to ensure compliance.
Next, prepare the plumbing by shutting off water supplies and draining any existing toilets. Remove the old unit carefully, taking note of connections, and clean the area thoroughly. Install necessary components like flush handles or lever arms that cater to users with limited mobility. With proper planning and the right DIY Toilet Installation tools, you’ll be able to create an accessible bathroom space tailored to individual needs.
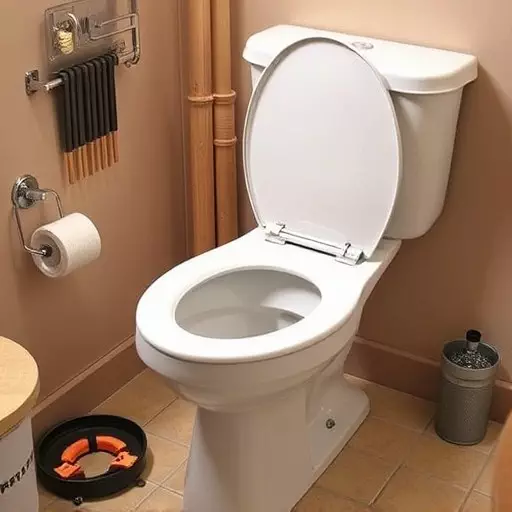
Demolition: Removing the Old Toilet and Preparing the Floor

When preparing for a handicap toilet installation, the first step is often demolition—removing the old toilet and ensuring the floor is properly prepared. This process requires specific tools designed for Toilet Installation in Toledo or any other location. Professionals or DIY enthusiasts alike should gather essential tools like a wrench set, a utility knife, and protective gear to tackle this phase safely. Starting with the removal of the old unit involves carefully unscrewing and lifting it out, taking note of any plumbing connections for later reattachment.
The floor must then be thoroughly cleaned and inspected to guarantee a smooth installation. This step includes removing any debris or remnants from the previous toilet, ensuring the surface is level, and addressing any necessary repairs or replacements. A level floor is crucial for a secure and comfortable handicap toilet, setting the foundation for the entire Toilet Installation Process. Whether handling this as a DIY project or overseeing a professional installation, proper preparation ensures that the new toilet fits seamlessly and serves its intended purpose effectively.
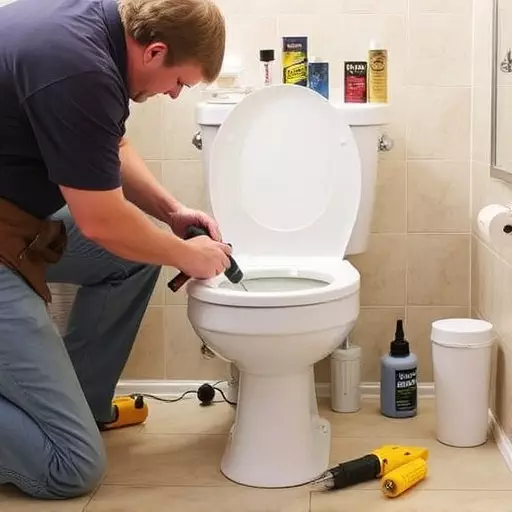
Installing the New Handicap Toilet: A Detailed Walkthrough

Installing a handicap toilet involves several crucial steps to ensure it’s done correctly and safely. First, gather all the necessary tools for Toledo toilet installation, including a level, measuring tape, a drill, and any specific accessories required for your model. Prepare the floor by sweeping and cleaning it, then mark the precise location where the new toilet will sit, ensuring it aligns with the existing plumbing.
Next, remove the old toilet carefully, being mindful of potential water leaks. Install the new handicap toilet by securing the base to the floor using anchors or screws, following the manufacturer’s instructions precisely. Connect the supply lines for water and waste disposal, making sure they’re tightly sealed. Adjust the height of the seat to meet the needs of intended users, and check that all parts are securely fastened. Test the functionality thoroughly before use.
Plumbing Connections: Ensuring Proper Functionality

When installing a handicap toilet, proper plumbing connections are paramount to ensure its functionality. The process involves connecting the new toilet to the existing plumbing system using specialized tools designed for toilet installation in Toledo or any other location. This includes aligning the toilet with the waste pipe and securing it firmly in place using anchors and braces.
The DIY toilet installation process requires a good understanding of plumbing basics. You’ll need to connect the water supply lines, ensuring they’re tightly sealed to prevent leaks. Similarly, the drainage connections must be seamless to allow for proper flushing. Many tools are available for this task, from adjustable pliers and wrenches to specialized adapters, making it feasible for both professionals and those undertaking a DIY toilet installation project.
Final Touches and Safety Considerations for DIY Toilet Installation

Adding a handicap toilet requires careful consideration for both functionality and safety. Once the toilet itself is in place, it’s time to focus on the final touches. This includes installing essential accessories like grab bars, which enhance stability and ease of use. Ensure these are firmly attached to suitable structural elements for support. Additionally, consider adding non-slip flooring around the toilet for improved safety, especially if the area is prone to moisture or has a history of slip-and-fall incidents.
Safety should be at the forefront of your DIY toilet installation process. Verify that all tools and hardware used meet relevant safety standards and are suitable for the task. Ensure electrical connections are secure and up to code to avoid any potential hazards. Regularly test water pressure and plumbing connections to prevent leaks or clogs. Finally, familiarize yourself with local building codes and regulations regarding handicap accessibility to ensure your installation meets all necessary requirements.