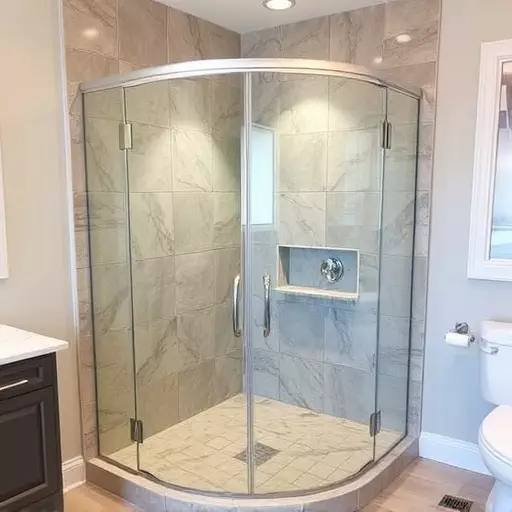
Installing a swinging glass shower door in Lake Orion, Michigan requires careful planning and precision. Gather essential tools like measuring tape, level, drill, and suitable hardware with matching finishes. Prepare the opening, create pilot holes, mount fixed hinges, attach the swing panel, ensuring proper alignment for a watertight seal. Use high-quality silicone sealant and adjust hardware as needed for a seamless, spa-like bathroom upgrade.
“Enhance your bathroom with a stylish swinging glass shower door installation in Lake Orion, Michigan. This comprehensive guide delves into the essential aspects of successfully installing these doors, focusing on hardware compatibility and finish matching. From understanding the basics of hardware compatibility for swinging glass shower doors to a detailed step-by-step process, we equip you with knowledge. Learn about the tools required for a seamless installation, ensuring your Lake Orion bathroom transformation is both efficient and aesthetically pleasing.”
- Understanding Hardware Compatibility for Swinging Glass Shower Doors
- Essential Tools Needed for Installation: A Comprehensive List
- Step-by-Step Guide to Installing a Swinging Glass Shower Door
- Ensuring Seamless Finish: Tips for Matching Hardware Finishes in Lake Orion, Michigan
Understanding Hardware Compatibility for Swinging Glass Shower Doors
When installing a swinging glass shower door in Lake Orion, Michigan, understanding hardware compatibility is crucial. The process involves careful selection and coordination of various components to ensure seamless functionality and an aesthetically pleasing finish. Swinging glass shower doors require specific hardware finishes that match both the door itself and the surrounding bathroom fixtures. This ensures not only visual harmony but also smooth operation, as incompatible hardware can lead to poor performance and unsightly gaps.
The installation steps for a swinging glass shower door typically involve several key stages. First, you’ll need the right tools, such as measuring tape, a level, a drill, and a saw. Next, prepare the opening by ensuring it’s properly measured and cleared of obstructions. Then, install the fixed and swing components of the door frame, securing them with hardware that matches your shower door’s finish. This includes hinges, handles, and any additional accessories like weatherstripping for a watertight seal. Proper alignment and adjustment are essential throughout the installation process to ensure your swinging glass shower door operates smoothly and securely.
Essential Tools Needed for Installation: A Comprehensive List

When it comes to installing a swinging glass shower door in Lake Orion, Michigan, having the right tools is paramount. The process involves precise measurements and adjustments, requiring a set of essential items for a successful and seamless installation. Here’s a comprehensive list of tools you’ll need to follow the swing glass shower door installation steps effectively:
1. Measuring Tape: Accurate measurements are crucial for ensuring the door fits perfectly. A flexible measuring tape allows for precise marking and adjustment during the installation process.
2. Level: Maintaining the door’s levelness is essential for proper alignment. A basic bubble level will help you ensure the door is straight and square, enhancing its aesthetic appeal.
3. Adjustable Wrench or Pliers: These tools are indispensable for tightening screws and adjusting hardware components. An adjustable wrench offers versatility, allowing you to handle various fastening tasks.
4. Drill and Bits: A power drill with compatible bits is needed for drilling pilot holes and mounting the door tracks and brackets. Ensure you have the right-sized bits for your specific hardware.
5. Hinge Installers (or Hinge Templates): Specially designed hinge installers or templates simplify the process of marking and attaching hinges to the shower door and frame, ensuring a secure fit.
6. Shower Door Silicone Sealant: A high-quality sealant is necessary for creating an airtight seal around the perimeter of the door, preventing water leaks and ensuring optimal performance.
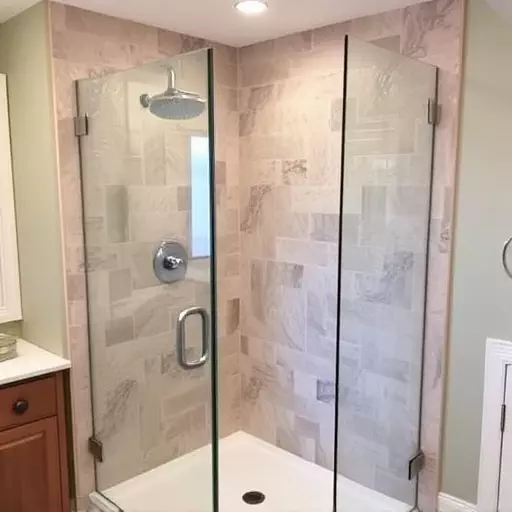
Step-by-Step Guide to Installing a Swinging Glass Shower Door

Installing a swinging glass shower door can transform your bathroom into a spa-like oasis. Here’s a step-by-step guide tailored for Lake Orion, Michigan residents looking to tackle this project themselves. Before starting, ensure you have all the necessary tools: a drill with a tile bit, measuring tape, level, pencil, safety glasses, and a swinging glass shower door kit complete with hardware.
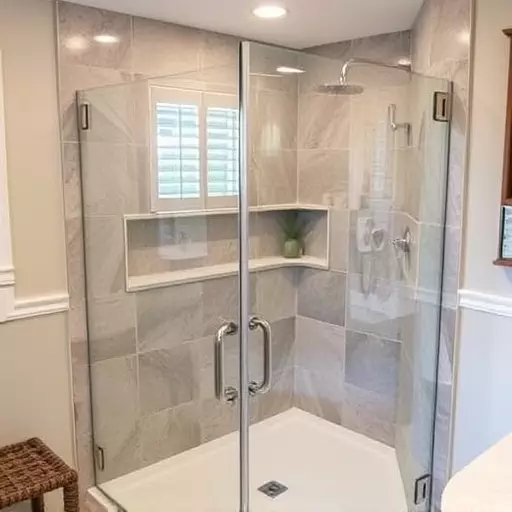
1. Preparation: Begin by cleaning your shower area and ensuring the surface is dry. Using your measuring tape, determine the exact dimensions of the opening and mark them on the wall with a pencil. This will guide the placement of your door. Put on safety glasses to protect yourself from debris.
2. Drilling and Mounting: Following your measurements, use the drill to create pilot holes for the hinges and other hardware. Install the fixed hinge on one side of the opening, ensuring it’s level using a bubble level. Repeat this step on the opposite side. Attach the swing door panel by securing it to the hinges. Ensure all components are aligned correctly before tightening any screws completely.
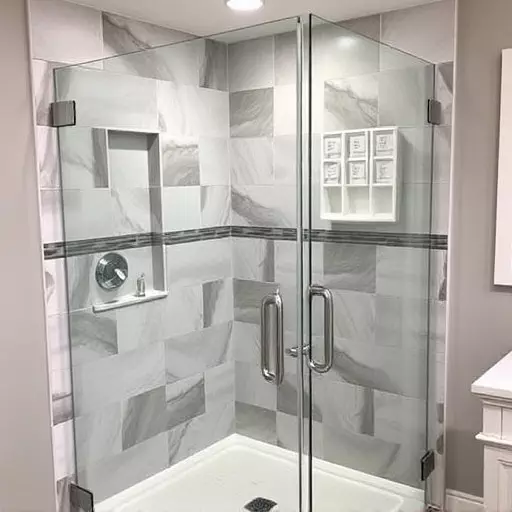
Ensuring Seamless Finish: Tips for Matching Hardware Finishes in Lake Orion, Michigan

When installing a swinging glass shower door in Lake Orion, Michigan, paying close attention to hardware finishes is essential for achieving a seamless and cohesive look. To ensure a professional finish, it’s crucial to match not only the type of hardware but also its finish across all components. This includes the door hinges, handles, and any other accessories.
Before beginning the swinging glass shower door installation steps, take time to assess your space and choose hardware that complements your existing fixtures or sets the desired tone for your bathroom. Once selected, gather the necessary tools for swinging shower door installation, such as adjustable wrenches, screwdrivers, and measurements tapes. By taking these precautions, you’ll be well on your way to a beautiful, seamless installation.