Siding flashing is a crucial component for any vinyl siding installation in Appleton, Wisconsin, providing essential protection against moisture intrusion and maintaining structural integrity. Before installation, thorough property preparation including damage inspection, wall cleaning, and shielding landscapes and windows is vital. This guide offers comprehensive steps for both new construction and repair projects, emphasizing proper flashing tape installation and addressing vulnerable areas to ensure durable protection. Regular maintenance involving damage inspections, troubleshooting, and cleaning is key to preserving the condition of your vinyl siding installation in Appleton, Wisconsin, enhancing curb appeal while preventing structural issues.
“Siding flashing is a crucial component in any siding installation, particularly for vinyl siding in Appleton, Wisconsin. This essential water barrier protects your home from moisture, ensuring the longevity of your new vinyl siding. Understanding how to properly install and maintain flashing is key to avoiding costly repairs down the line. From preparing your home to step-by-step installation instructions and maintenance tips, this guide covers everything you need to know for a successful siding installation project.”
- Understanding Siding Flashing: The Essential Water Barrier
- Preparing Your Appleton, Wisconsin Home for Vinyl Siding Installation
- Step-by-Step Guide to Siding Flashing Installation
- Maintenance and Troubleshooting Tips for Longevity
Understanding Siding Flashing: The Essential Water Barrier
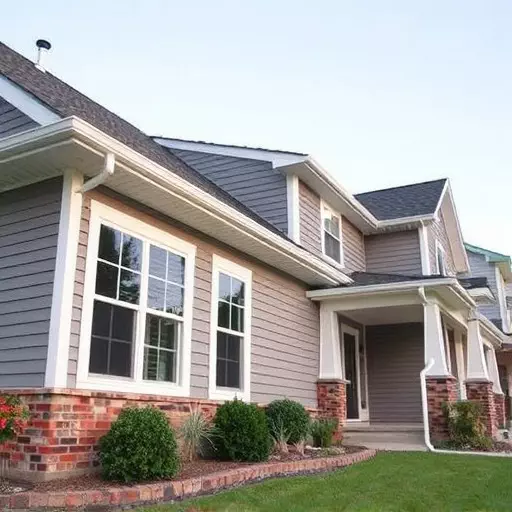
Siding flashing is a crucial component in any vinyl siding installation Appleton Wisconsin residents opt for. It serves as the essential water barrier, protecting your home’s exterior from moisture intrusion. This is especially important in regions with varying weather conditions, where freezing temperatures and heavy rainfall can cause damage to poorly sealed surfaces.
When installed correctly, siding flashing directs water away from joints and seams, preventing it from seeping into cracks or gaps. It acts as the final layer of defense against water damage, ensuring your home’s structural integrity and the longevity of your vinyl siding.
Preparing Your Appleton, Wisconsin Home for Vinyl Siding Installation

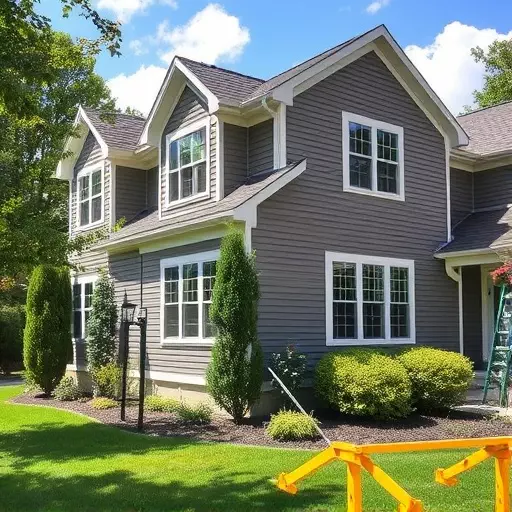
Before any siding installation in Appleton, Wisconsin begins, it’s crucial to prepare your home for the process. Start by inspecting your property and identifying areas that require specific attention. Check for existing damage like rot, cracks, or loose boards, as these issues need to be addressed before installing new vinyl siding. Ensure your walls are clean, dry, and free from debris; any imperfections could impact the final look of the siding.
Prepare the area by removing furniture, plants, or anything that might obstruct the installation process. Clear a path for workers to access all sections of your home easily. Additionally, consider temporary protection for nearby areas like landscaping or windows to prevent damage during the siding installation process. Proper preparation ensures a smoother and more efficient vinyl siding installation in Appleton, Wisconsin.
Step-by-Step Guide to Siding Flashing Installation

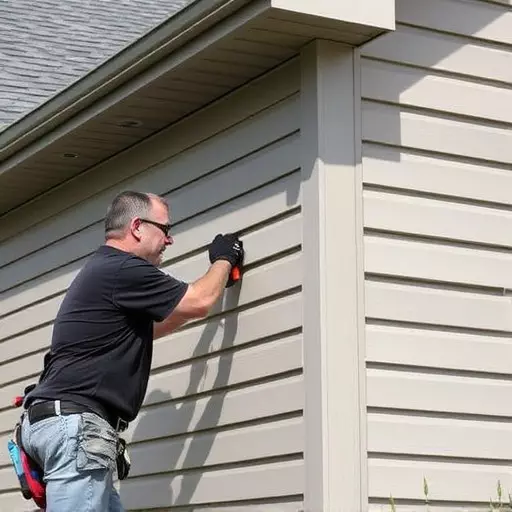
When it comes to siding flashing installation, whether for a new construction project or repairing an existing home in Appleton, Wisconsin, understanding the process is key. This step-by-step guide will walk you through preparing your home’s exterior, installing the flashing, and ensuring a durable barrier against the elements. Start by examining your home’s sides to identify areas where water may infiltrate, such as corners, openings, or spots around windows and doors. Gather your materials: vinyl siding (ensure it’s suitable for flashing installation), flashing tape, a utility knife, a hammer, nails or screws, and a siding installation tool if needed.
Next, clean the surface to ensure proper adhesion. Remove any debris, paint, or old flashing. Starting at the bottom, apply a bead of flashing tape along the edge where your siding meets the roof or another vertical surface. Secure it with nails or screws, spacing them about 6 inches apart. Continue this process up the side of your home, overlapping each row by 1-2 inches. For corners and tricky spots, cut the tape to fit using a utility knife and seal them tightly. Once the flashing is in place, install your vinyl siding, ensuring it’s securely fastened according to manufacturer guidelines. Proper siding flashing installation in Appleton, Wisconsin, not only enhances the curb appeal of your home but also protects against water damage, mold growth, and other structural issues.
Maintenance and Troubleshooting Tips for Longevity

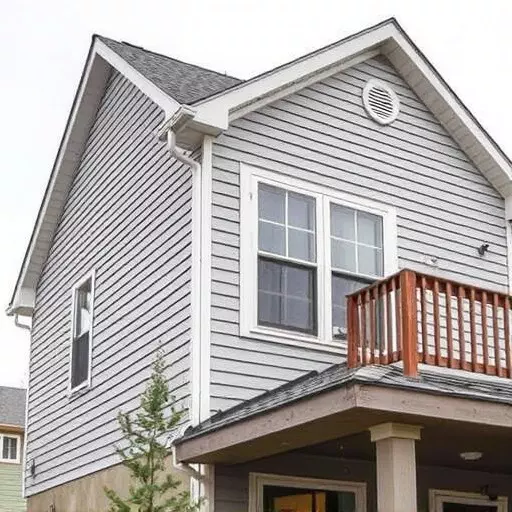
Regular maintenance and troubleshooting are essential for ensuring your vinyl siding installation in Appleton, Wisconsin, lasts for years to come. Start by inspecting your siding regularly for any signs of damage, such as cracks, warping, or loose panels. Addressing these issues early can prevent further deterioration. Keep an eye out for leaks around doors, windows, and other openings, as these could indicate poor sealing or flashing issues that require immediate attention.
When it comes to troubleshooting, consider common problems like painted-over seams or damaged flashing. If you notice water stains or mold growth, it’s crucial to re-seal the siding or replace damaged components to avoid structural damage and health hazards. Regular cleaning with mild soap and warm water can maintain the aesthetic appeal of your vinyl siding, keeping it looking fresh and new.