
Installing a swinging glass shower door in Lake Orion, Michigan requires meticulous preparation and precise alignment. Gather essential tools including a level, measuring tape, power drill, adjustable wrenches, and shims. Measure the opening, mark hinge locations, remove old hardware, and install hinges securely. Position the door within the opening, ensuring levelness, then adjust as needed before sealing with weatherstripping for a seamless, functional installation.
“Discover the secrets to a seamless swinging glass shower door installation in Lake Orion, Michigan. This comprehensive guide explores the essential tools and techniques for achieving perfect alignment, ensuring your new shower door fits like a glove. We’ll walk you through each step, from gathering the right tools—including specialized alignment gadgets—to mastering the installation process. Whether you’re a DIY enthusiast or a professional contractor, these tips will make your swinging glass shower door installation a breeze.”
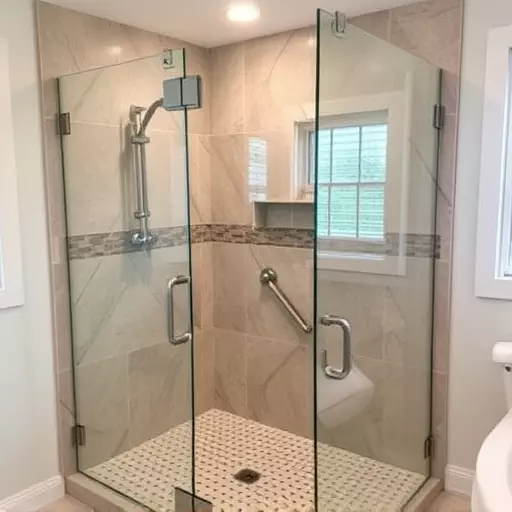
- Understanding Swinging Glass Shower Door Alignment
- Tools and Techniques for Installation Success
- A Step-by-Step Guide to Swinging Glass Shower Door Installation in Lake Orion, MI
Understanding Swinging Glass Shower Door Alignment
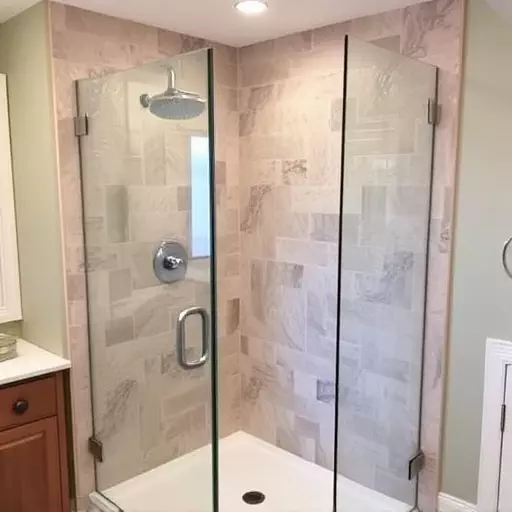
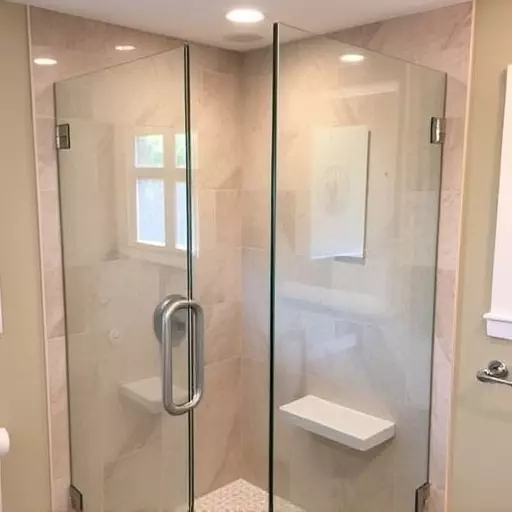
When it comes to installing a swinging glass shower door in Lake Orion, Michigan, understanding the alignment process is key to ensuring a seamless and secure fit. This involves accurately positioning the door hinges and ensuring the door swings smoothly and evenly. The swinging glass shower door installation process requires careful measurement and consideration of various factors, such as the door’s weight, the frame’s strength, and the overall space available.
The installation steps typically begin with preparing the shower frame and marking the hinge locations. Then, the hinges are attached to both the door and the frame, followed by the door’s suspension system. This ensures it swings freely while maintaining stability. Proper alignment is crucial to prevent uneven swinging or binding, which can be achieved using specific tools designed for this purpose, like shims and alignment guides. These tools help adjust the hinges until the door hangs perfectly level and centered in its frame.
Tools and Techniques for Installation Success
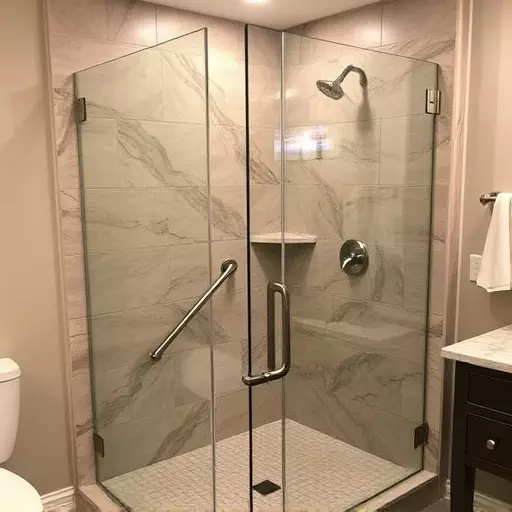
When it comes to a swinging glass shower door installation in Lake Orion, Michigan, the right tools and techniques are paramount for achieving a seamless fit and ensuring long-lasting performance. Start by gathering the essential tools required, including a level, measuring tape, pencil, power drill with various bits, adjustable wrenches, and a shims (for fine-tuning alignment). Accurate measurement is crucial; take meticulous dimensions of the door frame and shower opening to guarantee a perfect fit.
Following proper measurement, the installation process involves securing the door hinges, attaching the sliding mechanism, and adjusting for levelness. Use your level to ensure the door hangs evenly, then tighten all hardware securely with wrenches. Shims can be inserted between the door and frame if needed to achieve a precise fit. Following these careful steps will result in a beautifully installed swinging glass shower door that enhances both functionality and aesthetic appeal.
A Step-by-Step Guide to Swinging Glass Shower Door Installation in Lake Orion, MI
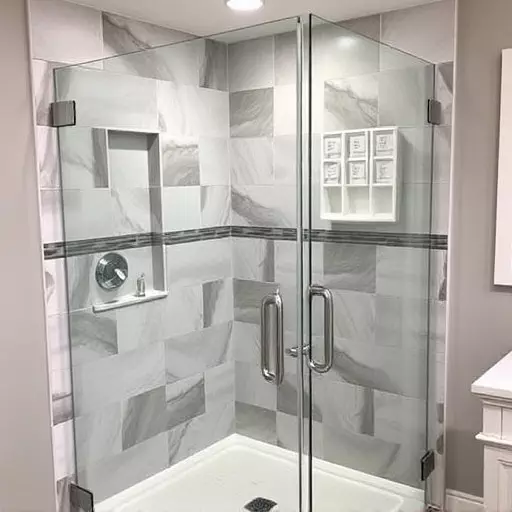
Installing a swinging glass shower door in Lake Orion, MI, might seem daunting, but with the right tools and a systematic approach, it can be accomplished successfully. Here’s a step-by-step guide designed to walk you through the process, ensuring your new swinging glass shower door is perfectly aligned and functional.
First, gather all the necessary tools required for swinging shower door installation, including a level, measuring tape, pencil, hammer, safety goggles, and gloves. Ensure your workspace is clear of obstacles. Next, measure the opening to ensure it meets the manufacturer’s specifications. Mark the points where the hinges will be attached using your pencil. Remove any existing hardware or doors, if applicable. Install the hinge studs securely into the marked locations, using a hammer when necessary. Attach the hinges to the door panel, following the instructions provided with your kit. Once hinged, position the door within the opening and adjust for levelness using the bubble level. Make any necessary adjustments before sealing it in place with appropriate weatherstripping.