LED emergency light replacement in Spring Lake is a smart, sustainable choice for property owners, offering superior energy efficiency and reduced carbon footprint. The process involves assessing compatibility, selecting appropriate fixtures based on location-specific needs (e.g., commercial, residential, industrial), and ensuring compliance with local guidelines. Professional services guide owners through optimization, while a straightforward home or work replacement involves power disconnection, old fixture removal, cleaning, new light installation, testing, and secure connections. Adhering to Emergency Light Replacement Spring Lake guidelines enhances safety and preparedness.
“Looking to replace your emergency lights in Spring Lake? This comprehensive guide is your go-to resource. We explore the benefits and process of LED emergency light replacement, ensuring you make informed decisions. From understanding the basics to choosing the right lights for your location and following efficient replacement guidelines, we cover it all. Discover how professional emergency light replacement services can enhance safety and peace of mind in Spring Lake.”
- Understanding LED Emergency Light Replacement: Benefits and Process
- Choosing the Right LED Emergency Lights for Your Location in Spring Lake
- Step-by-Step Guide to Efficiently Replace Emergency Lights at Home or Work
Understanding LED Emergency Light Replacement: Benefits and Process
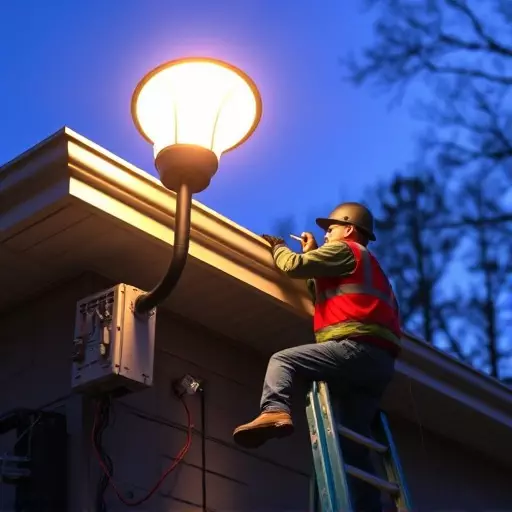
LED emergency light replacement is a crucial upgrade for any Spring Lake property that prioritises safety and sustainability. These lights offer far greater energy efficiency than traditional models, reducing utility bills and carbon footprint. Moreover, they boast an extended lifespan, eliminating frequent replacements and associated costs.
The process involves identifying the existing emergency lighting system, assessing its compatibility with LED technology, and selecting suitable replacement fixtures. Professional emergency light replacement services in Spring Lake can guide property owners through these steps, ensuring compliance with local guidelines and optimal performance of new lights.
Choosing the Right LED Emergency Lights for Your Location in Spring Lake
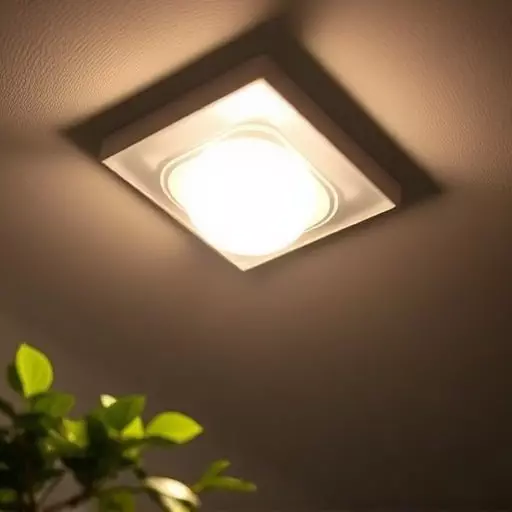
When considering LED emergency light replacement in Spring Lake, understanding your location’s specific needs is crucial. Different environments require diverse lighting solutions to ensure optimal safety and visibility during power outages or emergencies. For instance, a bustling commercial district will have different emergency light requirements compared to a residential neighborhood or industrial site.
Emergency light replacement services should take into account factors like ceiling height, foot traffic flow, and the type of machinery or equipment present. Following emergency light replacement guidelines specific to Spring Lake will help ensure compliance with local regulations and maximize the effectiveness of your new LED lighting system. This process involves selecting lights with the appropriate brightness, color temperature, and battery backup capacity tailored to your location’s unique demands.
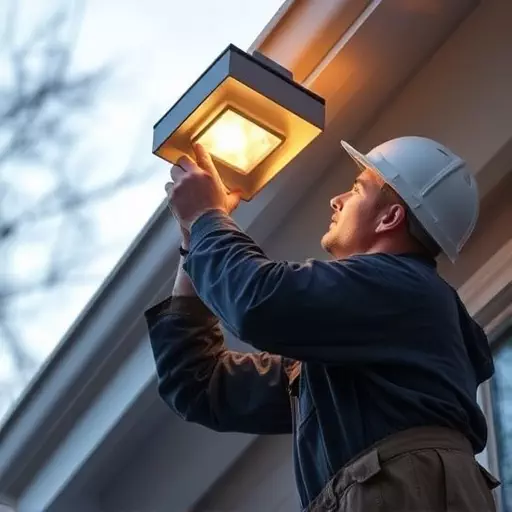
Step-by-Step Guide to Efficiently Replace Emergency Lights at Home or Work

Replacing emergency lights at home or work can be a straightforward process when followed correctly. Here’s a step-by-step guide for an efficient emergency light replacement Spring Lake or any location:
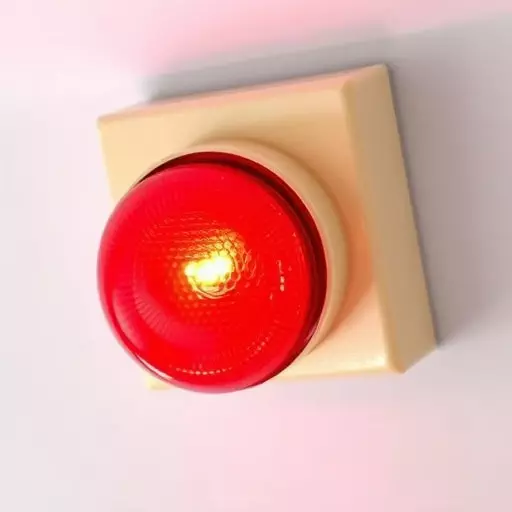
1. Identify the Old Light: Start by locating the emergency light that needs replacing. Ensure it’s clearly marked and accessible, especially in areas where quick evacuation might be necessary. Check the light’s condition; is it faulty, flickering, or has its battery run out? This will help you determine if a simple battery replacement or a complete unit swap is required.
2. Gather Necessary Tools: Before beginning, gather all required tools and materials. For most emergency lights, you’ll need a screwdriver to remove the old light fixture. Some lights might require specific batteries, so double-check the packaging or user manual. Keep safety in mind; wear protective gear if needed, especially when dealing with high ceilings or difficult-to-reach areas.
3. Disconnect Power Source: For safety reasons, turn off the power to the circuit containing the emergency light at the main electrical panel. This is crucial to prevent any accidents during the replacement process. Use a voltage tester to confirm the power has been cut off before proceeding.
4. Remove Old Light Fixture: Carefully remove the old emergency light by unscrewing any fasteners holding it in place. Some lights might have simple clips or levers for quick removal. Once removed, inspect the area and clean any debris or dust accumulated around the fixture.
5. Install New Emergency Light: If replacing with a similar unit, follow the same removal process in reverse. Attach the new light securely, ensuring all connections are tight. Check that the light is aligned correctly and point it in the required direction for optimal visibility.
6. Test New Light: After installation, test the emergency light to ensure it functions properly. Some lights have automatic testing features, while others may require manual activation. Ensure the light illuminates brightly and operates as expected, especially in low-light conditions.