Class D amplifiers have revolutionized car audio systems with their digital processing and energy efficiency, making them a top choice for car amplifier installation Toledo and DIY projects. Professional installation offers benefits like secure wiring, optimized power transfer, and seamless integration. The right location, proper wiring, and thorough testing are crucial for successful DIY amplifier installation or professional amplifier installation. Regular maintenance and troubleshooting ensure the longevity of Class D amplifiers in car audio systems.
“Unleash the power of audio with expert guidance on car amplifier installation Toledo! This comprehensive guide explores two primary paths: entrusting the task to professionals or tackling it yourself via DIY amplifier installation. Section by section, we demystify the process, from understanding Class D amplifiers and their advantages to choosing the ideal location and safe wiring practices. Whether you opt for professional services or a DIY endeavor, our guide ensures optimal sound performance with practical tips on testing, maintenance, and troubleshooting. Elevate your car audio experience today!”
- Understanding Class D Amplifiers: A Comprehensive Overview
- Benefits of Professional Installation for Car Amplifiers
- DIY Amplifier Installation: Step-by-Step Guide for Beginners
- Choosing the Right Location for Your Car Amplifier
- Wiring and Connectivity: Essential Considerations for Safe Installation
- Testing and Optimization: Ensuring Optimal Sound Performance
- Maintenance and Troubleshooting Tips for Longevity
Understanding Class D Amplifiers: A Comprehensive Overview

Class D amplifiers have revolutionized the audio enhancement landscape, especially in the realm of car audio systems. Unlike traditional amplifiers, Class D devices are highly efficient and compact, making them a popular choice for both car amplifier installation Toledo and DIY enthusiasts. This type of amplifier utilizes digital processing to switch power transistors at incredibly high speeds, resulting in significant power output while maintaining exceptional energy efficiency.

When considering professional amplifier installation, understanding the inner workings of Class D amps is crucial. Their digital nature allows for precise signal processing, ensuring clean and accurate audio reproduction. Moreover, these amplifiers can handle a wide range of input signals, making them versatile for various applications. Whether it’s a bustling car audio setup or a DIY project, Class D technology offers a game-changing solution for those seeking superior sound quality and efficient power delivery.
Benefits of Professional Installation for Car Amplifiers

Professional installation offers numerous advantages when it comes to car amplifiers. It ensures optimal performance and longevity for your audio system. Experienced technicians can carefully navigate the complex wiring process, ensuring each connection is secure and precise, minimizing the risk of damage or short circuits. This expert approach allows for a more efficient power transfer from the battery to the amplifier, maximizing sound output and quality.
Additionally, professional installers have the tools and knowledge to properly mount the amplifier within your vehicle’s architecture, considering factors like heat dissipation and ventilation. They can also integrate the amplifier seamlessly with your car’s electrical system, ensuring it operates smoothly without drawing excessive power or causing issues with other components. This expert touch is particularly beneficial for DIY enthusiasts who want top-notch results but may lack professional expertise.
DIY Amplifier Installation: Step-by-Step Guide for Beginners

Are you a car audio enthusiast looking to boost your sound system? Consider taking on the DIY challenge of installing a class D amplifier in your vehicle. With the right tools and a step-by-step approach, this process is more accessible than you might think. Here’s a beginner-friendly guide to help you navigate the car amplifier installation Toledo scene.
Start by gathering all necessary components, including your chosen class D amplifier, power wires, and a set of high-quality speakers. Ensure your vehicle’s electrical system can handle the additional load. Identify an appropriate location for the amplifier, usually under the dashboard or in the trunk, and prepare the space accordingly. Follow a detailed tutorial to identify and connect the positive and negative terminals correctly. Test the connections before installing the amp securely, ensuring all components are tightly fastened. Enjoy the improved audio quality and the satisfaction of completing a successful DIY amplifier installation.
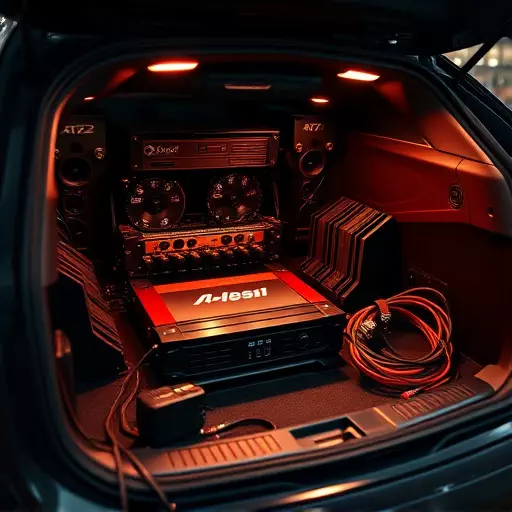
Choosing the Right Location for Your Car Amplifier

When installing a car amplifier, selecting the ideal location is paramount. For DIY enthusiasts in Toledo, this often means finding a space within your vehicle’s trunk or under the dashboard that offers adequate ventilation and minimal interference from other components. A quiet, well-shielded area ensures optimal audio performance by reducing noise and distortion.
Professional installation services consider factors like heat dissipation, especially in high-performance amplifiers. They might recommend dedicated spaces, such as custom-fitted compartments, to ensure stability and efficient cooling. This approach is particularly beneficial for Toledo residents who frequently face varying weather conditions, ensuring their amplifier remains reliable over time.
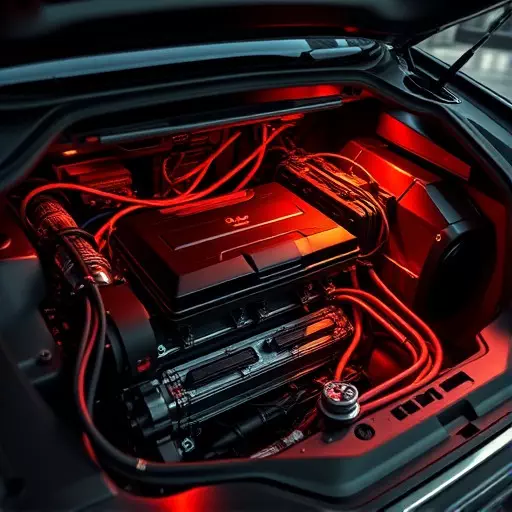
Wiring and Connectivity: Essential Considerations for Safe Installation

When installing a car amplifier in Toledo, whether it’s a DIY project or a professional upgrade, proper wiring and connectivity are paramount for safety and optimal performance. The first step involves identifying the correct wire colors and their corresponding functions – positive (red) and negative (black) terminals, along with any signal wires specific to the amplifier. It’s crucial to match these connections accurately to avoid short circuits or damage to your audio system.
For a seamless and secure installation, consider using high-quality cables and connectors designed for automotive applications. Ensure all wiring is properly routed, protected from sharp edges, and secured with tie wraps or clips to prevent chafing. Additionally, grounding the amplifier correctly to an appropriate metal surface within the vehicle is essential for safety and reducing electrical noise interference. This meticulous approach guarantees a reliable connection, minimizing the risk of accidents and ensuring your new car amplifier installation in Toledo performs at its best.
Testing and Optimization: Ensuring Optimal Sound Performance

After completing the physical car amplifier installation Toledo or diy amplifier installation, the next crucial step is testing and optimization to ensure optimal sound performance. This involves adjusting various settings on the amplifier to tailor its output according to your vehicle’s acoustic properties. Start by connecting your audio sources and speakers, then use the amplifier’s controls to tweak equalization, bass boost, and other parameters for a balanced sound signature.
Professional amplifier installation offers an advantage here as experts have the tools and expertise to fine-tune these settings accurately. They can also perform load testing to confirm the amplifier’s stability under different conditions, ensuring it operates within safe power limits. This meticulous process guarantees that your music sounds its best, creating a rich, clear, and powerful audio experience throughout your vehicle.
Maintenance and Troubleshooting Tips for Longevity

Maintaining and troubleshooting your Class D amplifier is crucial for ensuring longevity, especially when installed in a car audio system. Regular cleaning of the unit and its components can prevent dust buildup and corrosion, which are common issues due to the vehicle’s environment. Use a soft brush or compressed air to clean the amplifier’s exterior and vents, keeping it free from debris. Additionally, applying a protective coating or spray can shield against moisture and extreme temperatures, extending its lifespan significantly.
When troubleshooting, start with basic checks like ensuring proper power supply connections and verifying all cables are securely fastened. If the amplifier fails to deliver full power, check for loose connections, damaged wires, or faulty fuses. Regular monitoring of operating temperatures is also vital; excessive heat can cause internal damage. Consider installing a fan or employing a temperature-controlled enclosure for sensitive installations, especially in hot climates. For DIY enthusiasts or those considering a car amplifier installation in Toledo, these maintenance and troubleshooting tips are essential to keep your audio system performing optimally over time.