Homeowners in Lake Orion, Michigan, can enhance their bathrooms with space-saving swinging glass shower doors. Installation requires specific tools and techniques: gathering necessary items like a drill, caulk, and measuring tape; preparing the area by cleaning and ensuring levelness; following manufacturer instructions for hinge installation and proper sealing with silicone caulk; and finishing with watertight caulk along door edges. This guide covers essential steps and keywords for a successful swinging glass shower door installation in Lake Orion, Michigan.
“Enhance your Lake Orion, Michigan home with a seamless swinging glass shower door installation. This comprehensive guide delves into the process, from understanding the unique swing mechanism to preparing your workspace. Learn the essential tools required for a successful project and follow our step-by-step instructions to achieve a stylish, water-tight fit around the hinges. Transform your bathroom with these expert tips on swinging glass shower door installation.”
- Understanding Swinging Glass Shower Door Installation in Lake Orion, Michigan
- Tools and Preparation for a Successful Shower Door Project
- Step-by-Step Guide: Installing Your New Swinging Glass Shower Door
Understanding Swinging Glass Shower Door Installation in Lake Orion, Michigan
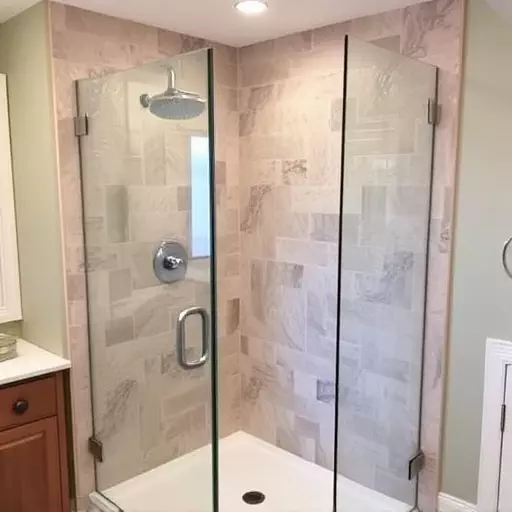
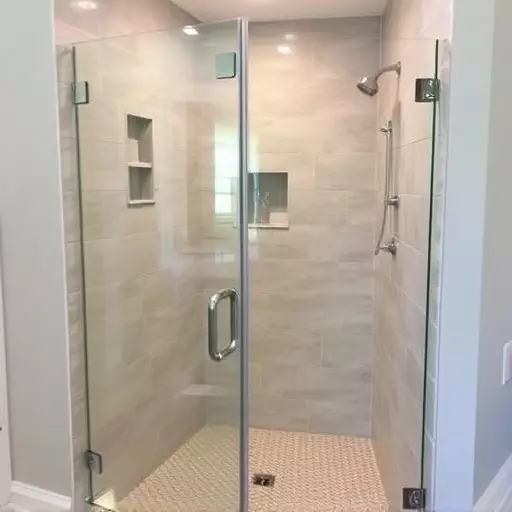
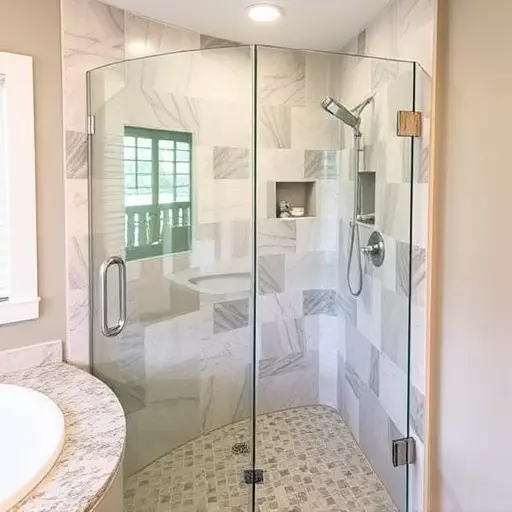
In Lake Orion, Michigan, many homeowners opt for swinging glass shower doors over traditional models due to their space-saving design and sleek aesthetics. However, installing a swinging glass shower door requires careful consideration and specific tools to ensure proper waterproofing. Understanding the process of swinging glass shower door installation is crucial for maintaining a dry and comfortable shower environment.
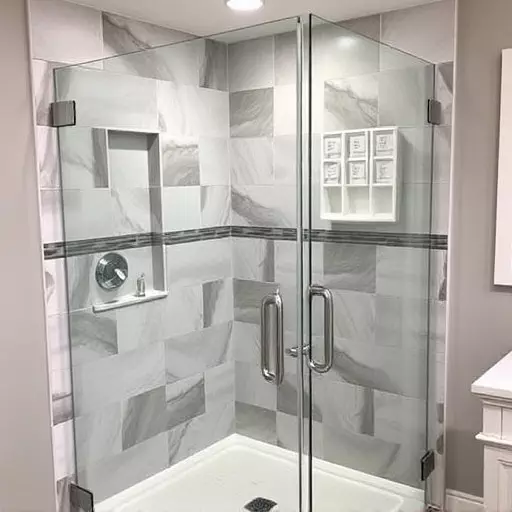
The setup involves securing the door hinges to the shower frame, which can be done using common tools like a drill, driver bit, and measuring tape. It’s important to follow manufacturer instructions for the best results, ensuring proper alignment and levelness. Once installed, waterproof sealants are applied around the hinges and door edges to prevent water from seeping in. The tools required for this task include silicone caulk, a putty knife, and a cleaning solution for preparing the surfaces. Proper sealing is key to preserving the integrity of the swinging glass shower door installation in Lake Orion, Michigan, ensuring long-lasting performance and maintaining the beauty of your bathroom.
Tools and Preparation for a Successful Shower Door Project

Before tackling a swinging glass shower door installation in Lake Orion, Michigan, ensure you have the right tools and make proper preparations. This project requires specific equipment like a utility knife, silicone caulk, a putty knife, a bucket, and cleaning solutions suitable for tile and glass. Additionally, gathering protective gear such as gloves and safety goggles is essential to prevent accidents and ensure a clean workspace.
Proper preparation includes cleaning the shower area thoroughly to remove any grease or soap residue that could hinder adhesion. Remove old caulk around the hinges if present. Ensure the door frame is level and secure, allowing for seamless installation without gaps or misalignments. Having a helper can also be beneficial during the process, especially when handling heavy materials and ensuring accurate measurements.
Step-by-Step Guide: Installing Your New Swinging Glass Shower Door

Installing a swinging glass shower door is a straightforward process that can transform your bathroom’s aesthetics and functionality. Here’s a step-by-step guide for those considering a swinging glass shower door installation in Lake Orion, Michigan.
First, gather the necessary tools: measuring tape, a level, a drill with a tile bit, an impact driver or screwdriver, silicone caulk, and a new swinging glass shower door. Begin by carefully measuring the opening to ensure the door fits perfectly. Next, mark the positions of the hinges and use the drill to create pilot holes. Install the hinges securely, making sure they are level. Then, attach the door frame, again ensuring it’s level before moving on. Finally, apply a bead of silicone caulk along the door’s edges, sealing any gaps between the door, hinges, and frame for optimal waterproofing.