Toilet sealant application is a crucial skill for homeowners and Toilet Repair Experts Toledo, sealing leaks and extending toilet lifespans. Using tools like small brushes, spatulas, and a caulk gun, apply sealant precisely to create a watertight barrier between the bowl and tank. A well-equipped repair kit and a comprehensive toilet troubleshooting guide empower DIY enthusiasts to handle minor issues, saving time and money while preventing further damage. Proper surface preparation, suitable tools, and expert consultation are key to avoiding common mistakes during sealant application.
“Struggling with a leaky toilet? Look no further. This comprehensive toilet sealant application guide, tailored for Toilet Repair Experts Toledo, equips you with the knowledge to tackle common issues. Discover effective toilet repair techniques and become your own problem-solver. From understanding the basics to mastering the step-by-step process, this troubleshooting guide promises to turn you into a bathroom superhero. Say goodbye to annoying leaks and hello to a sealed, stress-free toilet.”
- Understanding Toilet Sealant Application: A Basic Guide
- Tools and Materials Required for Effective Toilet Repair
- Step-by-Step Process of Applying Toilet Sealant
- Common Mistakes to Avoid During Toilet Sealant Application
Understanding Toilet Sealant Application: A Basic Guide
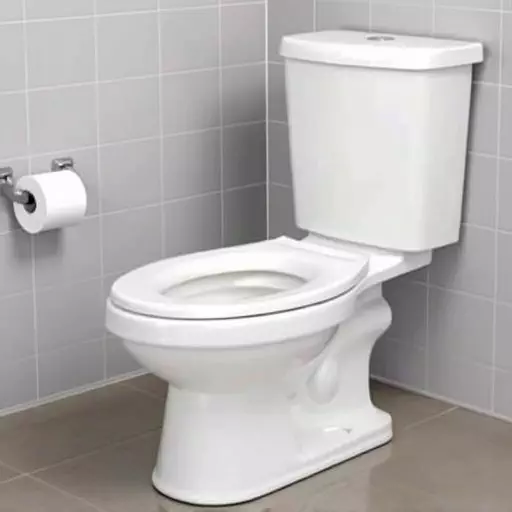
Toilet sealant application is a crucial skill for any homeowner or toilet repair expert in Toledo. It’s a simple yet effective technique that can prevent water leaks and prolong the life of your toilet. Understanding the process involves grasping the purpose of a sealant and the right tools to use. Toilet repair experts often rely on sealants to create a watertight barrier between the toilet bowl and the tank, sealing any gaps or cracks that might occur over time.

This guide serves as a basic introduction to toilet troubleshooting for those looking to tackle minor repairs themselves. By following these steps, you can ensure your sealant application is precise and effective. Toilet repair techniques involve preparing the surface, applying the sealant evenly, and allowing it to cure properly. It’s important to use the right tools, such as a small brush or spatula, to spread the sealant smoothly and avoid messy mistakes.
Tools and Materials Required for Effective Toilet Repair

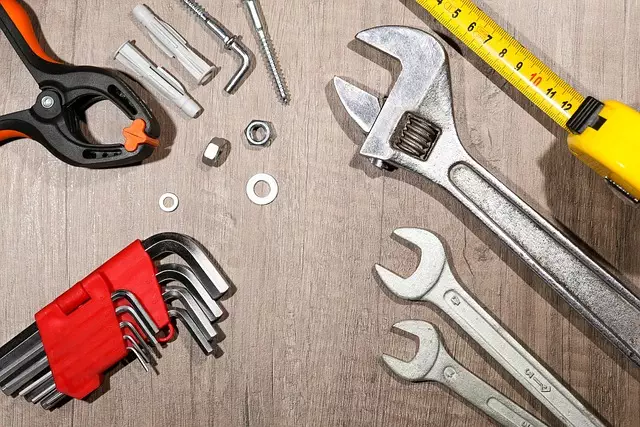
When tackling toilet repairs, having the right tools and materials is essential for a successful outcome. Toilet Repair Experts Toledo often recommend a comprehensive kit that includes a variety of tools tailored to different toilet issues. A standard kit should have items such as pliers, wrenches (both adjustable and pipe), a set of screwdrivers, and a toilet sealants/caulk gun. These tools enable professionals and DIY enthusiasts alike to access and repair various components, from loose connections and broken parts to cracked or damaged seals.
Additionally, a thorough toilet troubleshooting guide is invaluable. It provides step-by-step instructions for common issues, ensuring that even first-time reparers can navigate the process with confidence. The guide should cover everything from identifying leak sources to applying the correct toilet sealant. With the right tools and knowledge, anyone can effectively address minor toilet repairs, saving time and money while also preventing more significant, costly damage.
Step-by-Step Process of Applying Toilet Sealant

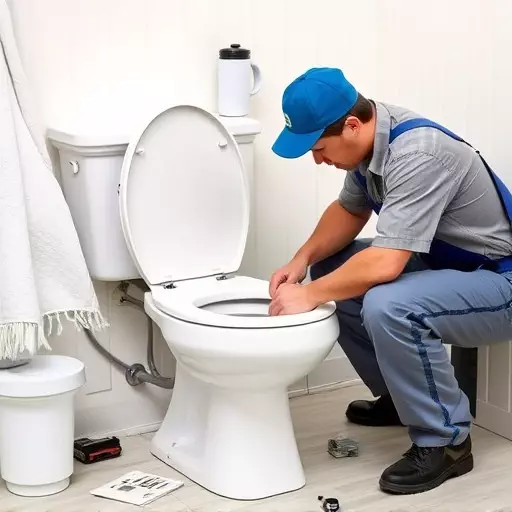
Applying a toilet sealant is a straightforward process that can be done by toilet repair experts in Toledo or anyone with basic DIY skills. Here’s a step-by-step guide for effective toilet troubleshooting and repair using sealant. First, gather all necessary tools and materials, including the sealant product suitable for your toilet’s material, a putty knife, and clean rags. Next, ensure the toilet is flushable and empty. Remove any accessories or covers hiding the seal area. With the toilet in a dry state, apply a thin layer of sealant around the base where it meets the floor using the putty knife. Spread it evenly to create a smooth surface. Allow the first coat to dry according to the product instructions. Once cured, inspect the seal for any gaps or weaknesses and apply a second coat if needed. After the final coat dries completely, test the toilet’s functionality to ensure water doesn’t seep through the seal.
Common Mistakes to Avoid During Toilet Sealant Application

When it comes to toilet sealant application, there are several common mistakes that do-it-yourselfers often make, leading to less-than-satisfactory results. One of the biggest blunders is failing to properly prepare the surface before applying the sealant. Toilet Repair Experts Toledo stress the importance of cleaning and drying the area around the toilet, as any residual moisture can cause the sealant to fail over time. Ignoring this step could result in an uneven finish and potential leaks.
Another mistake is not using the right tools or techniques. Using an inappropriate caulk gun or applying too much pressure while sealing can lead to messy results and trapped air bubbles that compromise the integrity of the seal. A good toilet troubleshooting guide recommends practicing on a less visible area first, allowing you to perfect your technique before tackling the main task at hand. Relying solely on YouTube videos for instructions without considering your specific situation could also contribute to these common mistakes, so always consult with Toilet Repair Experts Toledo for expert guidance when needed.