Pre-cut window tint kits offer a cost-effective DIY solution for sun protection and aesthetics in Toledo, but professional installation provides a superior finish. While DIY kits are accessible, professional services ensure expert adhesion, high-quality films, and long-lasting results. Proper application is key to avoiding issues with DIY tinting, making professional services a worthwhile investment. When considering window tinting in Toledo, weigh the benefits of both DIY and professional options for optimal vehicle protection and style.
Discover the world of pre-cut window tint kits—a convenient solution for both DIY enthusiasts and those seeking a quick upgrade. This comprehensive guide explores the benefits of DIY window tinting, offering a cost-effective alternative to professional services. We delve into the advantages of hiring a reliable window tinting service in Toledo, comparing it with do-it-yourself kits. Learn how to choose the perfect pre-cut kit for your vehicle and follow our simple steps for installation. Maintenance tips ensure longevity, making your tint investment last.
- Understanding Pre-cut Window Tint Kits: An Overview
- Benefits of DIY Window Tinting
- Advantages of Professional Installation Services in Toledo
- Choosing the Right Pre-cut Kit for Your Vehicle
- Step-by-Step Guide to Installing a Pre-cut Window Tint
- Maintenance and Longevity of Pre-cut Window Tints
Understanding Pre-cut Window Tint Kits: An Overview

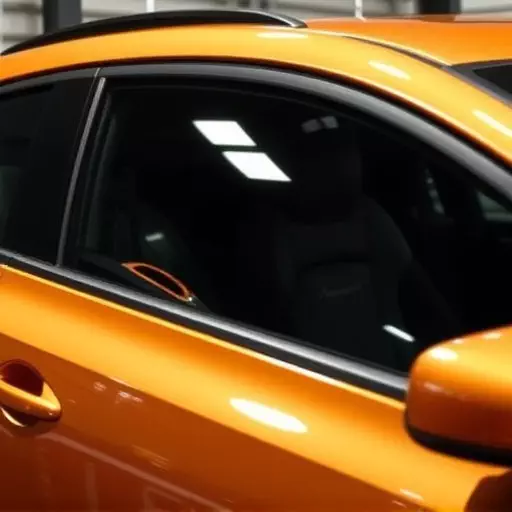
Pre-cut window tint kits are a popular choice for both DIY enthusiasts and those seeking a cost-effective alternative to professional window tinting services in Toledo. These ready-to-use kits offer an easy, step-by-step solution for installing tinted windows. Typically, they come with pre-measured films tailored to specific vehicle makes and models, ensuring a precise fit without the need for specialized tools or expertise.
For those interested in DIY window tinting, these kits provide an accessible way to enhance privacy, block harmful UV rays, and add a stylish touch to their vehicles. Moreover, they eliminate the need to visit a professional window tinting service in Toledo, saving time and potentially reducing costs. However, it’s essential to consider factors like quality, installation ease, and the level of customization offered by different pre-cut window tint kits before making a purchase.
Benefits of DIY Window Tinting

DIY window tinting offers a range of benefits, appealing to both cost-conscious individuals and those looking for a creative project. For those in Toledo considering professional window tinting services, tackling the task yourself can be an attractive alternative. Kits designed for DIY installation provide an affordable way to enhance your vehicle’s or home’s aesthetics while also providing privacy and insulation.
Unlike hiring a service, doing it yourself allows you to customize the tint level according to your preferences. You can choose from various shades and tints available in the market, ensuring the right balance between style and functionality. Moreover, DIY methods empower you to complete the job at your convenience, saving time and potentially money on labor costs associated with professional window tinting in Toledo.
Advantages of Professional Installation Services in Toledo

Many DIY enthusiasts opt for pre-cut window tint kits when looking to enhance their vehicle’s aesthetics and protect its interior from the sun’s harmful rays. However, for those who want a more precise and professional finish, considering a window tinting service Toledo is an excellent choice. Professional installers bring several advantages to the table. They possess the expertise and experience required to ensure the film adheres perfectly, creating a seamless and uniform look across your windows.
Moreover, a top-notch window tinting service will use high-quality tint films that offer superior protection against UV rays, heat, and glare. This not only improves comfort but also adds an extra layer of security to your vehicle. Unlike DIY methods, professional installation guarantees long-lasting results, eliminating the need for frequent replacements or touch-ups. It’s a one-time investment that can significantly enhance your driving experience.
Choosing the Right Pre-cut Kit for Your Vehicle

When considering a pre-cut window tint kit for your vehicle, it’s crucial to select one that perfectly matches your make and model. The right fit is key to achieving a seamless application and optimal performance. Many kits are designed for specific car brands and years, ensuring precision cutting and easy installation. This DIY window tinting approach is gaining popularity, offering an alternative to professional window tinting services in Toledo.
For those seeking convenience and cost-effectiveness, pre-cut tint kits provide a user-friendly solution. The templates are cut to the exact dimensions of your vehicle’s windows, eliminating the need for precise measuring and cutting by the installer. This makes it accessible for car enthusiasts who want to add that extra layer of privacy and style without breaking the bank. Professional window tinting may offer more customization options, but pre-cut kits provide an excellent starting point for those new to window tinting.
Step-by-Step Guide to Installing a Pre-cut Window Tint

Installing a pre-cut window tint kit is a DIY project that many car owners opt for to achieve a quick and efficient tint job. Here’s a step-by-step guide tailored for those considering a window tinting service Toledo or looking to tackle diy window tinting themselves:
1. Preparation: Start by ensuring your vehicle is clean, including the windows. Remove any wiper blades or accessories that might interfere with application. Gather all necessary tools and materials, typically including the pre-cut tint films, applicator cards, a squeegee, and cleaning solutions.
2. Application: Begin by applying a thin layer of water to the window using the applicator card. This helps activate the adhesive on the back of the tint film. Carefully peel off one side of the protective backing and align it with the window, starting from the top edge. Press firmly using the squeegee, ensuring no bubbles or wrinkles form. Repeat this process for each pane, working quickly while the film is still wet to avoid misalignment.
Maintenance and Longevity of Pre-cut Window Tints
