"Fire extinguisher safety is paramount, especially at Spring Lake. This guide highlights the initial steps in repairing a fire extinguisher, focusing on inspecting for exterior damage and checking the safety pin's functionality. Recognizing signs like bent, damaged, or rusted pins indicates potential replacement needs. Quick action ensures effective emergency response, saving lives and minimizing property damage."
SEO Keywords: Fire Extinguisher Training Spring Lake, Fire extinguisher repair process, Signs a fire extinguisher needs repair
“Ensuring fire safety in any space is paramount, especially with reliable fire extinguishers. This comprehensive guide delves into the crucial topic of fire extinguisher safety pin repair, a critical aspect of fire safety maintenance. We explore the basics of understanding this repair process, identifying common signs of malfunction, and providing a step-by-step training manual for Spring Lake residents. Learn best practices for regular maintenance to prevent issues and stay prepared.”
- Understanding Fire Extinguisher Safety Pin Repair: The Basics
- Identifying Common Signs of a Malfunctioning Fire Extinguisher
- Step-by-Step Guide to Conducting a Fire Extinguisher Spring Lake Training and Repair
- Best Practices for Regular Maintenance and Prevention Tips
Understanding Fire Extinguisher Safety Pin Repair: The Basics
Understanding Fire Extinguisher Safety Pin Repair: The Basics
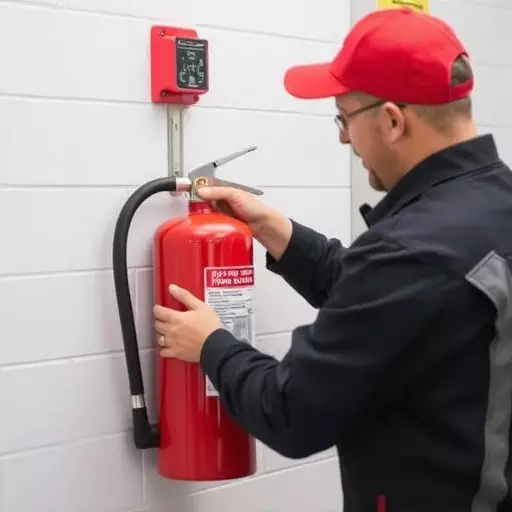
At Spring Lake, fire extinguisher training is paramount to ensuring safety in any emergency situation. A crucial component of this training involves recognizing and addressing signs that indicate a fire extinguisher needs repair. Regular maintenance and timely repairs can save lives and prevent costly damages. The fire extinguisher repair process begins with inspecting the device for any visible damage or corrosion on the exterior, as well as checking the safety pin for proper functionality.
Safety pins play a vital role in fire extinguishers by serving as a quick-release mechanism during use. Over time, these pins can become bent, damaged, or rusted, rendering them ineffective. If you notice any signs of deterioration or difficulty in pulling the pin, it’s essential to promptly initiate the repair process. This may involve replacing the safety pin or, in more severe cases, the entire extinguisher, ensuring that everyone knows how to use it effectively during an emergency.
Identifying Common Signs of a Malfunctioning Fire Extinguisher

Step-by-Step Guide to Conducting a Fire Extinguisher Spring Lake Training and Repair

Conducting regular fire extinguisher training and repairs is essential for ensuring their optimal functionality in case of emergencies. Here’s a step-by-step guide to help you navigate this process, specifically tailored for Spring Lake areas.
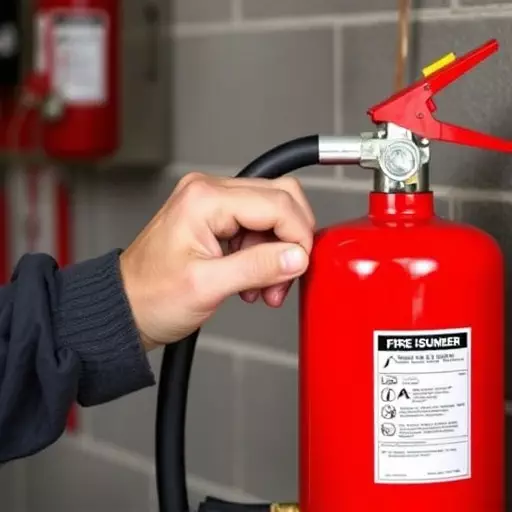
1. Inspection: Begin by examining the fire extinguisher for any visible signs of damage or wear. Check the pressure gauge to ensure it reads within the operating range. Look out for corrosion, leaks, or any unusual markings that might indicate a problem.
2. Disassembly (if necessary): If you suspect a repair is required, carefully disassemble the extinguisher according to the manufacturer’s instructions. This may involve unscrewing the top, removing the piston and spring, and examining internal components for damage or wear.
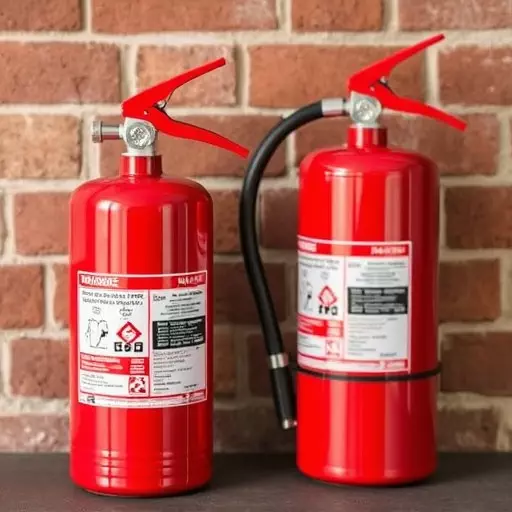
3. Assessment: Identify the specific issue—whether it’s a damaged spring, corroded parts, or a leaky seal. Understanding the problem is crucial for choosing the right repair method.
4. Repair or Replacement: Depending on the extent of damage, you might opt for simple adjustments like tightening connections or replacing o-rings. For more complex issues like a broken spring, complete replacement may be necessary.
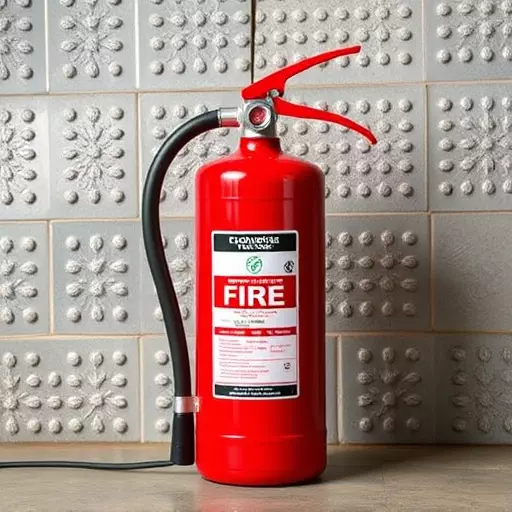
5. Reassembly and Testing: After making the required repairs or replacements, meticulously reassemble the extinguisher, ensuring all parts fit securely. Finally, conduct a test to verify its functionality and pressure level, following local regulations and guidelines for fire extinguisher maintenance in Spring Lake.
Best Practices for Regular Maintenance and Prevention Tips
