
GPS navigation systems have revolutionized modern driving for classic car enthusiasts, offering precise location services and real-time route guidance. While DIY installations are feasible, professional assistance is recommended to ensure compatibility with vintage electrical systems and preserve the car's original aesthetic. Choosing professional GPS navigation system installation in Toledo guarantees optimal placement, functionality, and peace of mind, backed by warranties and after-sales support, making it the preferred method for reliable and hassle-free GPS integration.
- Understanding GPS Navigation for Classic Cars: Benefits and Requirements
- DIY vs Professional GPS Installation: Weighing the Pros and Cons
- Choosing the Right GPS Navigation System for Your Toledo: Features to Consider
- Step-by-Step Guide: Installing a GPS Navigation System in Your Classic Car
Understanding GPS Navigation for Classic Cars: Benefits and Requirements

GPS navigation systems have revolutionized modern driving, offering precise location services and real-time route guidance. For classic car enthusiasts, integrating a GPS navigation system can be a game-changer, providing an enhanced driving experience while preserving the vehicle’s vintage aesthetic. Understanding the benefits and requirements of GPS installation in classic cars is key to making this upgrade successful.
One of the primary advantages is the ease it brings to long-distance travel or navigating unfamiliar routes. Classic car owners can now rely on GPS to accurately track their position, calculate optimal paths, and provide turn-by-turn directions, ensuring a stress-free journey. Furthermore, modern GPS devices offer historical mapping capabilities, allowing drivers to retrace famous roads or explore byways that may have been less traveled in the past. While DIY GPS installation can be attractive for those with technical skills, seeking professional assistance is recommended due to the specific requirements of classic cars. This includes ensuring compatibility with vintage electrical systems and integrating the device seamlessly while maintaining the car’s original look and feel.
DIY vs Professional GPS Installation: Weighing the Pros and Cons


When considering GPS navigation for your classic car, one key decision is whether to install it yourself or seek professional help. DIY enthusiasts often see the installation as a challenge and an opportunity to customize their vehicle. Online tutorials and readily available kits make it more accessible than ever before. This approach allows for precise placement of the device, ensuring it blends seamlessly into the dashboard aesthetics. However, DIY installation may result in suboptimal performance or compatibility issues if not done correctly, potentially voiding warranties.
On the other hand, professional GPS navigation system installation offers peace of mind and guarantees a factory-like finish. Expert installers have the necessary tools and training to navigate any car’s unique challenges, ensuring optimal placement and functionality. While this route might be more expensive, it eliminates the risk of damage or errors. Professional services also provide warranties, regular software updates, and after-sales support, making them an attractive option for those who value reliability and hassle-free experiences.
Choosing the Right GPS Navigation System for Your Toledo: Features to Consider

When selecting a GPS navigation system for your classic Toledo, several key features should be at the forefront of your decision-making process. Firstly, consider the installation method—whether you opt for a DIY approach or seek professional assistance. While do-it-yourself (DIY) installations offer cost savings and flexibility, they may require more technical expertise and could impact the car’s original aesthetics. Professional installation, on the other hand, guarantees a seamless fit and ensures the system is properly integrated into your Toledo’s dashboard, enhancing its overall appearance.
Additionally, the GPS navigation system should be compatible with your vehicle’s make and model. Check for specific features like real-time traffic updates, voice guidance, and Bluetooth connectivity, which enhance both safety and convenience during your journeys. A high-resolution display that’s easy to read, even in direct sunlight, is another crucial consideration. Moreover, look for systems with robust mapping software that provides accurate, up-to-date information, ensuring you never get lost while exploring the open road.
Step-by-Step Guide: Installing a GPS Navigation System in Your Classic Car

Installing a GPS navigation system in your classic car can be a fun DIY project or a professional upgrade, offering both modern convenience and historical charm. Here’s a step-by-step guide to help you navigate this process, whether you opt for a DIY installation or seek professional assistance.
1. Select the Right GPS Navigation System: Choose a device designed for classic cars, considering factors like power consumption, size compatibility with your dashboard, and functionality tailored for older vehicles. Ensure it integrates seamlessly without compromising your car’s original aesthetic.
2. Prepare Your Classic Car: Make sure your car is clean and prepared. Remove any existing navigation equipment to create space for the new system. Prepare wiring and ensure all components are accessible for installation.
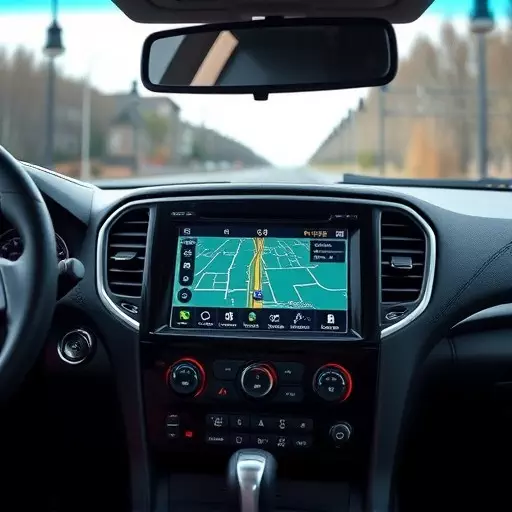
3. Mount the GPS Device: Securely mount your chosen GPS navigation system in a location that’s visible but doesn’t obstruct the driver’s view. This could be above the dashboard, on the center console, or even in a custom-made compartment designed to blend with your car’s interior.
4. Connect Wiring and Power: Connect the GPS device to your car’s power source, usually through the cigarette lighter or a dedicated fuse. Ensure proper grounding for optimal performance. Follow manufacturer instructions carefully to avoid damaging components.
5. Install Antennas: Most GPS systems require external antennas for signal reception. Position these antennas for optimal signal strength, ensuring they are not blocked by metal objects or other components.
6. Test and Calibrate: After installation, power on the system and test its functionality. Ensure accurate mapping and reliable GPS signals. Calibrate the system if necessary, following the manufacturer’s guidelines for precise navigation.
7. Integrate with Other Systems (Optional): Depending on your setup, you might integrate the GPS with other car systems like audio or lighting for enhanced functionality. This could involve additional wiring and programming, but it significantly enhances the overall driving experience.